Vacuum cleaner problems can be frustrating, especially when you rely on your vacuum to keep your home clean and fresh. Whether it’s losing suction, making strange noises, or not turning on at all, these common issues can disrupt your cleaning routine. The good news is many of these problems are easy to diagnose and fix with simple troubleshooting and regular maintenance. In this guide, we’ll walk you through the most frequent vacuum cleaner problems and share practical tips on how to fix them quickly, so your vacuum runs smoothly and efficiently every time.
Vacuum Cleaner Won’t Turn On
When your vacuum cleaner suddenly refuses to start, it can be both confusing and frustrating. Understanding the most common causes behind this issue can help you quickly pinpoint the problem and get your vacuum back in working order without unnecessary expense or delay. Before assuming the worst, it’s important to check a few key components that often cause the vacuum to fail powering on.
Common Causes
One of the simplest yet most frequent reasons for a vacuum cleaner not turning on is a problem with the power cord. If the cord is damaged, frayed, or not properly plugged in, the vacuum won’t receive the electricity it needs to operate.
Another culprit can be a faulty power switch. Over time, the switch mechanism can wear out or get stuck, preventing the vacuum from powering up even when connected to a power source.
Additionally, many modern vacuum cleaners have built-in safety features such as overheated motor protection. If the motor overheats due to blockages or extended use, this feature automatically shuts the vacuum off to prevent damage. Once cooled down, it should start working again, but persistent overheating may indicate a deeper problem.
Easy Troubleshooting Steps
Before calling a technician, there are simple steps you can take to diagnose the issue. Start by checking the outlet and cord to ensure the vacuum is properly connected to a working power source. Try plugging the vacuum into a different outlet to rule out an electrical issue.
If the power source is fine, try resetting the vacuum cleaner. Many models include a reset button or switch that can be pressed after the motor overheats. Allow the vacuum to cool down for at least 30 minutes before pressing the reset. Additionally, make sure that filters and hoses are clean, as blockages can cause overheating and trigger safety shutdowns.
Quick Checklist Table
| Problem Cause | What to Check | Easy Fix |
|---|---|---|
| No power | Power outlet and plug | Plug in / try different outlet |
| Overheating | Motor reset button or filter clog | Let it cool / clean filters |
Vacuum Cleaner Loses Suction
One of the most common and frustrating vacuum cleaner problems is when it suddenly loses suction power. This issue directly impacts cleaning efficiency and often signals that something is obstructing the airflow or mechanical function. Understanding the root causes of suction loss can help you address the problem quickly and keep your vacuum running like new.
What Causes Loss of Suction?
A frequent cause of suction loss is a clogged hose or filters. Over time, dust, hair, and debris can build up inside the vacuum hose or clog the filters, restricting airflow. This prevents the vacuum from pulling in dirt effectively.
Another common issue is a full dustbin or bag. When the collection container reaches its capacity, airflow is blocked, resulting in weaker suction. It’s important to empty or replace these regularly to maintain optimal performance.
Lastly, a broken or loose vacuum belt can also contribute to suction problems. The belt drives the brush roll, and if it’s damaged or slipping, the brush roll won’t spin properly, which reduces the vacuum’s ability to pick up dirt.
How to Restore Suction Power
Restoring suction usually involves a few straightforward steps. Begin by thoroughly cleaning the hose and filters. Detach the hose and check for blockages; use a long, flexible brush or compressed air to clear any clogs. Remove and wash or replace filters according to the manufacturer’s instructions to ensure proper airflow.
Next, make sure the dust container is emptied or the bag is replaced if full. Regular maintenance prevents buildup that restricts suction. If your vacuum has a bag, replacing it at the right time is key, as overly full bags significantly reduce efficiency.
Interactive Guide
To simplify troubleshooting suction issues, consider using a flowchart or checklist that guides users through each potential cause and solution step-by-step. This interactive element can help readers quickly identify the problem and follow clear instructions to fix it, making the experience both useful and engaging.
Vacuum Brush Roll Not Spinning
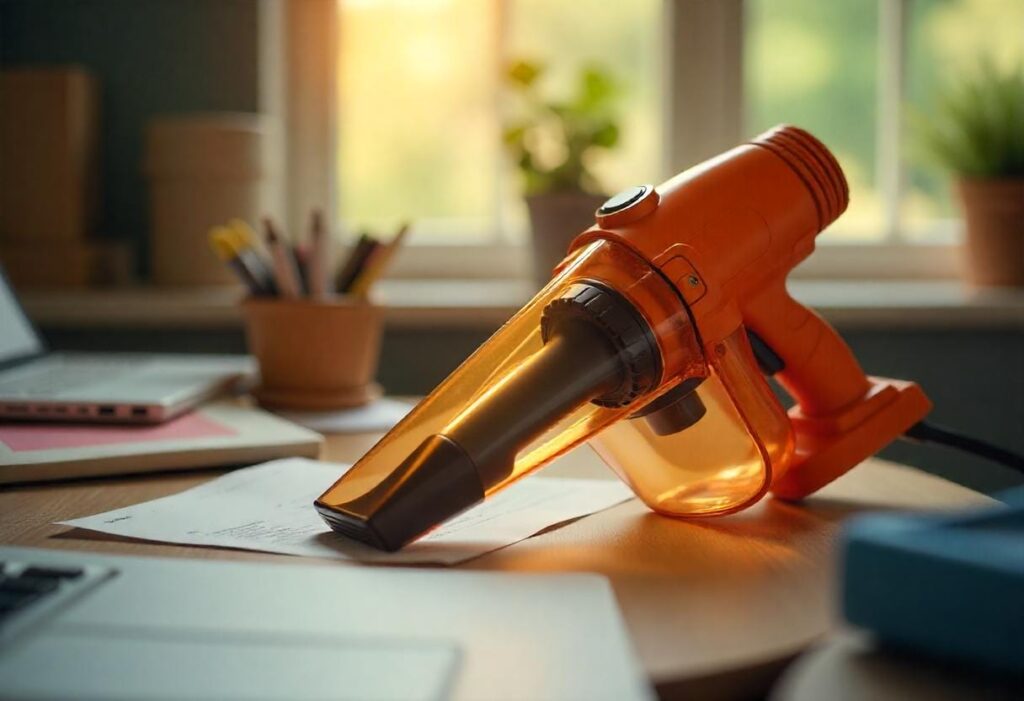
The brush roll is a crucial component of your vacuum cleaner that agitates carpet fibers and helps lift dirt effectively. When it stops spinning, your vacuum’s cleaning power drops significantly. Identifying the signs early and knowing how to fix the issue can save you from costly repairs.
Signs Your Brush Roll is Stuck or Broken
One clear indication that the brush roll is not functioning properly is when you notice hair and debris wrapped tightly around it. This buildup can jam the brush roll, preventing it from turning.
Another sign is a noisy motor but no brush movement. If the vacuum sounds like it’s running but the brush roll remains still, it often means the belt driving the brush is broken or has slipped off.
Fixes and Preventive Tips
To fix a stuck brush roll, start by removing hair wrap without using sharp tools. Using scissors or knives can damage the brush or belt, so it’s better to gently pull or cut away the debris with care.
You should also learn how to check and tighten the brush belt. A loose belt can cause the brush roll to stop spinning, so inspecting it regularly and replacing it when worn will keep your vacuum working well.
Do’s and Don’ts Table for Brush Roll Care
| Do | Don’t |
|---|---|
| Clean hair and threads regularly | Use sharp tools to remove debris |
| Check belt tension monthly | Ignore unusual noises |
Strange Noises from Your Vacuum Cleaner
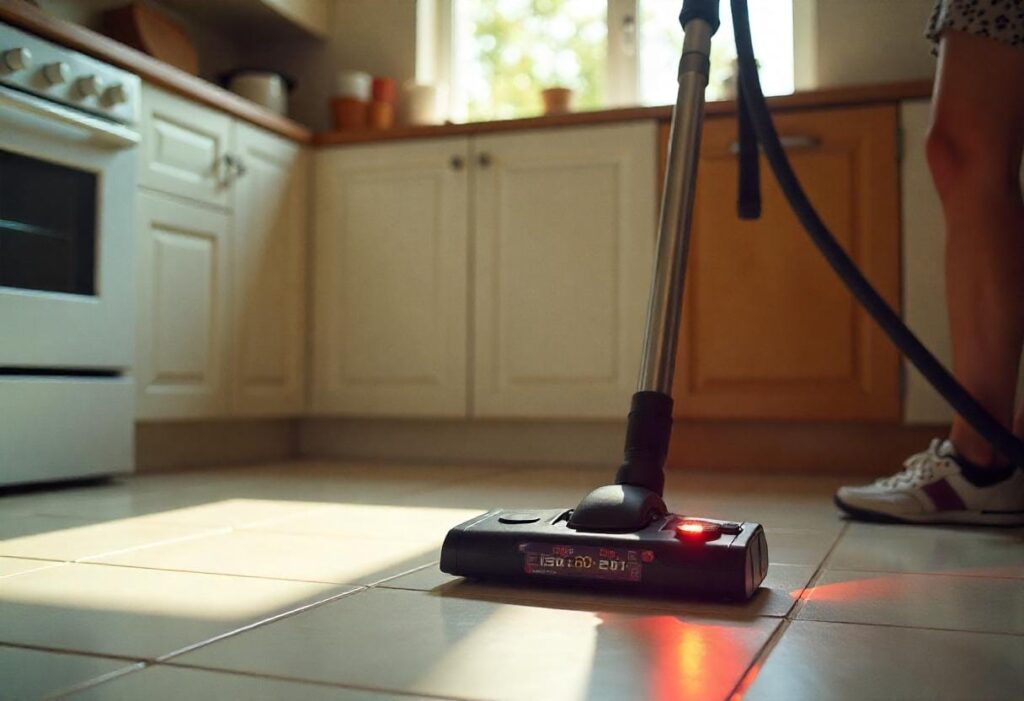
Unusual sounds coming from your vacuum cleaner can be an early warning sign of underlying problems. Paying attention to these noises and understanding what they indicate can help you troubleshoot effectively and prevent further damage.
Types of Noises and What They Mean
Different noises can signal different issues. A loud humming sound may suggest the motor is straining, often due to blockages or overheating. A grinding noise could indicate that debris is stuck in the brush roll or motor area, causing friction. Meanwhile, a rattling sound often points to loose parts or objects caught inside the vacuum.
Diagnosing the Cause
To identify the source, start by inspecting the vacuum’s intake and hose for blockages. Even small clogs can create resistance and cause the motor to work harder, producing unusual sounds.
Additionally, check for loose parts or worn motor bearings. Over time, screws or components can loosen, causing rattling or grinding noises. Worn bearings may require professional inspection, as they can affect motor performance.
How to Fix or When to Seek Professional Help
Some noise issues can be resolved by cleaning blockages or tightening loose parts. If the sound persists after basic maintenance, or if you suspect motor damage, it’s best to seek professional repair. Ignoring serious mechanical problems can lead to more costly repairs or permanent damage.
Vacuum Smells Bad After Use
A foul odor coming from your vacuum cleaner can be unpleasant and may even make you avoid using it altogether. Understanding the causes of these smells and knowing how to eliminate them will help keep your home smelling fresh and clean after every vacuuming session.
Common Causes of Odors
One of the main reasons for bad smells is dirty filters or bags. When filters become clogged with dust and debris or bags are overfilled, they can start to emit unpleasant odors.
Another frequent cause is the presence of mold or mildew in hoses. Moisture trapped inside the vacuum’s components can lead to bacterial growth, resulting in a musty or sour smell.
How to Eliminate Vacuum Cleaner Odors
Regular cleaning and deodorizing of your vacuum’s filters, bags, and hoses is essential to prevent odors. Washing washable filters and replacing bags before they become too full can make a big difference.
You can also freshen your vacuum naturally by placing natural fresheners inside the dustbin. These help neutralize odors and keep your vacuum smelling clean without harsh chemicals.
Quick DIY Natural Deodorizer Recipe
A simple and effective way to deodorize your vacuum is by mixing baking soda with a few drops of your favorite essential oils such as lavender or eucalyptus. Sprinkle a small amount of this mixture inside the dustbin before vacuuming to absorb odors and leave a fresh scent behind.
Vacuum Cleaner Overheats and Shuts Off
An overheating vacuum cleaner that suddenly shuts off can interrupt your cleaning routine and signal potential damage if ignored. Understanding why overheating happens and how to prevent it can help extend the life of your vacuum and maintain its performance.
Why Does Overheating Happen?
One common cause is blocked airflow. When dust, dirt, or debris clog the filters, hoses, or vents, the motor struggles to cool itself, leading to overheating.
Another frequent issue is an overfilled dustbin. If the dust container or bag is too full, it restricts airflow inside the vacuum, causing the motor to work harder and overheat.
Preventive Maintenance Tips
To avoid overheating, make sure to perform regular filter cleaning. Clean or replace filters according to manufacturer guidelines to keep air flowing freely.
It’s also important to let the vacuum cool down between uses, especially during longer cleaning sessions. Giving the motor time to cool can prevent automatic shutdowns caused by overheating.
Simple Maintenance Schedule Table
| Task | Frequency | Notes |
|---|---|---|
| Clean filters | Monthly | Check for wear and replace |
| Empty dustbin | After each use | Prevent airflow blockage |
Vacuum Cleaner Belt Keeps Breaking
A vacuum cleaner belt that frequently breaks can be frustrating and disrupt your cleaning routine. Understanding why belts fail and how to properly replace and care for them can save you time and money.
Causes of Frequent Belt Breakage
One of the most common causes is using old or worn belts. Over time, belts lose elasticity and become brittle, making them more prone to snapping.
Another frequent issue is debris caught in the brush roll. Twisted hair, threads, or small objects can create extra tension on the belt, causing it to wear out faster or break unexpectedly.
How to Replace and Care for Your Vacuum Belt
Replacing the vacuum belt involves a few straightforward steps. First, unplug the vacuum and remove the base plate to access the brush roll. Then, carefully take off the old belt and fit the new one around the motor shaft and brush roll, ensuring it sits properly with the right tension.
To extend the life of your belt, regularly clean the brush roll to prevent debris buildup and inspect the belt for signs of wear. Avoid using the vacuum on thick carpets or rugs for extended periods, as excessive strain can lead to premature belt failure.
Visual Diagram — Illustrating Belt Installation and Tension Points
Including a clear diagram showing the belt’s path around the motor shaft and brush roll, along with the correct tension points, can greatly assist readers in performing a proper replacement and avoiding common mistakes.
Vacuum Cleaner Accessories Not Fitting or Working Properly
Accessories and attachments are designed to extend the functionality of your vacuum cleaner, making it easier to clean different surfaces and hard-to-reach areas. However, issues with these parts can reduce efficiency and cause frustration during use.
Common Attachment Problems
One frequent problem is loose or stuck connectors. Over time, dirt and debris can accumulate around the joints, making attachments difficult to connect or causing them to fall off during use.
Another issue is when brushes don’t spin or there is suction loss on attachments. This often happens because of clogged airways or worn-out parts within the attachments, which limits their cleaning effectiveness.
How to Ensure Attachments Fit and Function Well
Regularly cleaning connector joints helps prevent dirt buildup that causes tightness or poor connections. Use a soft cloth or compressed air to clear dust from these areas.
It’s also important to check for wear or damage on attachments, especially on brushes and seals. Replacing worn parts promptly ensures that your vacuum accessories maintain proper suction and performance.
Quick Troubleshooting Tips List
- Inspect connectors for debris and clean regularly
- Ensure attachments click or lock securely into place
- Check brushes for hair or debris buildup and clean thoroughly
- Replace damaged seals or worn components
- Test suction on attachments before use to identify blockages early
Keeping Your Vacuum Cleaner in Top Shape
Dealing with common vacuum cleaner problems doesn’t have to be overwhelming. By understanding the typical issues—from power failures to loss of suction—and knowing how to troubleshoot and maintain your vacuum, you can extend its lifespan and ensure it works efficiently every time. Regular care, timely repairs, and simple preventive steps will keep your vacuum cleaner running smoothly, making your cleaning routine easier and more effective.


