

TV wall mount installation is a smart way to enhance your living space, improve your viewing experience, and keep your home safe and organized. Whether you’re upgrading your setup or mounting a new TV, knowing how to install a TV wall mount correctly is essential for a secure and hassle-free setup. In this guide, you’ll find easy-to-follow, step-by-step tips that cover everything from selecting the right tools to positioning your TV at the perfect height—ensuring your installation is both safe and stylish.
Why Wall Mount Your TV? Benefits Beyond Just Saving Space
Choosing to wall mount your TV offers more than just freeing up floor space. It transforms your living area by improving comfort, safety, and the overall look of your room. Understanding these benefits can help you decide if this setup is right for your home.
Maximize Your Living Space
When you mount your TV on the wall, you instantly free up valuable floor or furniture space. This is especially useful in smaller rooms or apartments where every square foot counts. Without a bulky stand, you can use the extra space for additional seating, storage, or décor. Wall mounting also makes cleaning easier, as there are fewer obstacles to navigate around.
Improve Viewing Comfort and Safety
Mounting your TV at the correct height and angle can greatly enhance your viewing experience. With adjustable mounts, you can tilt or swivel your screen to reduce glare and achieve the perfect line of sight, which helps prevent neck and eye strain. Additionally, wall mounting secures your TV out of reach of children and pets, reducing the risk of accidental tipping or damage.
Create a Clean, Modern Look
A wall-mounted TV offers a sleek and contemporary appearance that can elevate your room’s style. Without the clutter of cables and bulky stands, your entertainment area looks tidy and organized. It’s easier to integrate your TV into the overall design, making it a seamless part of your living space rather than just a piece of equipment.
| Benefit | Wall Mount | TV Stand |
|---|---|---|
| Space Saving | ✔️ | ❌ |
| Viewing Angle Control | ✔️ (tilt/swivel options) | Limited |
| Safety (Kids/Pets) | ✔️ | Risk of tipping |
| Cable Management | Easier with built-in options | Often messy |
| Aesthetic Appeal | Sleek, modern | Bulky or cluttered |
Essential Tools and Materials You’ll Need
Before you start your TV wall mount installation, having the right tools and materials ready is key to making the process smooth and safe. Being well-prepared will help you avoid common mistakes and ensure your TV is securely mounted.
Must-Have Tools for a Smooth Installation
To begin, gather essential tools such as a drill for creating holes, a stud finder to locate the sturdy parts of your wall, a level to keep your TV straight, a screwdriver to tighten screws, a tape measure for precise measurements, and a pencil to mark your mounting spots. Each tool plays a critical role in the success of your setup.
Selecting the Right Wall Mount Kit
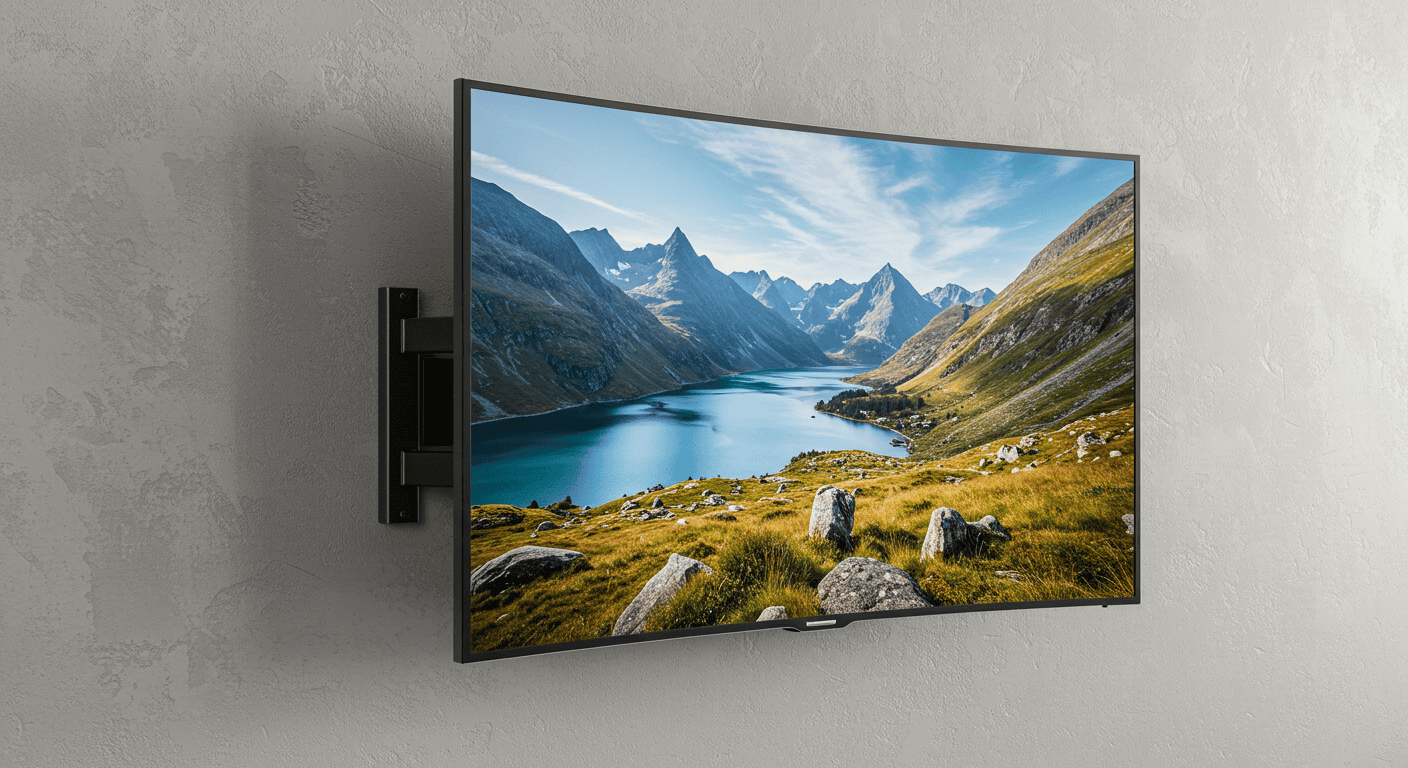
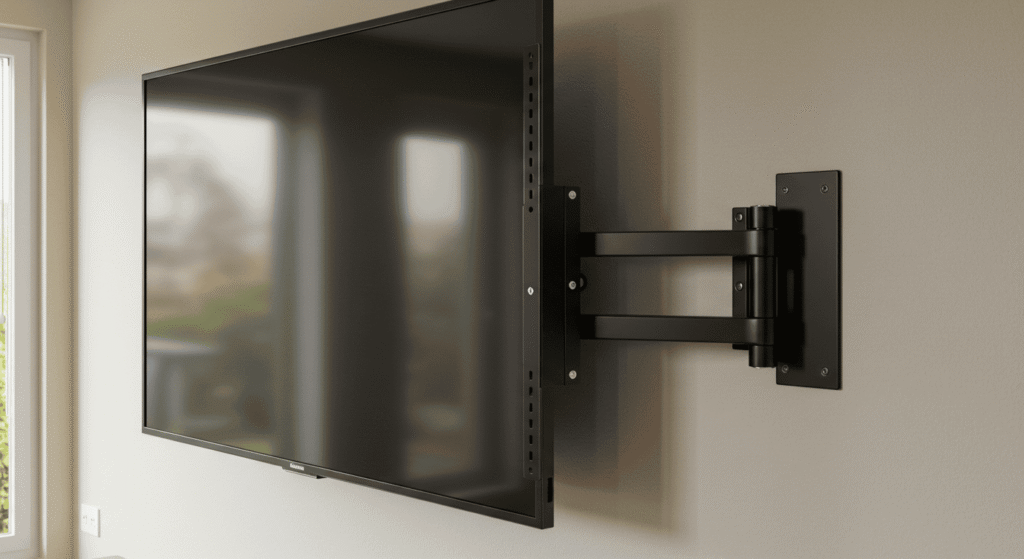
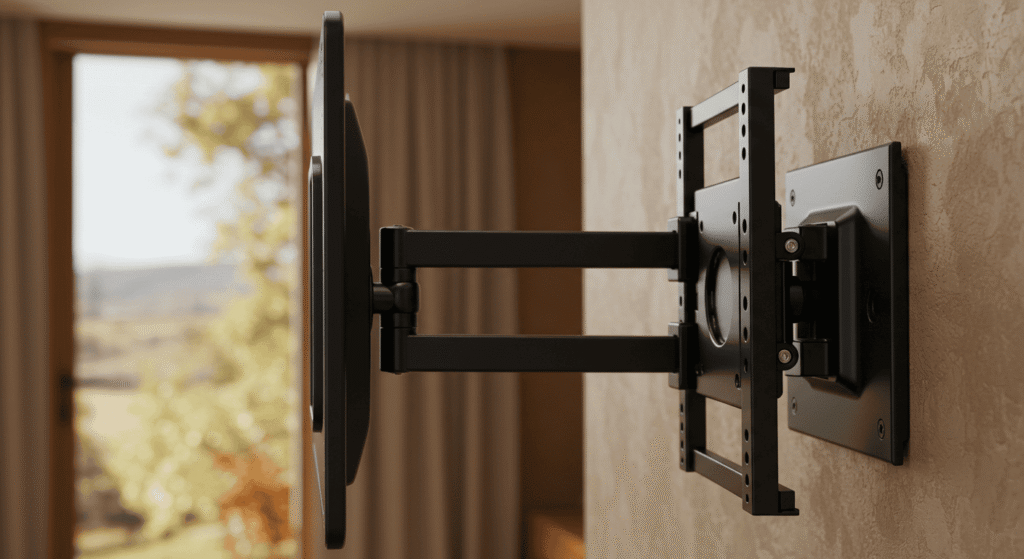
Choosing the appropriate wall mount kit depends on your needs and room layout. There are three main types: fixed mounts hold the TV flush against the wall, tilting mounts allow you to angle the screen vertically, and full-motion mounts give you the flexibility to swivel and extend the TV for the best viewing angle.
Safety Gear and Preparation Tips
Don’t forget safety gear such as gloves and eye protection to keep yourself safe during installation. Preparing your workspace by clearing the area and having everything at hand will make the process more efficient and less stressful.
| Tool/Material | Purpose | Tips |
|---|---|---|
| Stud Finder | Locate studs behind drywall | Double-check to avoid mistakes |
| Level | Ensure TV is perfectly horizontal | Use a bubble level for accuracy |
| Drill | Create holes for anchors | Use appropriate drill bits |
| Screwdriver | Tighten screws securely | Manual or electric works |
| Tape Measure | Measure placement height | Measure twice, drill once |
Understanding Your Wall: Studs, Drywall, and Anchors
Properly mounting your TV wall mount starts with understanding the structure of your wall. Knowing where studs are, how drywall behaves, and which anchors to use ensures a secure and safe installation that holds your TV firmly in place.
Why Studs Matter for TV Mounting
Studs are the vertical wooden or metal beams behind your drywall that provide the necessary support for heavy objects like your TV. Mounting directly into studs guarantees strength and stability, preventing your TV from falling or damaging your wall.
When and How to Use Wall Anchors
If you cannot mount your TV directly onto studs, wall anchors can help distribute the weight and secure the mount. However, anchors are generally suitable only for lighter TVs and require careful selection and installation to ensure safety.
Mounting on Different Wall Types (Drywall, Masonry)
Different wall materials require different mounting methods. Drywall, masonry, and concrete walls each have their own challenges and recommended anchor types to ensure your TV is securely fastened without damaging the wall.
| Wall Type | Mounting Method | Anchor Type Recommended | Notes |
|---|---|---|---|
| Drywall | Mount to studs | Lag bolts | Most secure method |
| Drywall | No studs (not recommended) | Toggle bolts, molly bolts | Use only for lightweight TVs |
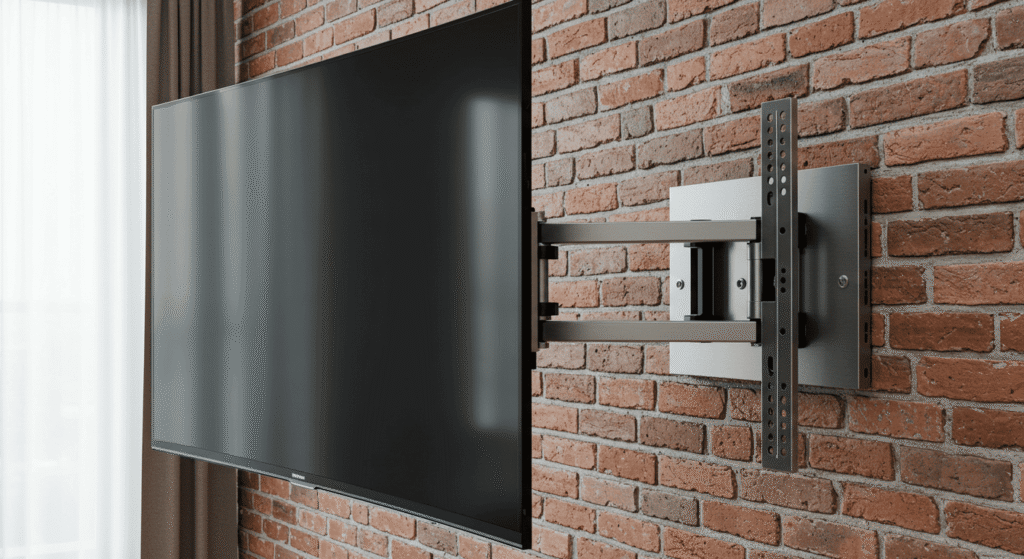
| Masonry | Drill with masonry bit | Sleeve anchors, wedge anchors | Requires special drill bits |
| Concrete | Hammer drill + anchors | Concrete anchors | Very secure |
Finding the Perfect Height and Position for Your TV
Proper placement is key to getting the most out of your TV wall mount. Setting your TV at the right height and position not only improves comfort but also reduces eye strain and glare, making your viewing experience more enjoyable.
How to Measure Optimal Viewing Height
The ideal height for your TV is generally where the center of the screen is at eye level when you are seated. This helps reduce neck strain and allows for a natural, comfortable viewing posture. Measuring this height carefully before installation ensures your TV is positioned perfectly.
Consider Room Lighting and Seating Arrangement
Your TV’s position should also account for the room’s lighting conditions and where viewers will be seated. Position the screen to avoid direct sunlight or bright lights hitting the display, and make sure everyone in the room has a good view without needing to adjust their position awkwardly.
Avoiding Glare and Reflections
Glare from windows or lights can severely affect picture quality. When choosing your TV location, try to place it perpendicular to windows or use curtains and blinds to control natural light. Matte screen protectors can also help reduce reflections.
| Viewing Distance (ft) | Recommended TV Center Height (inches from floor) |
|---|---|
| 4 – 6 | 24 – 30 |
| 6 – 8 | 30 – 36 |
| 8 – 10 | 36 – 42 |
| 10+ | 42+ |
This simple table helps you determine the best height for your TV center based on how far you’ll be sitting, ensuring a comfortable and immersive viewing experience.
Step-by-Step TV Wall Mount Installation Guide
Installing your TV wall mount can seem daunting, but breaking it down into clear steps makes the process manageable and ensures a safe, secure setup. Follow this guide carefully to mount your TV like a pro.
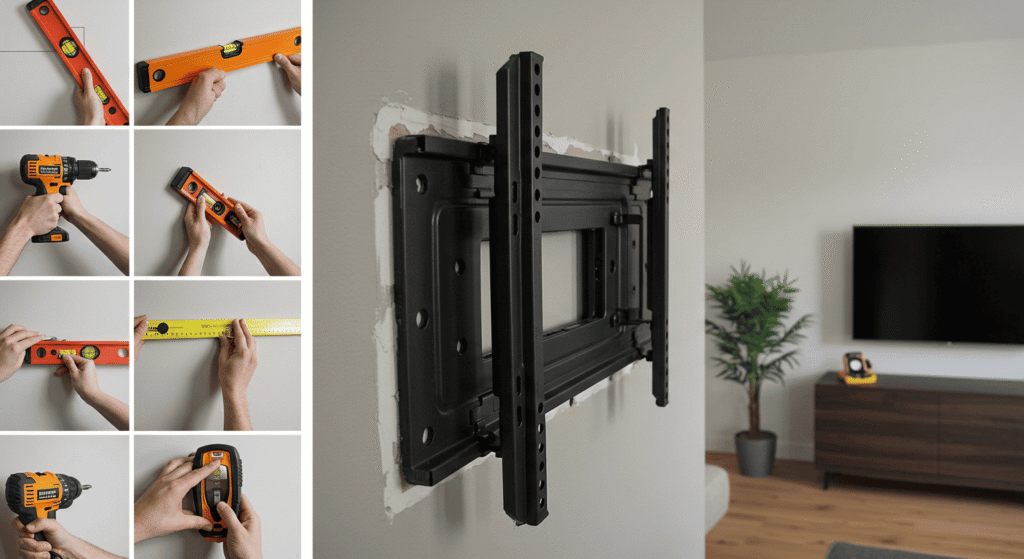
Step 1: Locate and Mark Studs
Using your stud finder, locate the studs in your wall where you will attach the mounting bracket. Mark their centers clearly with a pencil. Double-check the placement to ensure you’re drilling into solid support.
Step 2: Attach the Mounting Bracket to the Wall
Hold the wall bracket against the marked studs and use your level to ensure it is perfectly horizontal. Drill pilot holes and then secure the bracket firmly with lag bolts or screws suitable for your wall type.
Step 3: Attach the Bracket to Your TV
Locate the mounting holes on the back of your TV and attach the corresponding bracket using the screws provided with your wall mount kit. Make sure the bracket is tightly secured but avoid over-tightening.
Step 4: Hang the TV and Secure It
With help, lift your TV and hook it onto the wall-mounted bracket. Most mounts have locking screws or safety clips—make sure to engage these to keep your TV securely in place.
Step 5: Level and Adjust Your TV
Once mounted, use your level to confirm the TV is straight. Adjust tilt or swivel features as needed for the best viewing angle. Double-check that all screws are tight and the TV feels stable.
| Common Mistake | Impact | How to Avoid |
|---|---|---|
| Not locating studs correctly | Mount could fail, TV may fall | Use stud finder, double-check |
| Mounting too high or low | Uncomfortable viewing angle | Measure seating height carefully |
| Using wrong anchors | Wall damage or loose mount | Use anchors suitable for wall type |
| Over-tightening screws | Damage to wall or mount | Tighten until snug, not forced |
Cable Management Tips for a Clean Look
A well-installed TV wall mount is only part of the equation—managing your cables neatly completes the setup. Good cable management not only improves aesthetics but also prevents accidents and makes future adjustments easier.
Concealing Wires Behind the Wall
For the cleanest and most professional look, consider running your cables inside the wall. This method hides all wires completely, but it usually requires some drywall cutting and electrical knowledge or professional help.
Using Cable Covers and Raceways
Cable raceways are plastic or metal channels that run along your wall, hiding cables in a tidy pathway. They are easier to install than in-wall wiring and can be painted to match your wall, though they may still be slightly visible.
Organizing Power and HDMI Cables
Keep power cords and HDMI cables separate to reduce interference and tangling. Using cable ties or Velcro straps can help bundle cables neatly, making it easier to identify and manage them later.
| Cable Management Method | Pros | Cons |
|---|---|---|
| In-wall wiring | Cleanest look | Requires drywall work |
| Cable raceways | Easy to install | May be visible |
| Cord covers | Affordable and flexible | Needs color matching |
| Wireless HDMI transmitters | No cables needed | Can be expensive, slight latency |
Ensuring Safety and Stability After Installation
Securing your TV wall mount properly is essential not only for protecting your TV but also for the safety of everyone around. Taking the time to verify the installation and maintain it ensures long-term peace of mind.
Checking the Mount’s Weight Capacity
Before installation, always confirm that your wall mount is rated to support your TV’s weight. Overloading the mount can lead to failure and possible damage or injury. Refer to the mount’s specifications to ensure compatibility.
How to Test the Mount’s Stability
After mounting, gently test the stability by applying slight pressure in different directions. The TV should remain firmly in place without any wobbling or shifting. If it moves, reassess the mounting points and tighten screws as needed.
Maintenance Tips for Long-Term Security
Periodically inspect the mount and screws for any loosening or wear, especially after moving the TV or adjusting its angle. Regular cleaning around the mount area helps prevent dust buildup that can affect hardware performance.
| Safety Check | Yes / No | Notes |
|---|---|---|
| Is the mount secured to studs? | ||
| Are all screws tightened properly? | ||
| Does the TV feel stable on the mount? | ||
| Are cables secured and out of reach? |
Troubleshooting Common Installation Problems
Even with careful planning, you might encounter some challenges while installing your TV wall mount. This section helps you quickly identify and fix common issues to keep your setup safe and looking great.
What to Do If Your TV Isn’t Level
If your TV appears crooked after mounting, it’s usually because the bracket wasn’t perfectly aligned. Use a bubble level to adjust the mount or the TV itself until it sits straight. Small tweaks can make a big difference in viewing comfort.
Fixing Loose Mounts or Screws
A loose mount can be dangerous. Check that all screws are properly anchored into studs and fully tightened. If screws don’t hold well, you might need to reposition the mount or use stronger anchors designed for your wall type.
Dealing with Wall Damage During Installation
Accidental wall damage happens, especially if the wrong anchors or drilling techniques were used. Patch any holes or cracks with appropriate filler and repaint if needed. To prevent future damage, always use anchors suited to your wall material and avoid over-drilling.
| Problem | Possible Cause | Solution |
|---|---|---|
| TV not level | Mount bracket misaligned | Re-level using a bubble level |
| Mount feels loose | Screws not secured to studs | Tighten screws or relocate mount |
| Wall cracked or damaged | Over-drilling or wrong anchors | Patch wall, use proper anchors |
Mastering Your TV Wall Mount Installation for a Secure and Stylish Setup
Installing a TV wall mount is a smart way to enhance your living space by saving room, improving viewing comfort, and creating a sleek, modern look. By following the right steps—from choosing the proper tools and understanding your wall type to mounting safely and managing cables—you can achieve a secure and professional setup. Remember to double-check your work for stability and safety to enjoy your mounted TV worry-free for years to come. With careful planning and attention to detail, your TV wall mount installation will be both functional and visually appealing.