


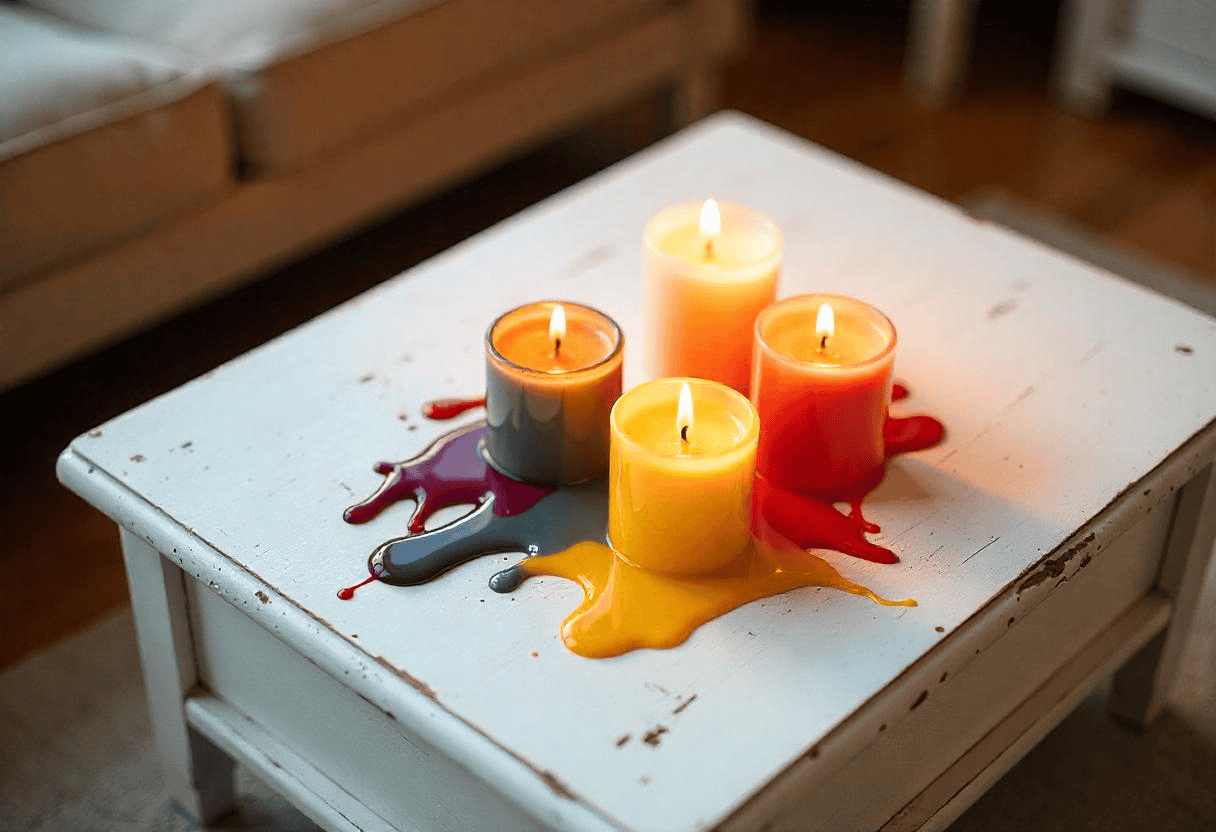
How to remove candle wax from furniture is a question many of us face after a relaxing evening with candles goes a little too far. Whether it’s a hard-to-clean wax drip on your wooden table or a stubborn stain on upholstery, knowing the right techniques can save your furniture from damage and frustration. In this guide, you’ll discover proven tips on how to remove candle wax from furniture quickly, safely, and effectively — using simple tools and household items. Say goodbye to melted candle messes and hello to spotless surfaces, all without harsh chemicals or costly repairs!
Why Removing Candle Wax from Furniture Matters
Knowing how to remove candle wax from furniture is more than just a convenience — it’s essential to preserving the beauty and integrity of your pieces. Candle wax might seem harmless, but when left unattended, it can cause lasting damage. Acting promptly and using the right methods can prevent stains, warping, and finish deterioration, saving you time and money in the long run. Let’s explore why it’s so important to address candle wax spills quickly and correctly.
The Risks of Leaving Wax on Your Furniture
Leaving wax on furniture can lead to several issues. As the wax hardens, it can become difficult to remove without scratching or damaging the surface. Over time, wax may seep into tiny cracks or pores in wood and fabric, causing stains that are nearly impossible to reverse. Additionally, if exposed to heat, the wax can melt and spread, creating a bigger mess. Ignoring candle wax spills not only affects appearance but can also compromise the furniture’s finish and structural integrity.
How Wax Affects Different Furniture Surfaces
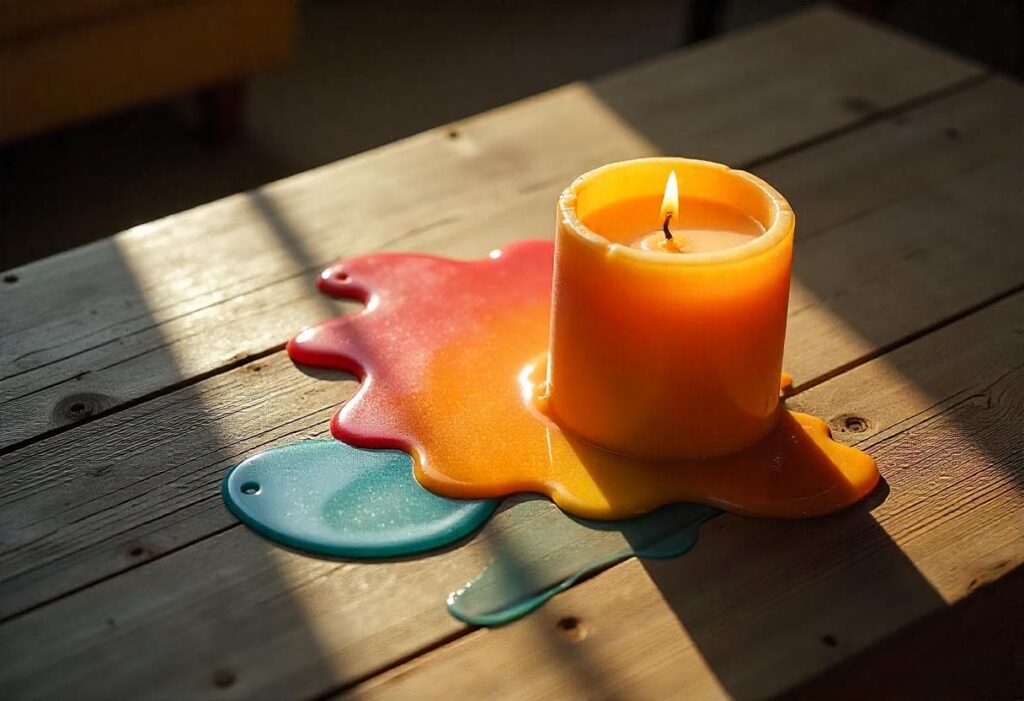
The impact of candle wax varies depending on the type of furniture. For instance, wax on wood can penetrate the grain, leaving stains or causing the finish to peel. On leather, wax can clog pores and dry out the material, making it brittle. Upholstered furniture may trap wax deep in the fibers, which complicates removal and increases the risk of permanent discoloration. Even glass surfaces can be tricky, as hardened wax may scratch if scraped improperly. Understanding these differences helps you choose the safest and most effective cleaning method.
When DIY Methods Are Enough vs. When to Call a Professional
Many candle wax spills can be handled at home using simple, safe techniques. If the wax layer is thin and recent, DIY methods like freezing and gentle scraping or applying heat carefully often work well. However, if the wax has deeply penetrated delicate fabrics, antique finishes, or expensive leather, professional cleaning might be the best option. Attempting aggressive removal on valuable or fragile furniture could cause more harm than good. Knowing when to stop and seek expert help is just as important as knowing how to remove candle wax yourself.
| Furniture Surface | Wax Effect | Removal Difficulty | Potential Damage |
|---|---|---|---|
| Wood | Wax can seep into grain causing stains and finish damage | Moderate | Finish peeling, discoloration |
| Leather | Wax clogs pores, dries out material | High | Cracking, brittleness |
| Upholstery | Wax trapped in fibers, causing deep stains | High | Discoloration, fabric damage |
| Glass | Wax hardens and sticks firmly | Low | Scratches if scraped improperly |
Preparing Your Workspace: What You Need Before You Start

Before diving into how to remove candle wax from furniture, setting up your workspace properly is key. Having the right tools and materials on hand, ensuring safety for both your furniture and yourself, and creating a comfortable cleaning area will make the process smoother and more efficient. Let’s break down what you need to get started.
Essential Tools and Materials at Home
You don’t need fancy products to tackle candle wax spills. Many common household items are perfect for the job. From simple ice cubes to soft cloths, the right materials can help you remove wax without damaging your furniture’s finish. Gathering everything beforehand ensures you won’t have to interrupt the cleaning process once you begin.
Safety Tips to Protect Your Furniture and Yourself
Some wax removal methods involve heat or scraping, which if done improperly, can harm your furniture or cause injury. Protect delicate surfaces by using soft tools and avoid harsh chemicals. Always test any technique on a small hidden area first. Wearing gloves and working in a well-ventilated space can help keep you safe throughout the cleaning.
Setting Up a Comfortable Cleaning Zone
A clutter-free, well-lit area makes the job easier and helps you avoid accidents. Lay down protective coverings on the floor and nearby furniture to catch any falling wax or cleaning residue. Arrange your tools within easy reach and take your time — rushing can lead to mistakes and damage.
Tools and Materials Checklist for Removing Candle Wax from Furniture
| Tool/Material | Purpose | Quick Tip |
|---|---|---|
| Ice cubes or frozen pack | Hardens wax for easy scraping | Use a plastic bag to avoid water damage |
| Plastic scraper or old credit card | Gently lifts hardened wax without scratching | Avoid metal tools that can gouge surfaces |
| Soft microfiber cloth | Cleans residual wax and polish furniture | Use dampened cloth for better results |
| Paper towels | Absorbs melted wax during heat removal | Layer multiple sheets for protection |
| Hair dryer or heat gun | Softens wax for gentle wiping | Keep moving to prevent overheating |
| Iron (with paper towels) | Transfers wax from furniture to towel | Use low heat and test first |
| Mild dish soap or vinegar solution | Cleans leftover residue safely | Avoid harsh chemicals that damage finish |
| Gloves | Protects your hands during cleaning | Prevents skin irritation |
| Protective covering (old towel or plastic sheet) | Protects surrounding areas from mess | Essential for tidy workspace |
The Ice Method: Freeze and Scrape
One of the simplest and safest ways to remove candle wax from furniture is the ice method. This technique relies on freezing the wax to harden it, making it much easier to lift away without smearing or damaging the surface. Whether you’re dealing with a recent spill or dried wax, this method is often the best first step before trying more involved solutions.
How Freezing Helps Harden Candle Wax
Candle wax softens and melts easily with heat, but when chilled, it becomes brittle and solid. Applying ice to wax causes it to contract and lose its sticky, gooey texture. This transformation allows the wax to crack and break apart when gently scraped, minimizing the risk of smearing or pushing the wax deeper into the furniture surface. The cold also slows any potential melting that could spread wax stains.
Step-by-Step Guide to Using Ice Cubes for Wax Removal
- Prepare your materials: Gather ice cubes, a plastic bag, a plastic scraper or an old credit card, and a soft cloth.
- Apply ice to the wax: Place ice cubes inside a sealed plastic bag to prevent water damage, then hold it against the wax for 10–15 minutes until the wax hardens.
- Scrape gently: Using the plastic scraper or credit card, carefully lift the hardened wax from the furniture surface. Work slowly to avoid scratching or denting.
- Clean the residue: Once most wax is removed, use a damp microfiber cloth with a mild cleaning solution to wipe away any leftover residue.
- Dry and polish: Finish by drying the area thoroughly and applying furniture polish if needed to restore shine.
What to Do If Wax is Stubborn or Thick
Sometimes wax forms a thick layer or gets stuck in grooves and textures, making removal more challenging. If the ice method alone isn’t enough, try these tips:
- Reapply the ice pack for a longer period to harden deeper layers of wax.
- Use a combination of ice followed by gentle heat (such as a hair dryer on low) to soften the wax just enough to lift it without melting it excessively.
- For fabric or upholstery, use a vacuum cleaner attachment to remove loosened wax flakes after freezing.
- Avoid using sharp metal tools to prevent damage — patience and gentle scraping yield the best results.
Heat Techniques: Melting Wax the Right Way

While freezing wax is effective, sometimes gently melting candle wax with heat can make removal easier—especially when the wax layer is thick or stubborn. Using controlled heat softens the wax just enough so it can be absorbed or wiped away without spreading or damaging your furniture. Knowing how to apply heat safely is crucial to avoid burns or surface damage.
Using a Hair Dryer or Heat Gun Safely
A hair dryer or heat gun on a low setting is an excellent tool for melting wax gradually. Hold the device several inches away from the wax to warm it evenly. Avoid focusing heat on one spot for too long, as excessive heat can warp wood finishes or damage delicate upholstery. Once softened, blot the wax immediately with a paper towel or cloth—never rub, as this may smear the wax and worsen the stain.
The Iron and Paper Towel Trick Explained
This classic method uses heat combined with absorbent paper towels to lift wax off flat furniture surfaces effectively:
- Place several layers of plain white paper towels or brown paper bags over the wax spot.
- Set your iron to a low or medium heat (no steam).
- Gently press the warm iron onto the paper towels for a few seconds. The heat melts the wax, which is then absorbed by the paper.
- Move the paper towels frequently to a clean section to avoid redistributing wax.
- Repeat until no more wax transfers to the paper towels.
This trick is ideal for wood, laminate, or glass surfaces but should be avoided on delicate fabrics or finishes.
Tips for Preventing Furniture Damage with Heat
- Always test heat on a hidden area before proceeding.
- Use the lowest effective temperature setting.
- Keep the iron or heat source moving to prevent scorching.
- Avoid steam settings that may warp wood or soak upholstery.
- Protect the furniture by using multiple layers of paper towels.
- Stop immediately if the surface becomes too hot or shows signs of damage.
Iron and Paper Towel Method
Title: How to Remove Candle Wax Using the Iron and Paper Towel Method
Step 1: Place a stack of paper towels over the wax spill.
Step 2: Set the iron to low/medium heat without steam.
Step 3: Press the iron gently onto the paper towels for 5-10 seconds.
Step 4: Lift the paper towels to check wax absorption.
Step 5: Replace paper towels with clean ones and repeat until wax is gone.
Tip: Always keep the iron moving slightly to avoid overheating one spot.
Gentle Cleaners and Natural Solutions After Wax Removal
Once you’ve successfully removed the bulk of the wax, it’s important to address any leftover residue or stains to fully restore your furniture’s appearance. Using gentle cleaners and natural solutions ensures your pieces stay safe from harsh chemicals while effectively removing wax traces. This step not only cleans but also refreshes the surface to its original shine.
How to Remove Residual Wax and Stains Naturally
Residual wax can leave behind sticky or greasy patches that attract dust and dirt. Natural ingredients like vinegar, lemon juice, and baking soda are excellent for breaking down these residues without damaging your furniture’s finish. For example, a diluted vinegar solution gently dissolves wax build-up, while lemon juice acts as a mild natural solvent and deodorizer. These options are perfect for sensitive surfaces like wood and leather.
Best DIY Furniture Cleaning Mixes
Here are some effective and easy-to-make cleaning mixtures you can try at home:
- Vinegar and Water Solution: Mix equal parts white vinegar and water in a spray bottle. Lightly mist the affected area and wipe clean with a soft cloth.
- Baking Soda Paste: Combine baking soda with a few drops of water to form a paste. Apply gently on stains, let sit for 10 minutes, then wipe off with a damp cloth.
- Lemon Juice and Olive Oil Polish: Mix 2 tablespoons of lemon juice with 4 tablespoons of olive oil. Apply with a soft cloth in circular motions to clean and add shine to wood surfaces.
These mixes are safe, economical, and eco-friendly alternatives to commercial cleaners.
How to Restore Shine and Finish Post-Cleaning
After cleaning, restoring your furniture’s shine brings back its natural beauty. For wood, use a soft cloth to buff the surface gently. Applying a small amount of natural oil—like olive or jojoba oil—can rejuvenate the finish and protect the wood from drying out. For leather, use a damp cloth followed by a light conditioning treatment to maintain suppleness. Regular polishing with these natural methods keeps your furniture looking fresh long after candle wax removal.
Special Considerations for Different Furniture Types
Not all furniture reacts the same way to wax removal techniques. Understanding how to remove candle wax from furniture depending on the material helps you protect your valuable pieces from accidental damage. Each surface requires a tailored approach to avoid scratches, stains, or drying out.
Wood Furniture: Avoiding Scratches and Water Damage
Wood furniture demands gentle handling. Avoid metal scrapers or harsh chemicals that can scratch or strip the finish. When using ice or heat methods, protect the wood by placing a barrier such as a soft cloth or paper towels between the tool and surface. Always dry the area thoroughly afterward to prevent water damage, which can cause warping or discoloration. Using natural oils to restore moisture post-cleaning helps maintain the wood’s luster and resilience.
Upholstery and Fabric: Removing Wax Without Staining
Fabric and upholstery are porous, making them prone to absorbing wax and stains. Start with the ice method to harden wax, then gently lift flakes with a dull edge or your fingers. Avoid rubbing, which can embed wax deeper into fibers. For residual stains, use mild soap mixed with water, blotting carefully rather than scrubbing. Using a vacuum cleaner with a brush attachment after freezing helps remove loosened wax particles without damaging delicate textiles.
Leather and Faux Leather: Cleaning Without Drying Out
Leather surfaces require special care to prevent drying and cracking. Use the ice method first, avoiding heat-based techniques that might damage leather’s finish. After wax removal, clean the area with a damp cloth and mild soap or a natural leather cleaner. Apply a leather conditioner afterward to replenish oils and maintain suppleness. For faux leather, test any cleaning solution on a hidden spot first, as some chemicals can cause discoloration or stiffness.
Common Mistakes to Avoid When Removing Candle Wax
When learning how to remove candle wax from furniture, avoiding common pitfalls can save you time, frustration, and potential damage to your treasured pieces. Even well-meaning attempts can backfire if you’re not careful with your methods or materials. Let’s explore some frequent mistakes and how to steer clear of them.
Why Scraping Too Hard Can Hurt Your Furniture
It’s tempting to scrape stubborn wax off aggressively, but using excessive force can easily scratch, dent, or gouge delicate surfaces. Especially with wood, leather, or polished finishes, harsh scraping leaves permanent marks. Gentle, patient removal using plastic or wooden tools is always safer and more effective in the long run.
The Danger of Using Harsh Chemicals
Strong chemical cleaners may seem like a quick fix for wax residue, but they often contain solvents or abrasives that can strip finishes, discolor fabrics, or dry out leather. Natural and mild solutions are safer and just as effective, especially when paired with proper removal techniques like freezing and gentle heat.
Overheating and Its Consequences
Applying too much heat too quickly—whether with an iron, heat gun, or hair dryer—can cause warping, bubbling, or discoloration. Overheated wood finishes might blister, and leather or vinyl surfaces can dry out or crack. Always use the lowest effective heat setting, keep the heat source moving, and monitor the surface closely.
Do’s and Don’ts Table for Candle Wax Removal
| Do’s | Don’ts |
|---|---|
| Use plastic or wooden scrapers | Use metal or sharp objects |
| Apply ice to harden wax before scraping | Scrape wax while it’s soft or warm |
| Use mild, natural cleaners | Use harsh chemical solvents |
| Test heat methods on hidden areas first | Overheat surfaces with direct, intense heat |
| Work patiently and gently | Rush removal or apply excessive force |
| Protect surfaces with cloth or paper towels | Apply heat directly without protection |
Preventive Tips: How to Avoid Candle Wax Spills on Furniture
Preventing candle wax spills is the best way to keep your furniture looking pristine and avoid the hassle of removal. Understanding how to remove candle wax from furniture is important, but knowing how to prevent those stubborn wax stains in the first place can save you time and frustration. Here are some smart, easy strategies to protect your home.
Best Practices When Using Candles Indoors
To minimize wax spills, always place candles on stable, flat surfaces away from high-traffic areas or pets and children. Trim candle wicks regularly to reduce uneven burning and dripping. Never leave burning candles unattended, and extinguish them carefully to avoid wax splatters. Choosing candles in sturdy holders can also reduce accidents.
Using Protective Covers and Mats
Using protective barriers like silicone mats, decorative trays, or heat-resistant coasters under your candles creates a shield between the wax and your furniture. These covers catch any drips and make cleanup easy without risking your surfaces. Opt for materials that are easy to clean and complement your décor.
Quick Cleanup Tips for Fresh Wax Drips
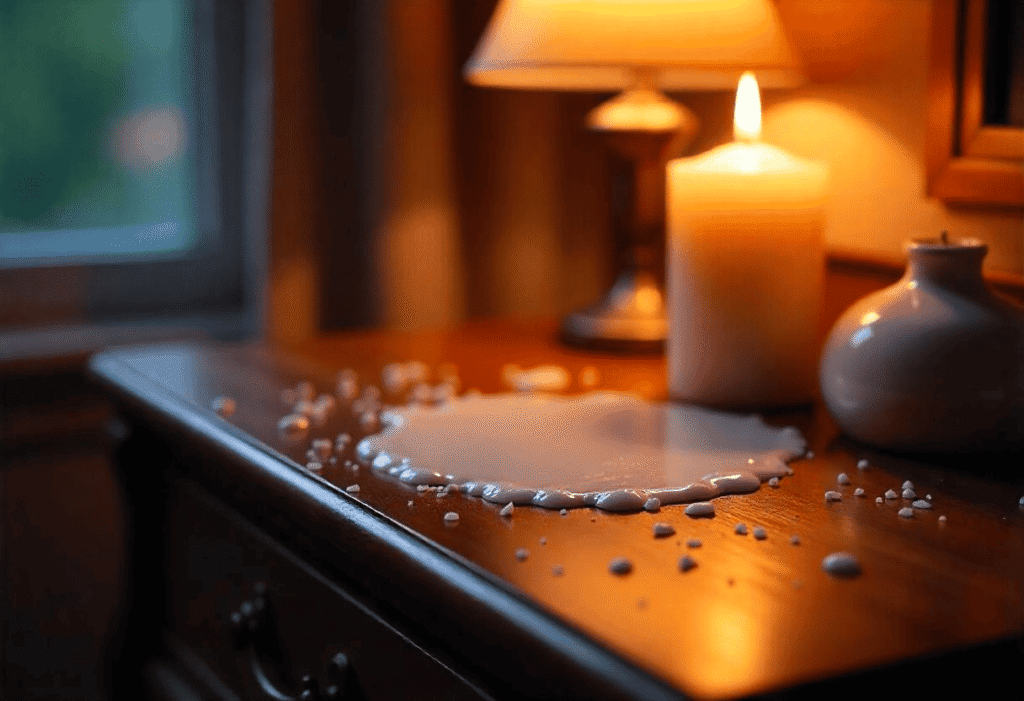
If a wax drip happens, act fast to prevent it from hardening. While still warm, gently blot excess wax with a soft cloth or paper towel. Avoid rubbing, which spreads the wax. Using a damp cloth to wipe the area afterward can prevent sticky residue buildup. Quick response is key to avoiding stubborn stains and preserving your furniture’s finish.
How to Remove Candle Wax from Furniture: Final Thoughts
Mastering how to remove candle wax from furniture doesn’t have to be stressful. With the right tools, gentle techniques, and a bit of patience, you can safely restore your furniture’s beauty without damage. Remember to choose methods that suit your furniture type and always avoid common mistakes like harsh scraping or overheating. And of course, taking preventive steps helps keep your surfaces wax-free and looking great longer. With these tips, you’re well-equipped to handle any candle wax mishap like a pro!