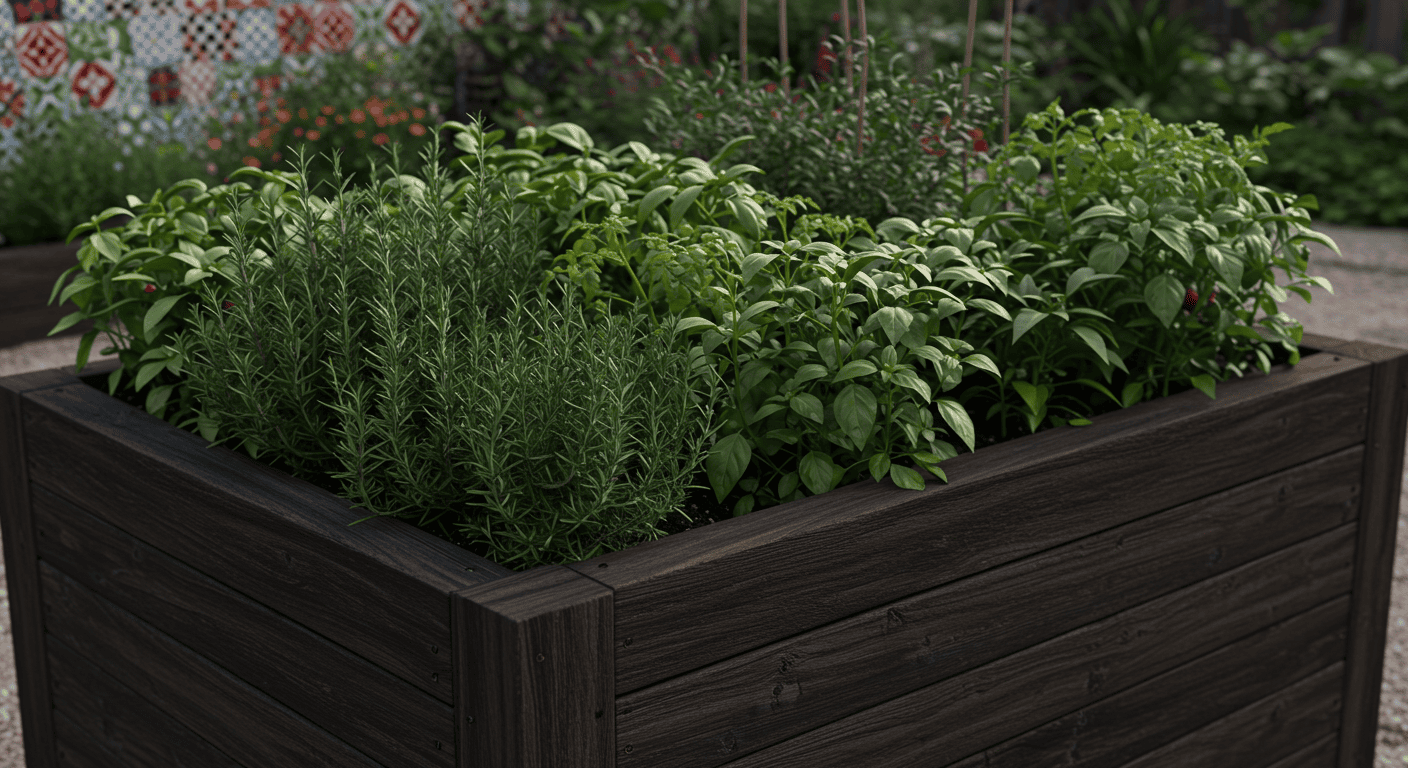
Raised garden bed DIY projects have become a favorite choice for backyard gardeners looking to maximize space, improve soil quality, and grow healthier plants with less hassle. Whether you’re a beginner or a seasoned green thumb, building your own raised garden bed is an easy and rewarding way to transform your outdoor space. In this guide, you’ll discover simple yet creative DIY garden bed plans, practical tips for choosing the best materials, and expert advice on planting and maintenance — all designed to help you create the perfect backyard gardening setup. Get ready to dig in and bring your garden dreams to life!
Why Choose Raised Garden Beds for Your Backyard?
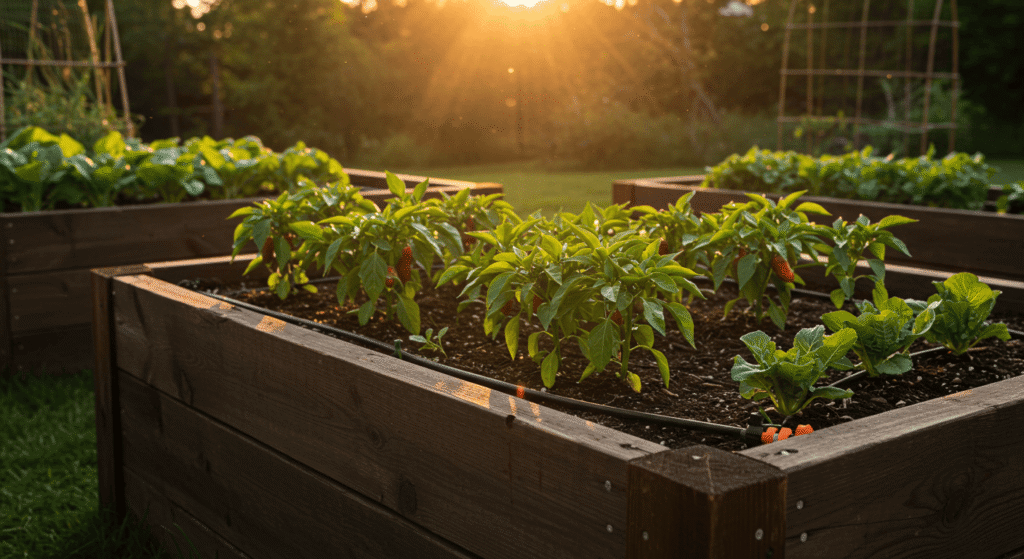
If you’re considering ways to improve your backyard gardening, raised garden bed DIY projects offer numerous advantages that can transform your gardening experience. Raised beds provide a controlled environment that can significantly enhance plant growth, reduce maintenance, and make gardening accessible to everyone, regardless of physical ability. Understanding why raised beds are a smart choice will help you decide if this gardening method fits your needs and space.
Benefits of Raised Bed Gardening
One of the main benefits of raised bed gardening is the improved soil drainage and quality. Unlike traditional in-ground gardens, raised beds allow water to drain efficiently, preventing waterlogging and root rot. Because you control the soil mix, you can tailor it for optimal fertility and texture, promoting healthier and more vigorous plant growth.
Another advantage is easier weed and pest control. Raised beds create a physical barrier that reduces weed invasion and soil-borne pests. Plus, with defined borders, it’s simpler to spot and manage unwanted plants or insects before they become a problem.
Lastly, raised beds offer enhanced accessibility for all ages. Elevated beds reduce the need to bend or kneel excessively, making gardening more comfortable for seniors, people with mobility challenges, and those who prefer less strain on their backs and knees.
Raised Beds vs Traditional Gardening – A Quick Comparison
To help you better understand the differences between raised beds and conventional in-ground gardening, consider the following comparison:
| Feature | Raised Garden Beds | Traditional In-Ground Gardening |
|---|---|---|
| Soil Control | Full control over soil composition | Limited to native soil conditions |
| Drainage | Excellent drainage to prevent waterlogging | Dependent on natural soil drainage |
| Weed Control | Easier to manage and less weed growth | Weeds can be more pervasive |
| Accessibility | Elevated, easier on joints | Requires bending/kneeling |
| Space Efficiency | Can fit into small or awkward spaces | Requires larger, flat areas |
| Initial Setup Effort | Requires upfront building | Minimal initial effort |
| Longevity | Durable but may require maintenance | Natural but soil can degrade over time |
Ideal Backyard Spaces for Raised Garden Beds
Choosing the right location for your raised garden bed is crucial to maximize plant health and yield. Look for an area with ample sunlight — ideally at least six hours of direct sun daily, as most vegetables and herbs thrive in bright conditions. The soil underneath doesn’t need to be perfect, since raised beds allow you to create your own optimal soil mix, but ensure the spot has good drainage to avoid water pooling around the bed.
Also, consider proximity to a water source for easy irrigation and accessibility from your home to simplify maintenance. Avoid places with heavy foot traffic or low-lying areas prone to flooding. Selecting the right spot will help your raised garden bed DIY project flourish and make your gardening efforts more enjoyable.
Planning Your Raised Garden Bed DIY Project
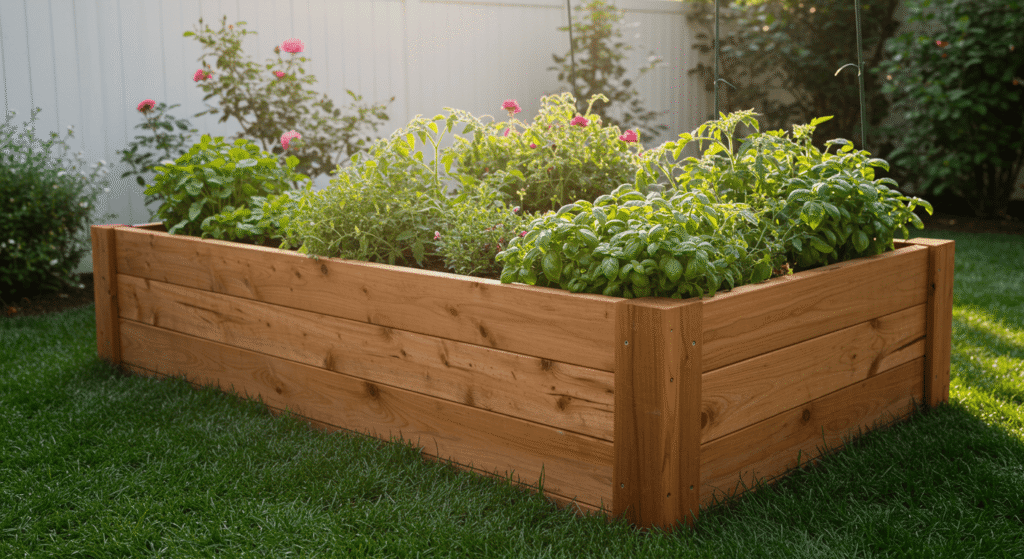
Careful planning is the foundation of a successful raised garden bed DIY project. Taking the time to measure your space, select the right location, and explore creative designs will save you effort and ensure your garden thrives. This stage helps you tailor your garden bed to fit both your available space and your gardening goals.
How to Measure and Decide Bed Size
Determining the right size for your raised garden bed depends largely on the space you have and what you want to grow. For small areas, a compact bed measuring around 3 feet by 3 feet works well, especially for herbs and leafy greens. Medium-sized beds, such as 4 by 8 feet, offer more room for a variety of vegetables and are easy to reach from all sides. For larger spaces, beds can be longer or arranged in multiple sections to maximize planting area without overwhelming your yard.
| Garden Type | Recommended Raised Bed Dimensions | Notes |
|---|---|---|
| Herb Garden | 3 ft x 3 ft | Easy access, ideal for small plants |
| Vegetable Garden | 4 ft x 8 ft | Accommodates a variety of crops |
| Large Family Garden | 4 ft x 12 ft or multiple beds | For extensive planting |
Choosing the Perfect Location in Your Backyard
Choosing the ideal spot involves more than just fitting the bed into an empty corner. Your raised bed should receive at least six hours of sunlight daily to support healthy plant growth. Proximity to a water source will make irrigation easier and more efficient. Consider the aesthetics too—placing the bed where it can be admired and accessed comfortably will encourage regular care and enjoyment.
Design Inspiration: Shapes & Layouts Beyond the Rectangle
While rectangular raised beds are common, exploring other shapes can help you make the most of your backyard. Square beds fit neatly into tight spots, while L-shaped designs maximize corner areas. Tiered beds add dimension and are perfect for growing plants with different height needs in a compact footprint. These creative layouts not only optimize space but can also become attractive focal points in your garden.
Best Materials for Building Raised Garden Beds
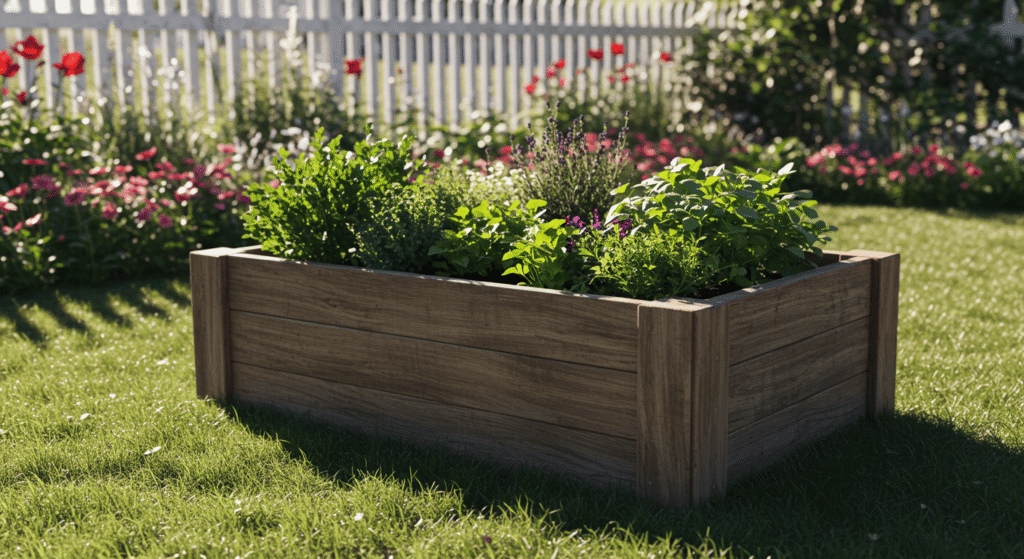
Choosing the right materials is essential for building a durable and safe raised garden bed. The materials you select will affect the longevity, appearance, and environmental impact of your garden bed. Understanding the pros and cons of different options will help you make an informed decision that fits your style and budget.
Wood Types That Last Long and Stay Safe for Plants
Wood is the most popular choice for raised garden beds because it’s natural, easy to work with, and blends well with outdoor spaces. Cedar is highly favored due to its natural resistance to rot and insects, making it a long-lasting option without the need for chemical treatments. Pine is more affordable and widely available, but it may require treatment to protect it from moisture and pests. Untreated pine or other softwoods should be used carefully to avoid chemicals leaching into the soil. Hardwood varieties offer durability but can be heavier and more expensive.
Alternative Materials for Eco-Friendly Builds
For gardeners interested in sustainability, there are excellent alternatives to traditional lumber. Pallets, when cleaned and untreated, can be repurposed into raised beds, offering a cost-effective and recycled solution. Stones and cinder blocks provide sturdy, long-lasting structures that require minimal maintenance and add a unique aesthetic. Other recycled materials, such as reclaimed bricks or metal scraps, can also be creatively used to build raised beds that reduce waste and environmental impact.
Tools You’ll Need to Get Started
Having the right tools on hand makes your raised garden bed DIY project smoother and more enjoyable. Here’s a checklist of essential tools:
- Drill
- Saw (hand or power)
- Level
- Screws or nails
- Shovel or spade
These basic tools will allow you to measure, cut, assemble, and prepare your garden bed efficiently, ensuring a strong and stable structure.
Step-by-Step Guide to Building Your Raised Garden Bed
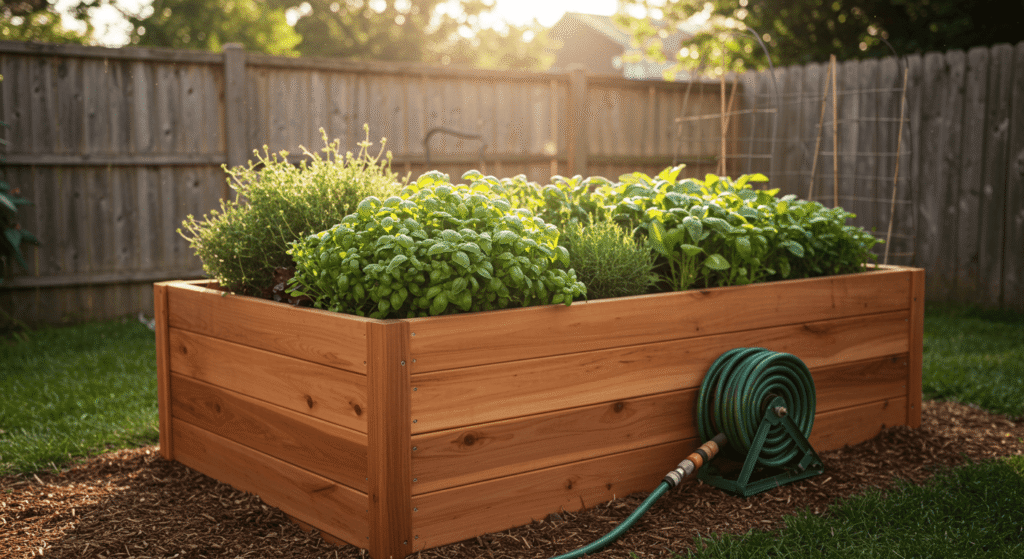
Building your own raised garden bed DIY can be a rewarding project that transforms your backyard. This section breaks down the process into manageable steps, starting from ground preparation to construction and securing your bed for lasting durability.
Preparing the Ground: No-Dig vs Traditional Digging Methods
Before assembling your raised bed, it’s important to prepare the ground properly. There are two common approaches:
- No-Dig Method: This involves placing the raised bed directly on top of the existing lawn or soil without digging. It preserves the soil structure and microorganisms underneath while minimizing effort. The downside is that grass and weeds beneath may slowly invade unless a barrier like landscaping fabric is used.
- Traditional Digging Method: This method requires removing the grass and loosening the soil beneath the bed. It allows better root penetration and improved drainage but takes more time and physical effort.
| Method | Pros | Cons |
|---|---|---|
| No-Dig | Easier and quicker to set up | Possible weed growth underneath |
| Traditional Digging | Better soil aeration and drainage | Labor-intensive and time-consuming |
Construction Process in 5 Easy Steps
- Measure and mark the area where your raised bed will sit.
- Cut your materials (wood or alternative) to size according to your plan.
- Assemble the frame by fastening the sides together with screws or nails.
- Place the frame in your prepared spot and check it is level.
- Add a weed barrier or landscaping fabric at the bottom (optional), then fill with your soil mix.
Including clear photos or simple sketches for each step will help you visualize the process and ensure accuracy.
Tips for Securing and Reinforcing Your Bed
To keep your raised garden bed sturdy over time, consider these reinforcement ideas:
- Use corner brackets or metal braces to strengthen joints.
- Add stakes or rebar driven into the ground at corners for extra stability.
- Line the interior with landscaping fabric to protect wood from moisture and soil contact.
- Avoid overfilling the bed with heavy soil to reduce pressure on the sides.
These tips enhance durability without adding unnecessary complexity, making your garden bed both strong and easy to maintain.
Filling Your Raised Bed: Soil Mix and Planting Tips
The success of your raised garden bed DIY depends largely on the soil you use. Proper soil composition and layering provide the nutrients and drainage plants need to flourish. This section covers the best soil ingredients, how to layer them effectively, and which plants grow best in raised beds.
Ideal Soil Composition for Raised Beds
Raised beds allow you to customize soil for optimal growth. A balanced mix improves moisture retention, drainage, and nutrient availability. Below is a comparison of common soil ingredients used in raised beds:
| Ingredient | Purpose | Characteristics |
|---|---|---|
| Compost | Adds organic matter and nutrients | Improves fertility and soil structure |
| Peat Moss | Retains moisture | Lightweight, slightly acidic |
| Vermiculite | Improves aeration and drainage | Helps retain water and nutrients |
| Topsoil | Base soil | Provides bulk and mineral content |
| Perlite | Enhances drainage and aeration | Prevents soil compaction |
A typical soil mix might combine equal parts compost, peat moss, and topsoil, with smaller amounts of vermiculite or perlite to boost drainage and aeration.
Layering for Drainage and Nutrition
Proper layering ensures excess water drains away while retaining nutrients for roots. A simple layering method includes:
- Bottom layer: 2–3 inches of coarse gravel or small stones for drainage.
- Middle layer: A layer of landscaping fabric to separate gravel from soil and prevent mixing.
- Top layer: Your prepared soil mix (compost, peat moss, topsoil, etc.).
- Surface layer: Mulch to help retain moisture and suppress weeds.
A visual guide or diagram here would help illustrate these layers clearly for readers.
Selecting Plants That Thrive in Raised Beds
Raised beds create an ideal environment for many vegetables and herbs, especially those that benefit from well-drained, nutrient-rich soil. Beginners can start with easy-to-grow plants such as:
- Leafy greens: lettuce, spinach, kale
- Herbs: basil, parsley, cilantro
- Root vegetables: carrots, radishes, beets
- Compact vegetables: cherry tomatoes, peppers, bush beans
These plants generally require less maintenance and provide a rewarding harvest, making them perfect for those new to raised bed gardening.
Watering and Maintaining Your Raised Garden Bed
Proper watering and maintenance are key to a thriving raised garden bed DIY. With the right irrigation methods, mulch, and seasonal care, you can keep your plants healthy while making your gardening routine easier and more efficient.
Efficient Irrigation Options for DIYers
Watering raised beds can be simple and water-wise with a few effective methods. Drip irrigation systems deliver water slowly and directly to the plant roots, reducing waste and preventing foliage diseases caused by excess moisture. Soaker hoses are another low-cost option that evenly distribute water along your bed’s length, perfect for row plantings.
For smaller beds or beginner gardeners, manual watering with a watering can or hose works well if done consistently and carefully, aiming for deep watering to encourage strong roots rather than frequent shallow watering.
Mulching and Weed Control Tricks
Applying mulch on the soil surface is a smart way to conserve moisture, regulate soil temperature, and reduce weeds. Organic mulches like straw, shredded leaves, or bark break down over time, adding nutrients back into the soil. Mulching helps you water less often and keeps the garden looking tidy.
Mulch also acts as a barrier that blocks sunlight from reaching weed seeds, preventing their growth and saving you time on weeding.
Seasonal Care and Crop Rotation Tips
Maintaining your raised garden bed throughout the year is essential for long-term productivity. In cooler months, clear out spent plants and add compost or cover crops to enrich the soil. During planting seasons, rotate crops by changing the types of vegetables or herbs you grow in each bed section to reduce pest buildup and prevent soil nutrient depletion.
Regularly inspect your plants for signs of pests or disease and address issues early. These seasonal habits keep your raised beds healthy and ready to produce year after year.
Creative Raised Garden Bed DIY Projects to Try
If you want to take your raised garden bed DIY to the next level, exploring creative designs can add both function and fun to your backyard. These ideas help maximize space, engage the whole family, and make gardening even more enjoyable.
Tiered Raised Beds for Small Backyards
Tiered raised beds are perfect for gardeners working with limited space. By stacking or layering beds vertically, you can increase your planting area without expanding your garden’s footprint. Start by building a sturdy base bed, then add smaller beds on top or along the sides, creating a cascading effect.
A step-by-step guide with illustrations will show how to construct these tiers safely and securely, ensuring proper drainage and easy access for planting and harvesting.
Incorporating Vertical Gardening
Vertical gardening is a fantastic way to make the most of your raised bed area. Adding trellises, cages, or other supports allows climbing plants like beans, peas, cucumbers, and tomatoes to grow upward instead of outward, freeing up soil space for other crops.
Using vertical structures not only optimizes space but also improves air circulation around plants, reducing disease risk and simplifying harvest.
Fun Family Projects: Building with Kids
Building a raised garden bed can be a rewarding family activity that teaches kids about nature and responsibility. Choose simple designs with safe, rounded edges and use non-toxic materials.
Involve children in measuring, assembling, and decorating the beds to keep them engaged. Safety tips include supervising tool use, wearing gloves, and avoiding sharp corners. This hands-on project creates lasting memories and encourages a love of gardening from a young age.
Troubleshooting Common Raised Garden Bed Issues
Even the best raised garden bed DIY projects can face challenges. Knowing how to identify and address common problems quickly will help keep your garden thriving and reduce frustration.
Dealing with Poor Drainage and Soil Compaction
If you notice water pooling on the surface or plants struggling to grow, poor drainage or soil compaction could be the cause. To fix this, loosen the soil regularly with a garden fork or aerator and add coarse materials like perlite or sand to improve drainage. Installing a gravel layer beneath the soil can also help prevent waterlogging. Preventative measures include avoiding overwatering and choosing a well-draining soil mix from the start.
Pest Management Without Chemicals
Controlling pests naturally helps maintain a healthy garden ecosystem. Use companion planting by pairing pest-repellent plants such as marigolds, garlic, or basil alongside your vegetables. Introducing beneficial insects like ladybugs and praying mantises can also reduce harmful pest populations. Physical barriers like row covers or netting provide protection without chemicals, keeping your garden safe and organic.
When to Replace or Repair Your Raised Bed
Raised beds don’t last forever, especially if made from wood exposed to moisture and weather. Signs you may need to repair or replace your bed include rotting wood, warping, loose joints, or structural instability. Regular upkeep such as tightening screws, applying protective coatings, and inspecting for damage can extend your bed’s life. When replacement is necessary, consider eco-friendly materials to build your next garden bed sustainably.
Transform Your Outdoor Space with Raised Garden Bed DIY
Building a raised garden bed DIY is a rewarding way to enhance your backyard’s beauty and productivity. With thoughtful planning, the right materials, and proper care, raised beds can provide healthier plants, easier maintenance, and greater gardening enjoyment for all skill levels. Whether you’re working with limited space or looking for creative gardening solutions, raised garden beds offer a flexible and sustainable option. Start your project today and watch your garden—and your outdoor space—flourish like never before.


