


How to patch a hole in drywall is a common DIY task that many homeowners face at some point. Whether it’s a small nail hole or an unexpected accident, knowing the right techniques can save you time, money, and frustration. In this guide, we’ll walk you through quick and effective drywall repair methods using simple tools and materials like spackle, joint compound, and drywall tape. By the end, you’ll have the confidence to fix holes of any size and restore your walls to a smooth, flawless finish.
Understanding Drywall Damage: Types and Causes
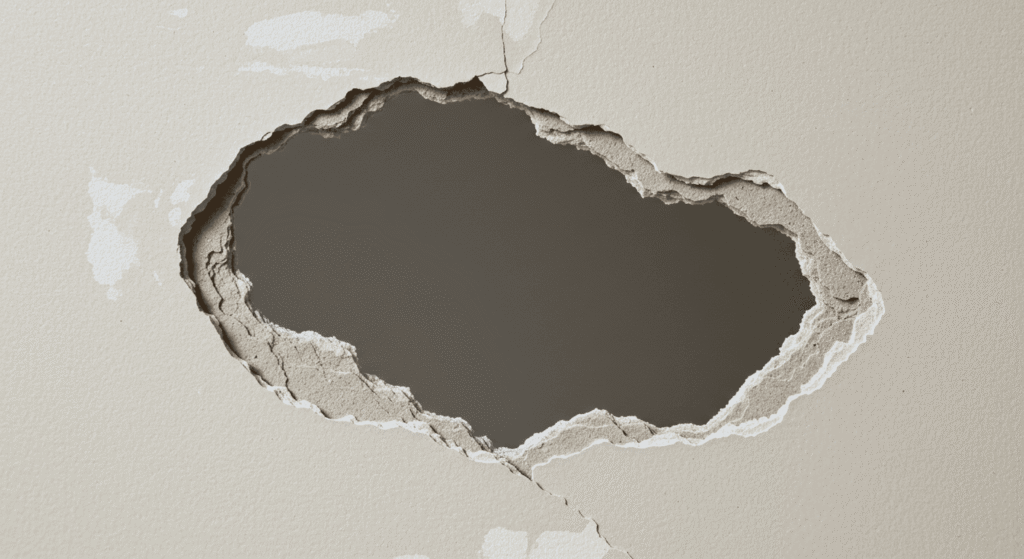
Before diving into how to patch a hole in drywall, it’s important to understand the types of damage you might encounter and what causes them. Recognizing the nature of the hole will help you choose the right repair method and ensure a smooth, long-lasting finish.
Different holes require different approaches, and knowing their origin can also help prevent future damage. Let’s explore the main types of drywall holes and the most common reasons they occur.
Small vs. Large Holes – What’s the Difference?
When it comes to drywall repair, size matters. Small holes—such as those from nails or screws—usually require simple fixes like spackling and light sanding. These repairs can be done quickly with minimal tools. On the other hand, larger holes caused by impacts or accidents often need more extensive work, including patching with a drywall piece and applying multiple layers of joint compound.
The type of hole also affects how you prepare the surface. Small holes may only need a bit of cleaning, whereas large holes often require cutting clean edges and reinforcing the area with drywall tape. Understanding these differences ensures you don’t waste time or materials on unnecessary steps.
Common Causes of Drywall Holes
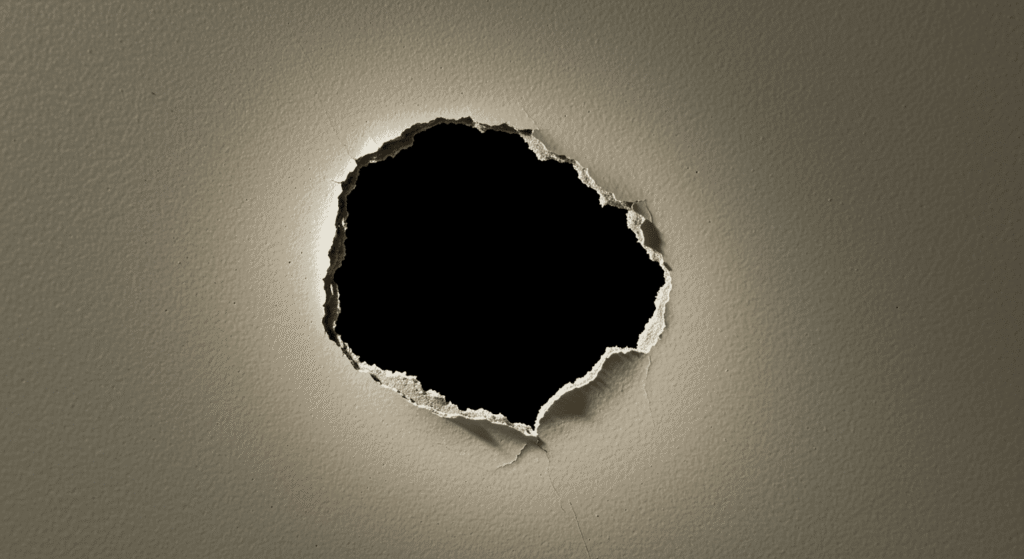
Drywall holes can happen for many reasons, often more relatable than you might think. Accidental knocks from furniture, children playing indoors, or even pets scratching the walls can cause damage. Over time, natural wear and tear, such as settling of a home or moisture exposure, may also weaken drywall and lead to cracks or holes.
By identifying the cause, you can take steps to prevent similar damage in the future. For instance, securing heavy items properly or using corner guards in high-traffic areas can protect your walls and reduce repair needs.
Quick Damage Assessment Table
| Hole Size | Recommended Repair Method | Time Required | Difficulty Level |
|---|---|---|---|
| Small (<1 inch) | Spackling and sanding | 30 min | Easy |
| Medium (1-4 inches) | Patch and joint compound | 1-2 hours | Moderate |
| Large (>4 inches) | Drywall patch and multiple coats | Half-day | Advanced |
This table offers a simple guide to assess the type of hole you have and the appropriate repair method, helping you plan your drywall repair efficiently.
Tools and Materials You’ll Need
To successfully patch a hole in drywall quickly and effectively, having the right tools and materials on hand is essential. Using appropriate tools not only makes the repair process smoother but also ensures a professional-looking finish. Below, we’ll cover the basic tools you’ll need for any drywall repair, along with an overview of the key materials and their uses.
Before starting your project, take a moment to gather everything so you won’t have to stop midway searching for supplies.
Essential Tools for Every Repair Job
Every drywall repair requires a few basic tools. A putty knife is your main tool for applying and smoothing joint compound or spackle; choose one with a flexible blade around 4 to 6 inches wide for better control. A sanding block or sanding sponge will help you smooth out dried patches without damaging surrounding surfaces. For larger holes, a drywall saw is useful for cutting clean edges or trimming drywall patches to size.
When selecting these tools, consider durability and comfort—tools that fit well in your hand and maintain their shape will make the job easier and the result neater.
Understanding Your Materials: Spackle, Joint Compound, and Tape
Not all drywall repair materials serve the same purpose, and knowing their differences helps you apply the right product for each type of hole.
Spackle is a quick-drying, lightweight paste designed for filling small holes, like nail or screw marks. It’s easy to apply and sands smoothly but isn’t ideal for larger repairs since it may crack under stress.
Joint compound, often called drywall mud, is a thicker, more durable material used for medium to large repairs. It provides a strong, smooth finish and can be applied in multiple layers for deeper holes.
Drywall tape reinforces joints and patches, preventing cracks from forming along seams. It comes in mesh or paper forms and is especially important when repairing medium and large holes to strengthen the repair area.
Material Purpose Quick Guide
- Spackle: Best for small holes and quick fixes
- Joint Compound: Versatile for medium to large holes, ideal for layering and smoothing
- Drywall Tape: Strengthens patch edges and prevents cracking
Having the right combination of these materials and tools will set you up for success, making your drywall repair faster, easier, and more durable.
Preparing the Hole for Repair: The Crucial First Step
Before you start filling in a hole, preparing the damaged area properly is essential. Skipping this step can lead to uneven patches, poor adhesion, or visible imperfections once the repair is complete. Taking the time to clean and shape the hole sets a solid foundation for a smooth and lasting repair.
Cleaning and Smoothing the Damaged Area
The first part of preparation involves removing any loose debris, dust, or crumbling drywall from around the hole. Use a brush or a vacuum to clear away dust, as dirt can prevent materials like spackle or joint compound from sticking well. If the edges are rough or uneven, gently sand them to create a clean surface. This step ensures that the patch will blend seamlessly with the surrounding wall.
A clean, smooth surface is key to achieving a professional finish and avoiding bumps or cracks once the repair dries.
Cutting Clean Edges: DIY Drywall Saw Techniques
Many drywall holes have jagged or irregular edges that make patching tricky. To fix this, reshape the hole into a neat geometric form—usually a square or rectangle—using a drywall saw or utility knife. This not only makes it easier to fit a patch but also helps the repair materials adhere better.
When cutting, work slowly and carefully, following these tips:
- Mark the desired shape around the hole with a pencil.
- Use a drywall saw with a sharp blade to cut along your lines smoothly.
- Avoid making the hole larger than necessary—just enough to remove damaged drywall and create clean edges.
By cutting clean edges, you’ll make the next steps of applying patches and compounds much simpler and more effective.
Step-by-Step Drywall Patching Methods
Once the damaged area is prepared, the next step is to choose the right repair method based on the size of the hole. Each method varies in complexity, materials, and time required. Below, we break down the most effective techniques for small, medium, and large drywall holes, helping you tackle your repair with confidence.
Quick Fix for Small Holes: Spackling and Sanding
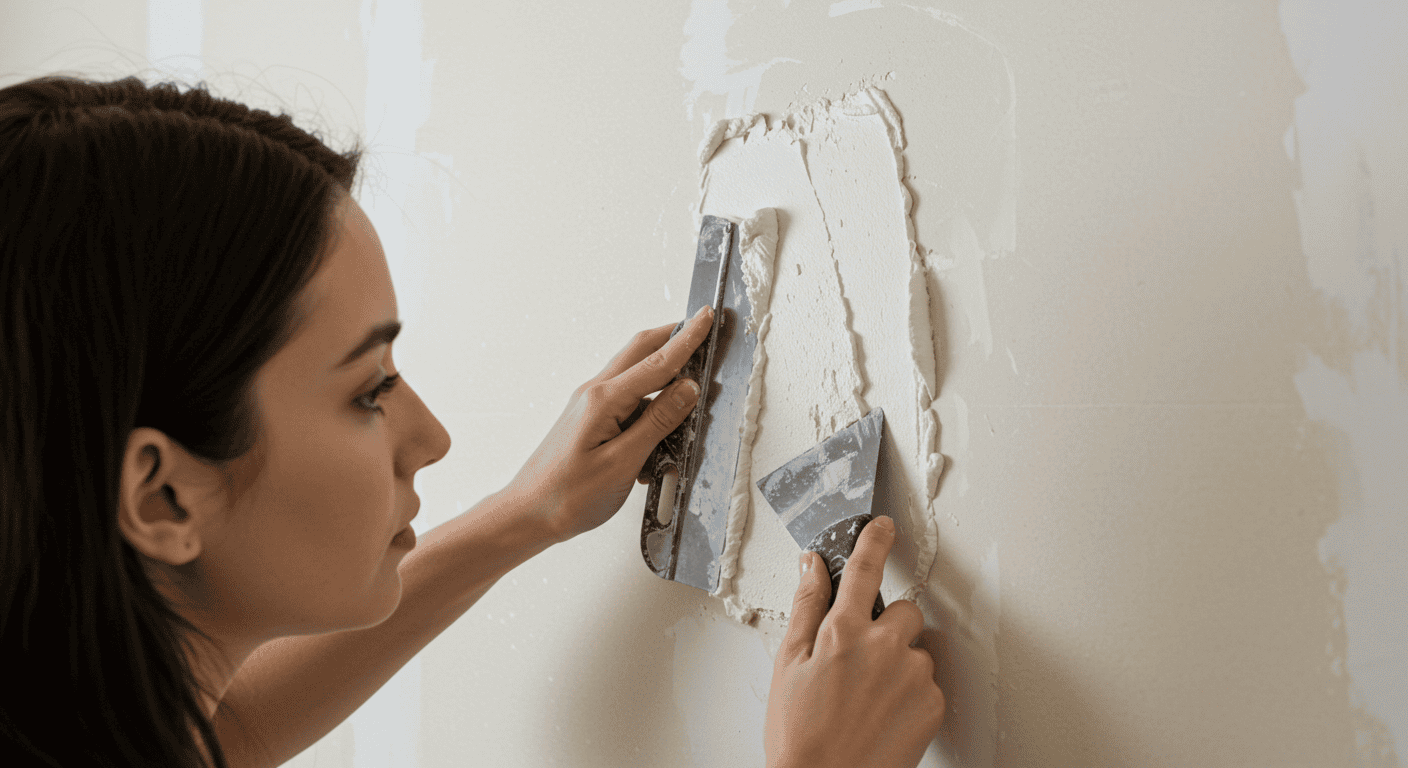
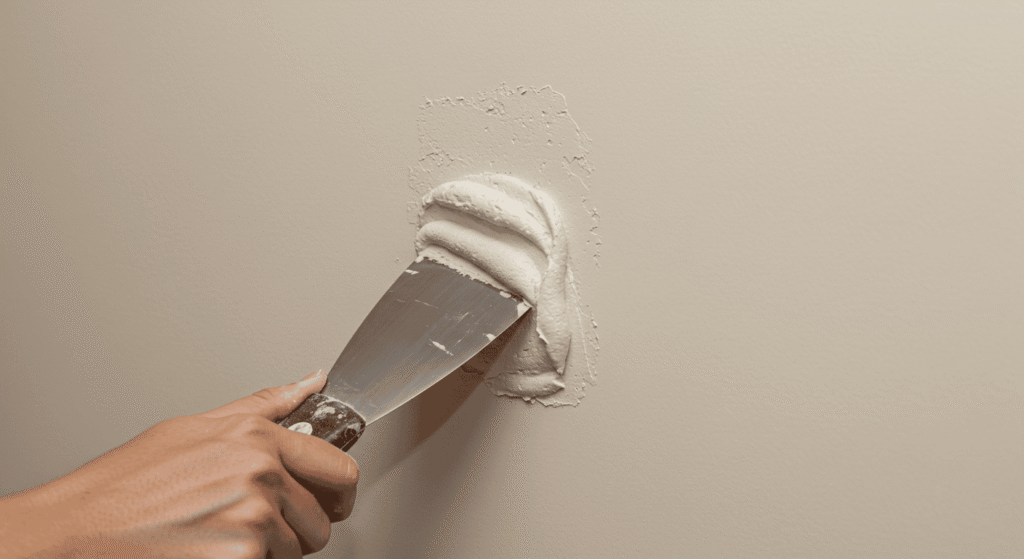
For holes smaller than an inch, like nail holes or minor dents, spackling is the fastest and simplest solution. Start by applying a small amount of spackle with a putty knife, pressing it firmly into the hole. Once filled, smooth out the surface and allow it to dry completely. After drying, lightly sand the area until it blends seamlessly with the surrounding wall. Finish by painting over the patch for a clean look.
This quick fix is ideal for keeping walls looking flawless with minimal effort.
Medium Hole Repair Using Patch and Joint Compound
Medium-sized holes, typically between one and four inches, require a bit more work. Begin by cutting the hole into a neat shape and applying a self-adhesive drywall patch to cover the damaged area. Then, spread joint compound over the patch, feathering the edges to blend with the wall. Once dry, sand the surface smooth and apply a second coat if necessary. After sanding the final layer, the wall is ready for priming and painting.
This method ensures a sturdy repair that will hold up over time.
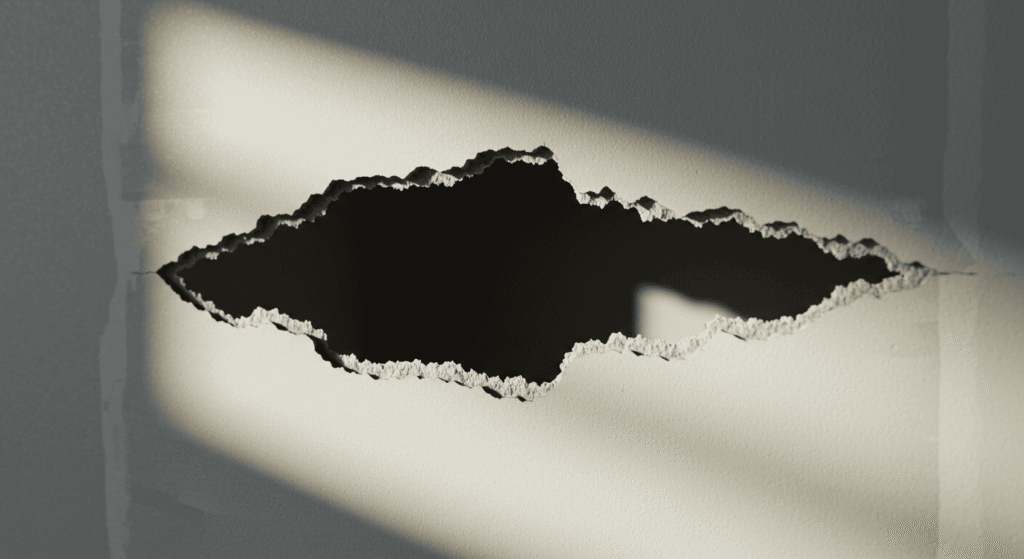
Handling Large Holes: Patching with Drywall Pieces
Large holes, over four inches wide, need a more structural approach. Cut a drywall piece that fits the hole precisely and secure it inside the wall cavity using support strips if needed. Then, apply joint compound around the edges, embedding drywall tape to strengthen the seams. Multiple coats of compound are applied, with sanding between each layer to achieve a flawless finish. Once the patch is completely smooth, you can paint over it.
Though more involved, this method restores the wall’s strength and appearance effectively.
Step Comparison Table: Small vs. Medium vs. Large Hole Repairs
| Step | Small Holes | Medium Holes | Large Holes |
|---|---|---|---|
| Prep | Clean & sand | Clean & square edges | Cut & fit drywall patch |
| Patch | Spackle | Apply patch & compound | Secure drywall piece & compound |
| Finish | Sand & paint | Sand & paint | Multiple coats & sanding |
This table summarizes the key steps for each repair type, making it easier to choose the right approach for your drywall hole.
Tips for Applying and Smoothing Joint Compound
Applying joint compound can make or break your drywall repair. Getting it right ensures a smooth, professional-looking wall without visible bumps or cracks. Below, you’ll find practical advice to help you apply and smooth joint compound cleanly and efficiently.
How to Apply Without Making a Mess
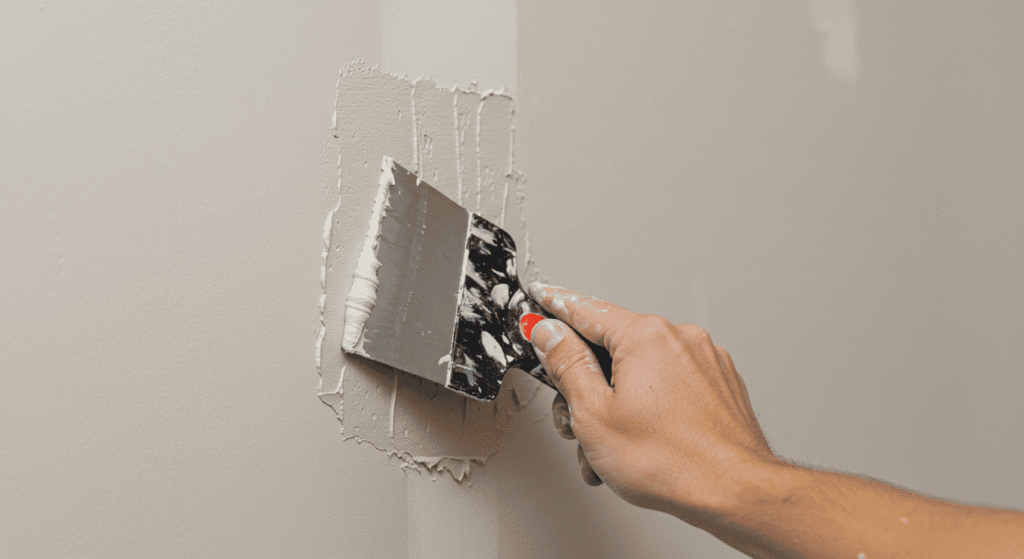
Start with a clean putty knife and scoop a small amount of joint compound. Apply thin, even layers over the patch, spreading the compound beyond the edges to blend with the surrounding wall. Use long, smooth strokes to minimize ridges and avoid piling on too much at once—thin layers dry faster and reduce sanding time.
Work patiently, cleaning your knife regularly to prevent clumps, and keep a damp cloth nearby to wipe off any accidental drips or smudges immediately.
Mastering the Sanding Process for a Flawless Finish
Once the joint compound is dry, sanding is key to achieving a seamless look. Use a fine-grit sanding block or sponge and sand gently in circular motions. Avoid over-sanding, which can damage the patch or surrounding drywall.
Wear a dust mask and work in a well-ventilated area to minimize dust inhalation. Check your progress frequently by running your hand over the surface—smoothness is the goal, not perfection in one pass. Multiple light sanding sessions often work better than one heavy sanding.
Common Mistakes and How to Avoid Them
- ⚠️ Applying too much compound at once — leads to longer drying times and uneven surfaces
- ⚠️ Skipping cleaning of tools during application — causes lumps and messy finishes
- ⚠️ Not feathering edges enough — creates visible lines around the patch
- ⚠️ Over-sanding — weakens the repair and may expose the patch underneath
- ⚠️ Ignoring dust control — messy work area and health risks from drywall dust
Following these tips will help you apply and smooth joint compound like a pro, making your drywall repair blend perfectly with the rest of the wall.
Drywall Tape: When and How to Use It
Using drywall tape correctly is a game-changer for repairing holes, especially medium and large ones. It reinforces the repair area, prevents cracking, and helps create a smooth, durable finish. Understanding when and how to use tape can save you from future headaches.
Mesh vs. Paper Tape: Pros and Cons
Mesh tape is self-adhesive and easy to apply, making it a popular choice for quick repairs. Its open weave allows joint compound to bond well, but because it’s fiberglass-based, it can be less flexible and may crack over time if the wall shifts.
Paper tape requires embedding in a layer of joint compound but offers stronger, more flexible reinforcement. It’s less prone to cracking and is preferred for large repairs or seams, though it takes a bit more skill to apply properly.
Choosing between mesh and paper tape depends on the repair size, your comfort level, and the desired durability.
Proper Taping Techniques to Avoid Cracks
To get the best results with drywall tape:
- Apply a thin, even layer of joint compound before placing the tape.
- Press the tape firmly into the compound, smoothing out air bubbles or wrinkles with a putty knife.
- Cover the tape with a thin coat of joint compound, feathering edges to blend seamlessly.
- Allow each layer to dry fully before applying the next.
Patience and attention to detail during taping help prevent common problems like bubbling and cracking later on.
Visual Diagram: How to Apply Tape Over a Patch
Imagine a simple, clean step-by-step diagram showing:
- Apply first layer of joint compound around the patch edges.
- Place drywall tape over the compound.
- Smooth tape with putty knife, removing bubbles.
- Cover tape with a second layer of compound, feather edges.
- Sand after drying for a smooth finish.]
Including a visual guide like this helps readers grasp the taping process quickly and confidently.
Painting and Texturing Your Repaired Wall
After patching and sanding, the final step is to paint and texture your repaired drywall so it blends perfectly with the rest of your wall. This step not only improves appearance but also protects your repair for the long term.
Priming Before Painting: Why It Matters
Priming is a crucial but often overlooked step. Applying a primer seals the patched area, ensuring even paint absorption and preventing visible color or sheen differences between the repair and surrounding wall. It also helps paint adhere better and increases durability.
Be sure to choose a primer suitable for drywall repairs and apply it evenly. Allow it to dry completely before moving on to painting.
Matching Wall Texture: Simple DIY Techniques
Many walls have some texture, so matching it on your repaired spot helps hide the patch. Depending on your wall’s finish, there are easy DIY methods to recreate common textures:
- For a smooth wall, sanding the patch until perfectly flat usually suffices.
- For orange peel texture, lightly spraying water or a texture spray can mimic the subtle bumps.
- For knockdown texture, apply joint compound lightly and then gently flatten the peaks with a drywall knife after partial drying.
Practicing on a scrap piece of drywall or cardboard first can help you perfect your technique before applying to the wall.
Texture Types & Methods Table
| Texture Type | Description | DIY Method | Difficulty |
|---|---|---|---|
| Smooth | Flat finish | Sand thoroughly | Easy |
| Orange Peel | Slightly bumpy | Spray texture | Moderate |
| Knockdown | Flattened peaks | Apply & knock down | Advanced |
This table helps you identify your wall texture and pick the best DIY approach to match it, making your repair virtually invisible.
Pro Tips to Speed Up Your Drywall Repair

If you’re eager to get your drywall fixed without sacrificing quality, these expert tips will help you work smarter and faster. Whether you’re tackling a small nail hole or a larger patch, speed doesn’t have to mean sloppy work.
Quick Drying Techniques Without Compromising Quality
Using fast-dry spackle or quick-setting joint compound can shave hours off your repair time. Applying thinner layers also helps the compound dry faster. Make sure to control the room temperature and humidity—warmer, well-ventilated spaces accelerate drying. Avoid rushing the sanding and painting stages; letting each layer dry fully ensures a smooth, lasting finish.
Tools and Tricks to Save Time and Effort
Investing in the right tools can make a big difference. A quality putty knife, sanding sponge, and a drywall rasp can speed up prep and finishing work. Using self-adhesive mesh tape reduces the need for extra coats of compound and sanding. Keep your workspace organized and clean to avoid distractions or mistakes that waste time.
When to Call in a Professional (And When Not To)
Some drywall repairs are simple DIY jobs, but others might be better left to pros. Call a professional if you’re dealing with:
- Very large or irregularly shaped holes
- Damage caused by water or mold
- Electrical or plumbing behind the drywall
- Multiple repairs throughout the home
For small to medium holes, your DIY skills and these tips should be enough to get the job done quickly and well.
Repair Time Estimation Chart
| Hole Size | Average Repair Time | Tips to Speed Up |
|---|---|---|
| Small | 30-45 min | Use fast-dry spackle |
| Medium | 1-3 hours | Use mesh tape for less sanding |
| Large | Half-day to full day | Prepare materials in advance |
This chart offers a quick glance at expected repair times and simple ways to speed up your drywall fixes without compromising quality.
How to Patch a Hole in Drywall with Confidence and Ease
Learning how to patch a hole in drywall doesn’t have to be intimidating. With the right tools, materials, and techniques, you can tackle any hole—big or small—and restore your walls to a smooth, flawless finish. Remember to prepare carefully, apply materials patiently, and take your time with finishing touches like sanding and painting. Whether you’re a DIY beginner or looking to speed up your repairs, these tips will help you achieve professional-looking results that last. Now, roll up your sleeves and get ready to fix that drywall hole like a pro!