


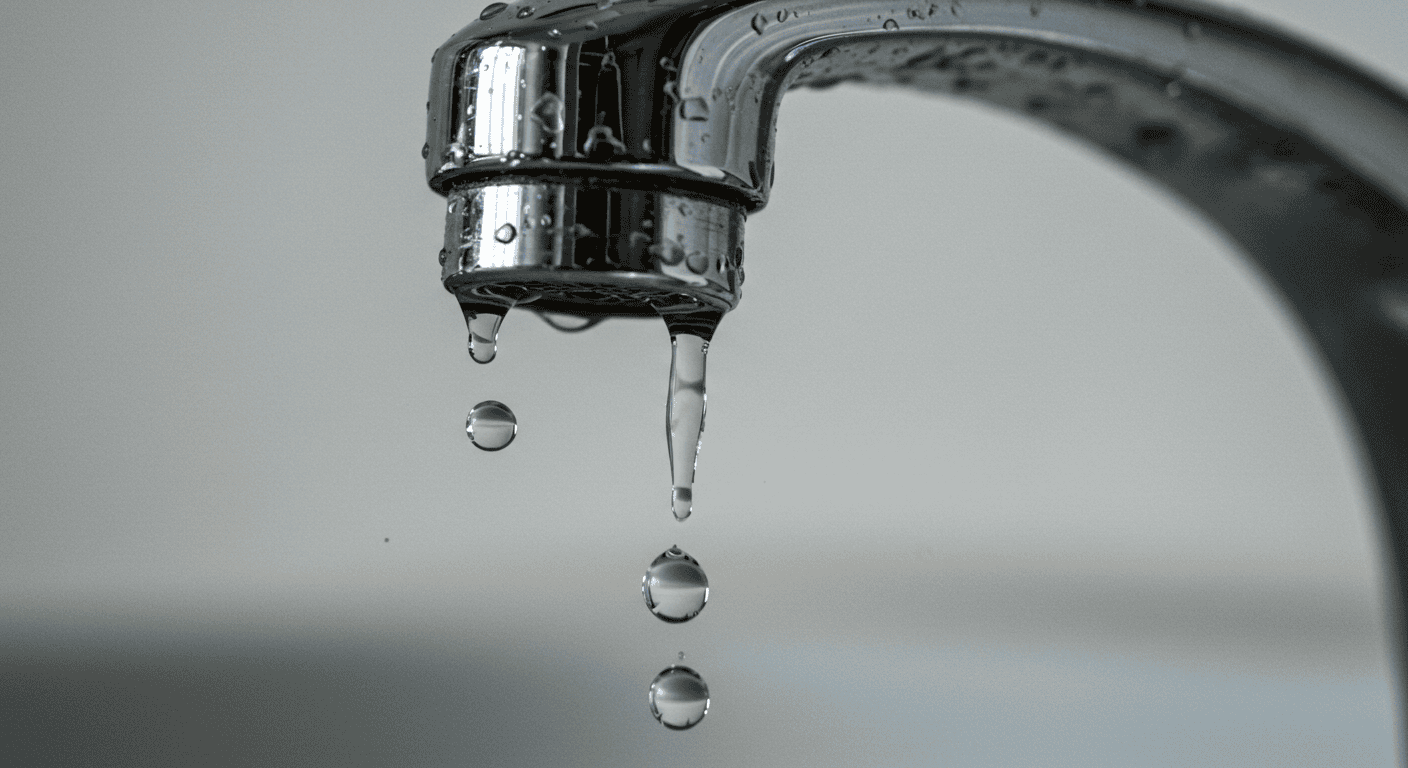
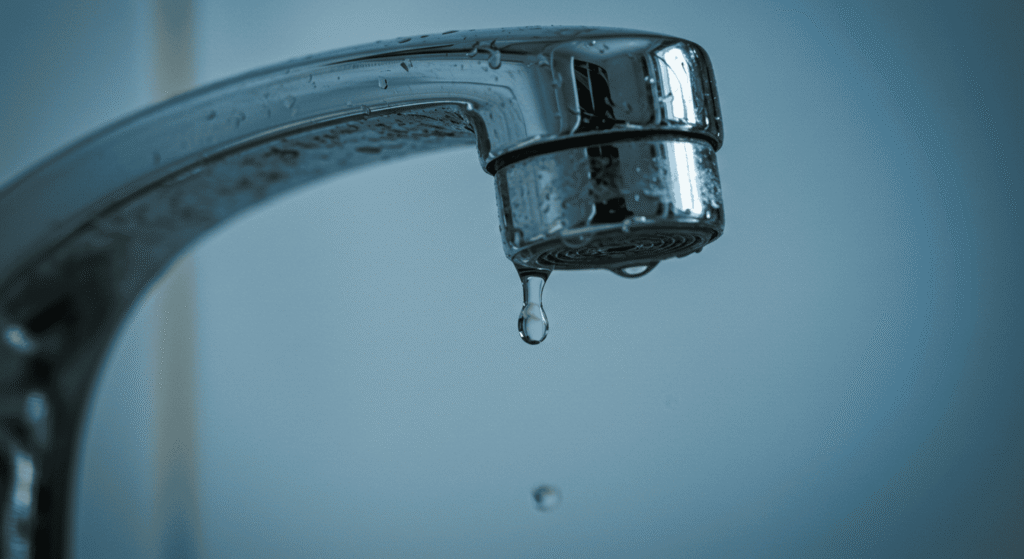
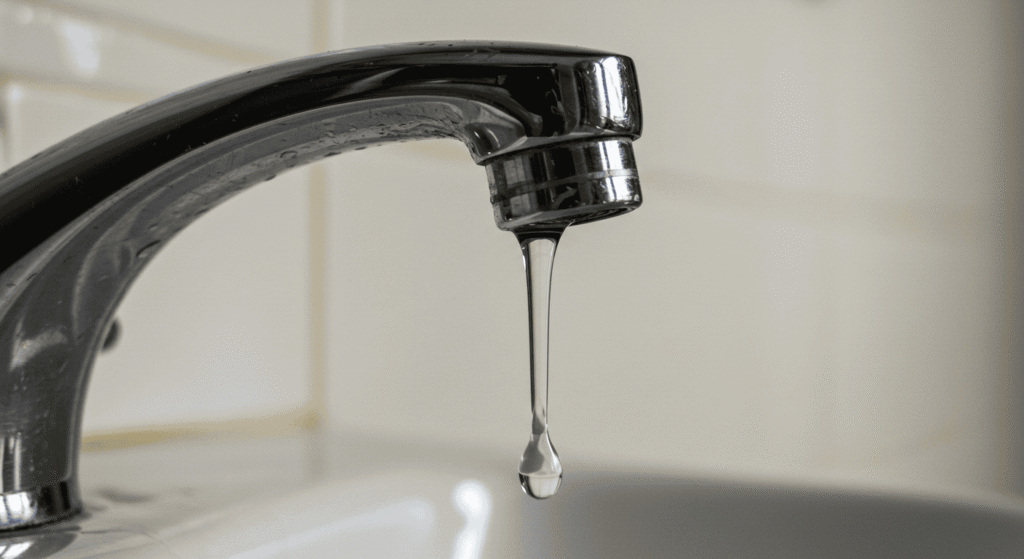
Leaky faucet problems are one of the most common household annoyances that not only waste water but also drive up your utility bills. If you’ve noticed that constant drip, drip, drip, you’re probably wondering how to fix a leaky faucet quickly without having to call a plumber. The good news is, repairing a leaky faucet at home is easier than you might think — with just a few simple tools and some basic know-how, you can stop that annoying drip, save water, and protect your home from further damage. In this guide, we’ll walk you through 7 simple steps to repair a leaky faucet yourself, with clear instructions, useful tips, and all the essentials to get the job done right.
Understanding Your Leaky Faucet: What’s Dripping and Why?
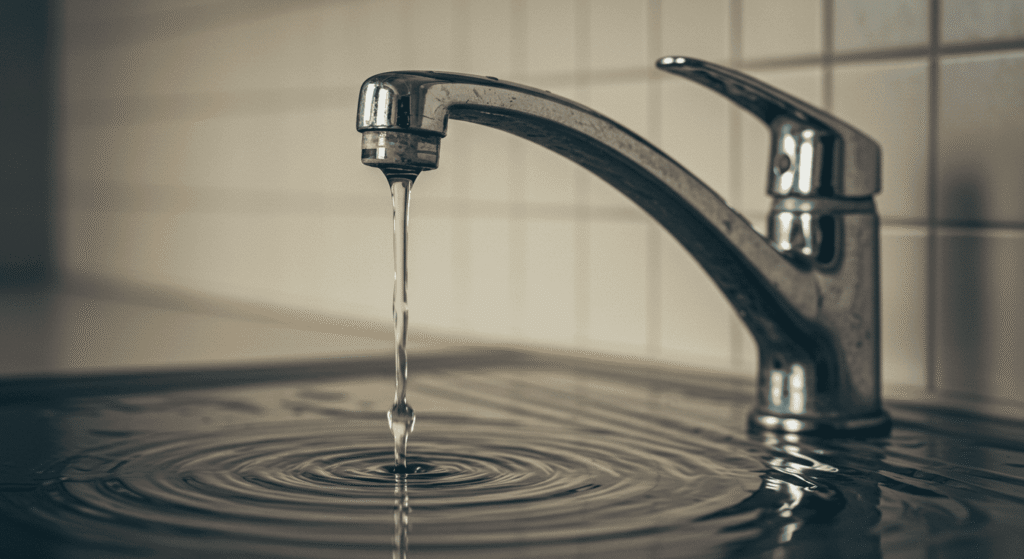
Before diving into the repair process, it’s important to understand why your leaky faucet is dripping in the first place. Knowing the root causes can help you diagnose the problem accurately and apply the right fix. Faucets can leak for various reasons, from worn-out parts to buildup and corrosion. By identifying the source of the leak, you’ll be able to stop the drip efficiently and prevent further damage or water waste.
Common Causes of Faucet Leaks
Many leaky faucet issues stem from a few typical problems. Understanding these will save you time and frustration during your repair.
Worn-out Washers and O-rings
One of the most frequent culprits behind a dripping faucet is a worn-out washer or O-ring. These small rubber components create a seal inside the faucet. Over time, constant use and water pressure cause them to wear down, crack, or harden, allowing water to leak through. Replacing these parts often stops the drip and restores proper function.
Faulty Faucet Cartridge
The faucet cartridge controls the flow of water by moving inside the faucet body. If this cartridge becomes damaged or clogged with mineral deposits, it can cause leaks or uneven water flow. In many modern faucets, replacing the cartridge is necessary to fix the leak completely.
Loose Parts and Corrosion
Loose screws, nuts, or other internal parts can create gaps where water escapes. Additionally, corrosion from hard water or old plumbing can degrade metal parts, weakening seals and joints. Tightening or replacing corroded parts can eliminate leaks and improve faucet performance.
Types of Faucets and How They Leak Differently
Faucets come in several designs, and each type can develop leaks in different ways. Understanding your faucet type helps you pinpoint the source of the problem and guides the repair process.
- Compression Faucets: These have separate handles for hot and cold water and use washers to seal the flow. Worn washers often cause leaks here.
- Cartridge Faucets: Operate with a movable cartridge inside the faucet body. Cartridge damage or debris buildup often leads to leaks.
- Ceramic Disc Faucets: Use two ceramic discs to control water flow. Though durable, seals around these discs can wear out and cause leaks.
Visual Element Idea:
A table comparing faucet types, their typical leak causes, and common symptoms can be very helpful. It would look like this:
| Faucet Type | Typical Leak Causes | Common Symptoms |
|---|---|---|
| Compression | Worn washers, O-rings | Drips when handles closed |
| Cartridge | Damaged cartridge, debris | Constant drip or uneven flow |
| Ceramic Disc | Worn seals around discs | Drips, difficulty turning |
Tools and Materials You’ll Need for DIY Faucet Repair
Before starting your leaky faucet repair, it’s crucial to gather all the necessary tools and materials. Having everything ready will make the process smoother and help you avoid interruptions. Whether you’re a beginner or have some DIY experience, knowing what tools and parts you need upfront saves time and frustration.
Basic Tools to Have Ready
To fix a leaky faucet at home, you’ll need a few common tools that most households already have or can easily obtain. These include:
- Adjustable wrench or plumber’s wrench
- Screwdrivers (both flathead and Phillips)
- Pliers
- Hex or Allen keys (for some faucet models)
- Utility knife
- Cleaning cloth or sponge
Having these basic tools at hand ensures you can disassemble and reassemble your faucet properly and handle any minor adjustments during the repair.
Essential Replacement Parts Explained (Washers, O-rings, Cartridges)
When repairing a leaky faucet, replacement parts are often the key to stopping the drip. Understanding these parts helps you identify what to buy or replace:
- Washers: Small rubber or silicone discs that seal the faucet and prevent leaks. Worn washers are a common cause of dripping.
- O-rings: Circular seals that fit around faucet stems or cartridges to stop water from leaking around joints. Over time, they can become brittle or damaged.
- Cartridges: Internal components that control water flow in cartridge faucets. If damaged or clogged, replacing the cartridge can fix persistent leaks.
Knowing the function of each part helps you decide what needs replacement and how to choose the correct size or type.
Safety Tips Before You Start
Working on a leaky faucet requires some care to avoid injury or further damage. Keep these safety tips in mind:
- Always turn off the water supply before starting repairs to prevent flooding.
- Release any remaining water pressure by opening the faucet after shutoff.
- Use gloves if handling sharp tools or corroded parts.
- Keep your workspace dry and clear of clutter to avoid slips or accidents.
Following these precautions ensures a safe and stress-free repair experience.
Visual Element Idea:
A clean, easy-to-follow checklist infographic showing all the tools and parts needed can be very helpful for readers to prepare before starting their leaky faucet repair.
Step 1 – Turn Off the Water Supply and Prepare Your Workspace
Before tackling your leaky faucet repair, the very first step is to turn off the water supply. This prevents unwanted flooding and makes the repair process much safer and cleaner. Properly preparing your workspace will also help you work efficiently and avoid unnecessary mess.
How to Locate and Use Your Water Shutoff Valve
Most homes have individual shutoff valves located under the sink or near the faucet. These valves control the water flow to that specific fixture. To stop the leak effectively, you need to:
- Locate the shutoff valve, usually a small knob or lever attached to the water pipes under your sink.
- Turn the valve clockwise to close it and stop the water flow. If your valve is a lever, turn it perpendicular to the pipe.
- Test that the water is off by turning on the faucet and confirming no water flows out.
If you can’t find the shutoff valve or it’s not working properly, you may need to turn off the main water supply to your home.
Tips to Avoid Mess and Water Damage
Even with the water off, some residual water may leak when you disassemble the faucet. Here are some tips to keep your workspace clean:
- Place a bucket or bowl under the sink to catch drips.
- Use towels or old rags to soak up any spilled water.
- Lay down a waterproof mat or plastic sheet under the work area.
- Clear the area of any items that could get damaged by water.
Taking these precautions helps you avoid water damage and makes the repair process less stressful.
Visual Element Idea:
A clear, labeled diagram showing typical locations of shutoff valves in a home will help readers quickly find and operate theirs before starting the leaky faucet repair.
Step 2 – Disassemble the Faucet Without Breaking a Sweat
Once you’ve turned off the water supply, the next step in fixing your leaky faucet is to carefully disassemble it. Taking the faucet apart might seem intimidating, but with the right approach, you can do it smoothly without causing damage.
Removing the Faucet Handle Safely
Most faucets have handles secured by screws or caps that need to be removed first. To do this safely:
- Look for a small screw under a decorative cap or on the side of the handle. Use a flathead or Phillips screwdriver to loosen it gently.
- If your faucet has a cap, carefully pry it off using a flat tool without scratching the surface.
- Once the screws are removed, gently pull the handle straight up or off the stem. Avoid forcing it to prevent breaking any parts.
Identifying Parts as You Take Them Apart
As you disassemble, you’ll encounter several internal components such as the cartridge, washers, O-rings, and springs. Knowing what these parts look like helps when it’s time to replace or clean them. Take your time to:
- Observe and note the order of parts as you remove them.
- Compare worn or damaged parts to new ones to confirm what needs replacing.
- Photograph each step if you’re unsure, so you have a reference for reassembly.
How to Keep Screws and Small Parts Organized
Small screws and components can easily get lost during disassembly, making reassembly difficult. To stay organized:
- Use a small container or magnetic tray to hold screws and parts as you remove them.
- Lay parts out in the order you remove them on a clean surface.
- Label or group parts with sticky notes if needed to remember their position.
Visual Element Idea:
A photo series or labeled illustration showing common faucet parts and the order of disassembly will give readers a clear visual guide to follow during their leaky faucet repair.
Step 3 – Inspect and Replace Damaged Components
After disassembling your leaky faucet, it’s time to carefully inspect the internal parts to find the source of the leak. Many leaks are caused by damaged washers, O-rings, or cartridges that no longer create a proper seal. Identifying these issues accurately will help you fix the problem efficiently.
How to Identify a Worn Washer or O-ring
Washers and O-rings are small rubber components that form tight seals inside your faucet. Signs that they need replacing include:
- Cracks, tears, or visible wear on the rubber surface
- Flattening or hardening, making the parts less flexible
- Water seeping through even when the faucet is turned off
If you notice any of these signs, replacing the washer or O-ring is essential to stop the drip.
Cleaning Corroded Parts for Reuse
Sometimes corrosion or mineral buildup causes leaks without the need for full part replacement. To clean corroded components:
- Soak metal parts in a vinegar solution to dissolve mineral deposits
- Use a soft brush or cloth to remove residue without scratching the surface
- Dry thoroughly and apply a thin layer of silicone grease to protect against future corrosion
Cleaning can restore the function of some parts and delay the need for replacements.
When to Replace the Cartridge Entirely
If your faucet uses a cartridge, it may need full replacement if:
- The cartridge is visibly cracked, worn, or damaged
- Cleaning does not stop leaking or improve water flow
- The faucet continues to drip despite replacing washers and O-rings
Replacing the cartridge can be more involved but often resolves stubborn leaks in cartridge faucets.
Visual Element Idea:
A table summarizing common signs of damage and the recommended action for each part will be a helpful quick reference:
| Component | Signs of Damage | Recommended Action |
|---|---|---|
| Washer | Cracks, flattening, leaks | Replace with new washer |
| O-ring | Hardening, tears, water seepage | Replace O-ring |
| Cartridge | Cracks, persistent leaks | Replace entire cartridge |
| Corroded parts | Mineral buildup, rough surfaces | Clean and lubricate |
Step 4 – Reassemble Your Faucet the Right Way
Now that you’ve inspected and replaced the necessary parts, it’s time to put your leaky faucet back together. Reassembling might seem like the easy part, but doing it properly ensures that your repair holds up over time and prevents new leaks from forming.
Step-by-step Reassembly Tips
Careful reassembly is just as important as disassembly. Follow these tips to make sure your faucet functions like new:
- Start by placing the internal components (like washers, O-rings, or cartridges) back in the correct order—refer to your notes or photos if needed.
- Align each piece properly to avoid cross-threading or forcing anything into place.
- Tighten screws and nuts just enough to secure them without over-tightening, which can damage threads or strip parts.
- Reattach the handle and secure it with its screw or cap.
Taking your time during this step ensures everything fits snugly and functions smoothly.
Using Silicone Grease to Keep Things Moving Smoothly
Applying a thin layer of silicone grease to certain parts can improve performance and extend the life of your faucet:
- Use it on O-rings and washers to create a better seal and reduce friction.
- Apply it to threads or stems to make turning the handle smoother.
- Avoid using petroleum-based lubricants, which can damage rubber components.
Silicone grease is a small step that makes a big difference in preventing future leaks and wear.
Avoiding Common Mistakes During Reassembly
Even a simple oversight can lead to another leaky faucet situation. Be mindful of these common pitfalls:
- Mixing up the order of parts—always double-check placement.
- Over-tightening, which can crack or strip fittings.
- Forgetting to test the faucet before fully reattaching everything—always turn on the water slowly and check for leaks first.
- Leaving out small components like washers or clips, which may seem minor but are critical for sealing.
By avoiding these mistakes, you’ll ensure your faucet repair is both effective and long-lasting.
Step 5 – Turn the Water Back On and Test for Leaks
You’ve reassembled your leaky faucet, and now it’s time for the moment of truth: restoring water and seeing if your repair worked. This step isn’t just about flipping a valve—it’s about bringing the faucet back to life carefully, checking every detail to ensure your efforts paid off.
How to Slowly Restore Water Pressure
Reintroducing water pressure the right way prevents sudden bursts that could damage components or loosen connections:
- Slowly turn the shutoff valve counterclockwise to open it.
- If you turned off the main water supply, ease it back on gradually to prevent a pressure surge.
- Let the faucet run for a few seconds to clear out air bubbles or debris.
Restoring pressure gradually also gives you a chance to notice any early signs of leaks or loose fittings before they become a bigger problem.
Checking for Drips and Proper Function
Once water is flowing, examine your faucet closely for signs of a continuing leaky faucet or other performance issues:
- Look under the sink and around the faucet base for dripping or moisture.
- Turn the faucet handle through its full range of motion to ensure smooth operation.
- Switch between hot and cold water if it’s a dual-handle faucet, checking for consistent pressure and no leaks.
Pay attention to any unusual sounds, stiffness, or water seeping from areas it shouldn’t—these are all signs something might still be off.
Troubleshooting If the Leak Persists
If your faucet is still leaking, don’t worry—troubleshooting is part of the process. Here are a few things to check:
- Double-check that all parts were installed in the correct order and orientation.
- Make sure all fittings are snug but not over-tightened.
- Inspect washers, O-rings, or the cartridge again—one may have been installed incorrectly or needs replacing with a better fit.
- If corrosion was present, a deeper clean or more thorough part replacement might be necessary.
A persistent leaky faucet doesn’t always mean you did something wrong—it might just take a second look or a fresh replacement part.
Bonus Tips: Preventing Future Faucet Leaks
Fixing a leaky faucet is a great DIY win—but preventing future leaks is even better. With a little regular care and awareness, you can keep your faucet in top shape for years and avoid unnecessary repairs, water waste, and stress.
Routine Maintenance Tips to Extend Faucet Life
A few simple habits can make a big difference in keeping your faucet drip-free:
- Clean your faucet regularly to remove mineral buildup, especially around the spout and handle base.
- Turn handles gently—forceful twisting can wear out internal components.
- Inspect for signs of wear like reduced pressure, squeaky handles, or small drips.
- Replace washers and O-rings every couple of years, even before leaks start, as preventive care.
- Use silicone grease on moving parts during regular tune-ups to reduce wear and improve performance.
These steps not only protect your faucet but also make future repairs faster and easier.
Water Conservation Benefits of Fixing Leaks Early
A leaky faucet may seem minor, but the long-term impact adds up quickly:
- A single faucet dripping once per second can waste over 3,000 gallons of water per year.
- Fixing small leaks helps reduce your water bill and supports environmentally friendly habits.
- Early repairs prevent water damage to your sink, cabinets, and plumbing system, saving money on major fixes later.
Stopping a drip is one of the easiest and most impactful home improvements you can make.
Signs It’s Time to Call a Professional
While many faucet leaks are DIY-friendly, there are times when calling in a pro is the smart move:
- You’ve tried multiple repairs, but the leaky faucet persists.
- The leak is connected to low water pressure, hidden pipe damage, or water hammering.
- You suspect the issue goes beyond the faucet—like corroded plumbing or valve failure.
- You don’t feel confident handling certain tools or disassembling complex faucet models.
Knowing when to call a plumber saves time and ensures the job is done safely and correctly.
FAQs About Leaky Faucets and DIY Repairs
Tackling a leaky faucet on your own can raise a lot of questions, especially if it’s your first time diving into DIY plumbing. Here are answers to some of the most common concerns homeowners have when it comes to faucet leaks and home repairs.
Can I Fix a Leaky Faucet Without Any Plumbing Experience?
Yes, absolutely. Most leaky faucet repairs are straightforward enough for beginners, especially with the right guidance and tools:
- Simple leaks caused by worn washers or O-rings don’t require advanced skills.
- Online tutorials, diagrams, and blog guides (like this one!) offer easy step-by-step instructions.
- As long as you’re careful when turning off the water supply and disassembling parts, you’re unlikely to do harm.
DIY faucet repair is a great entry-level home project and a confidence booster for tackling future plumbing fixes.
How Much Does It Cost to Repair a Leaky Faucet?
The cost of repairing a leaky faucet depends on whether you DIY or hire a professional:
- DIY repairs typically cost between $1 to $15, covering basic parts like washers, O-rings, or cartridges.
- Hiring a plumber can range from $100 to $200, depending on labor rates and faucet complexity.
- If ignored, a leaking faucet can cause water damage, which leads to significantly higher repair costs.
Doing the fix yourself can save you a lot, especially if it’s just a matter of replacing a single, inexpensive part.
How Long Should a Faucet Last After Repair?
A properly done repair can extend your faucet’s life by several years, especially when paired with routine maintenance:
- New washers or cartridges typically last 5–10 years, depending on usage and water quality.
- Regular cleaning and gentle use can stretch that lifespan even further.
- If your leaky faucet continues to have problems shortly after repair, it might be time to consider replacing it entirely.
A successful DIY fix can restore your faucet to nearly-new condition and delay the need for full replacement.
Final Thoughts on Fixing a Leaky Faucet
Repairing a leaky faucet isn’t just about stopping that annoying drip—it’s about saving water, protecting your home, and gaining confidence in your DIY skills. With the right tools, a little patience, and this step-by-step guide, you’ve got everything you need to handle the fix yourself.
And remember: a few drops today can turn into gallons tomorrow. So take action now—and enjoy the satisfaction of a job well done every time you turn off the tap.