


How to keep your kitchen floors spotless is a question every homeowner wonders about. A clean kitchen floor not only boosts the overall look of your space but also ensures a healthier environment for you and your family. With everyday spills, dirt, and foot traffic, maintaining spotless kitchen floors can feel like a challenge. But don’t worry—this guide shares easy, practical kitchen floor cleaning tips that work, helping you enjoy a sparkling, fresh kitchen without spending hours scrubbing or relying on harsh chemicals.
Understanding Your Kitchen Floor Type
Before diving into cleaning, it’s important to understand how to keep your kitchen floors spotless by tailoring your approach to the specific floor type you have. Different kitchen floors—whether tile, hardwood, vinyl, or laminate—each have unique characteristics that influence the best way to clean and maintain them. Knowing your floor type ensures you use the right methods, preventing damage and maximizing cleanliness.
Why Floor Type Matters for Cleaning
Common kitchen floors include tile, hardwood, vinyl, and laminate, each with its own cleaning needs. For example, tile floors are durable and can handle wet mopping, but grout lines require special attention to avoid staining. Hardwood floors need gentler care to prevent warping or scratching, often favoring dry or slightly damp cleaning methods. Vinyl floors are water-resistant but can be damaged by abrasive cleaners, while laminate floors need careful moisture control to avoid swelling.
Because these surfaces react differently to water, cleaning products, and scrubbing, understanding your floor type helps you choose the safest and most effective cleaning routine. Using the wrong technique could lead to discoloration, damage, or reduced lifespan of your kitchen floor.
Identifying Your Floor Material
If you’re unsure what type of flooring you have, there are a few ways to identify it at home. Tile often feels cool and hard underfoot with visible grout lines between pieces. Hardwood floors have natural wood grain patterns and may creak slightly when walked on. Vinyl floors tend to have a smooth, resilient surface and sometimes mimic wood or tile patterns. Laminate floors look similar to hardwood but are typically thinner and have a plastic-like finish.
To simplify this, here’s a checklist to help you match your floor type with the best cleaning method:
| Floor Type | Key Features | Best Cleaning Approach |
|---|---|---|
| Tile | Hard, cool surface, grout lines | Wet mopping, grout cleaning |
| Hardwood | Natural wood grain, warm feel | Dry mop or slightly damp mop |
| Vinyl | Smooth, flexible, water-resistant | Gentle cleaner, avoid abrasives |
| Laminate | Wood-like appearance, plastic finish | Damp mop, quick drying |
Understanding your kitchen floor type is the first step toward maintaining a spotless and well-cared-for kitchen floor. This knowledge ensures you avoid common mistakes and extend the life of your flooring while keeping it sparkling clean.
Daily Habits to Keep Floors Spotless

Keeping your kitchen floors spotless doesn’t always require deep cleaning sessions. Developing daily habits to keep your kitchen floors spotless can make a huge difference in maintaining a clean and inviting space. Consistent, simple routines help prevent dirt buildup and reduce the chance of stains, making floor care much easier over time.
Quick Daily Cleaning Rituals
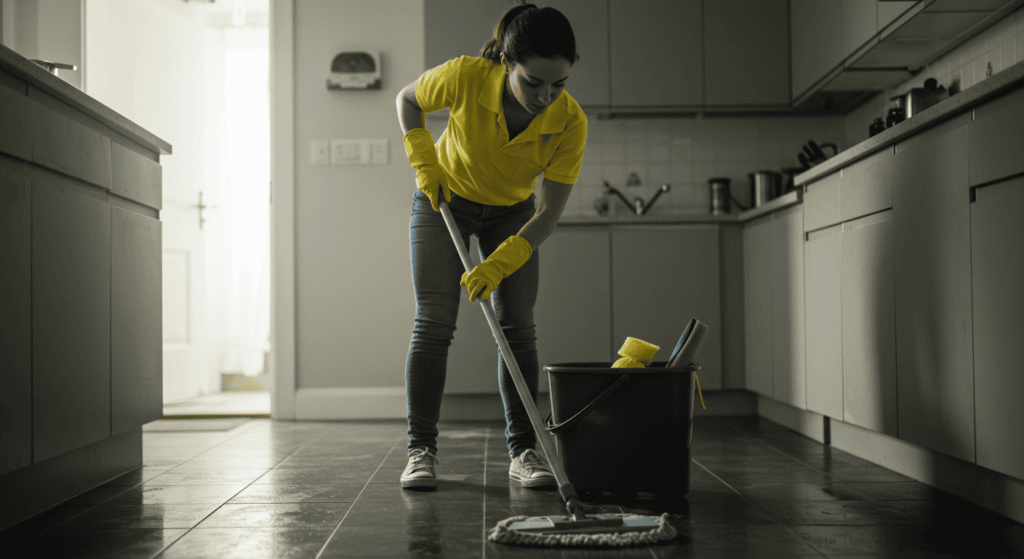
A quick 5-minute sweep or mop at the end of each day can do wonders. Sweeping removes loose dirt, crumbs, and debris before they have a chance to settle or get ground into the floor. Following up with a damp mop helps pick up finer dust and sticky residues, especially around high-traffic areas like near the sink or stove.
By dedicating just a few minutes daily to these easy tasks, you prevent the accumulation of dirt and stains, keeping your kitchen floors fresh and spotless without extra effort.
Preventive Measures
Preventing messes is just as important as cleaning them. Using door mats at entry points traps dirt and moisture before it reaches your kitchen floors. Wiping up spills immediately stops liquids and food from staining or damaging the surface. Establishing simple shoe policies—such as removing shoes before entering the kitchen—can also reduce the amount of dirt tracked inside.
For extra motivation, try the “Spotless Kitchen Challenge”: a one-week checklist that encourages daily sweeping, mop reminders, and spill cleanups. This fun, manageable routine helps build lasting habits and transforms your kitchen floor care into a simple, rewarding part of your day.
Deep Cleaning Without the Hassle
While daily cleaning keeps your kitchen floors looking good, occasional deep cleaning is essential to truly maintain a spotless surface. A deep cleaning routine helps remove stubborn dirt, grime, and buildup that simple sweeping or mopping might miss. The best part? You can achieve this without complicated steps or harsh chemicals.
Step-by-Step Deep Cleaning Routine
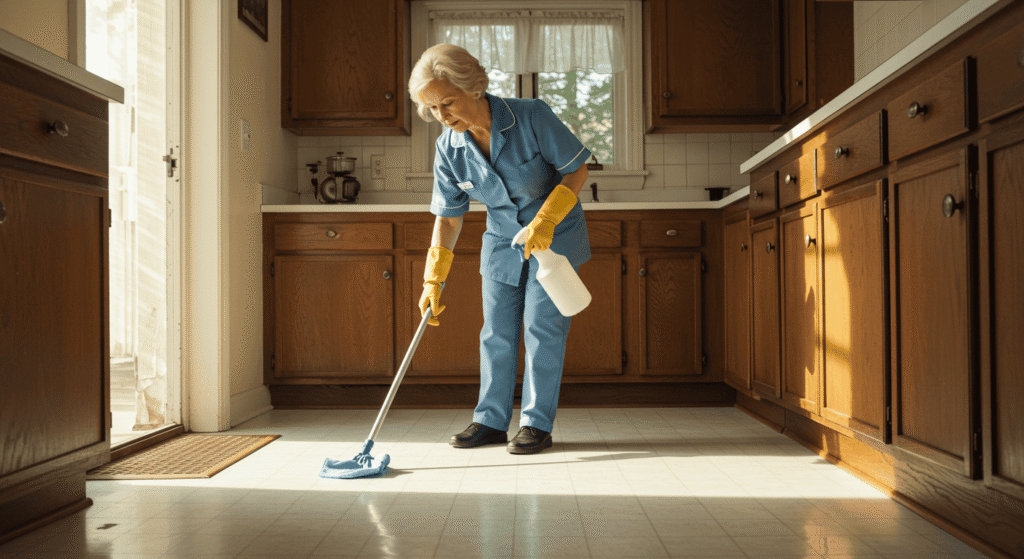
Start your deep clean by thoroughly sweeping or vacuuming to remove loose dirt and debris. Next, prepare a gentle scrubbing solution suitable for your floor type and use a mop or soft brush to clean the surface, paying special attention to corners and grout lines if you have tile floors. After scrubbing, rinse the floor with clean water to remove any residue. Finally, dry the floor with a microfiber cloth or allow it to air dry, preventing water spots or damage.
How often you should deep clean depends on your flooring: tile and vinyl floors can usually handle monthly deep cleans, while hardwood and laminate benefit from less frequent sessions—typically every 2 to 3 months—to avoid overexposure to moisture.
Natural Cleaning Solutions You Can Make at Home
For a chemical-free deep clean, simple household ingredients like vinegar and baking soda are highly effective. A mixture of diluted vinegar and water works well for cutting grease and disinfecting many floor types, while baking soda can be sprinkled on stains and scrubbed gently to lift dirt.
However, it’s important to exercise caution. Avoid using vinegar on hardwood floors frequently, as its acidity can damage the finish over time. Always test any homemade cleaner on a small, hidden area first, and use natural solutions sparingly on laminate floors to prevent swelling.
By following this routine and using safe, natural cleaners, you’ll keep your kitchen floors spotless and well cared for without hassle or harsh chemicals.
Tackling Tough Stains Like a Pro
Even with regular cleaning, tough stains can sometimes sneak onto your kitchen floors. Knowing how to deal with these common culprits effectively is key to keeping your floors spotless and looking their best. Let’s break down the typical stains you might encounter and the best ways to remove them.
Common Kitchen Floor Stains and How to Remove Them
Grease spills are frequent in kitchens and can leave slippery, stubborn spots that attract dirt. Food spills, especially those with strong colors like tomato sauce or berries, can cause noticeable discoloration if not cleaned promptly. Sticky residues from sugary drinks or syrups create a tacky surface that traps dirt, while watermarks from spills or mopping can dull the floor’s shine.
Each stain type requires a slightly different approach to effectively lift it without damaging your floor.
DIY Stain Removal Tricks
You don’t need expensive products to tackle tough stains. Household items can be surprisingly effective:
- For grease, sprinkle baking soda to absorb oil before wiping with a warm, soapy cloth.
- Use a paste of baking soda and water to gently scrub food stains.
- Sticky residues can often be loosened with a little white vinegar diluted in water.
- Watermarks may respond well to buffing with a dry microfiber cloth or applying a small amount of olive oil on hardwood floors to restore shine.
Here’s a quick reference table to guide you through the best cleaning method for each stain type:
| Stain Type | Recommended Cleaning Method |
|---|---|
| Grease | Sprinkle baking soda, then wipe with warm soapy cloth |
| Food Spills | Baking soda paste scrub |
| Sticky Residues | Diluted white vinegar wipe |
| Watermarks | Buff with microfiber cloth or apply olive oil (hardwood) |
By mastering these simple DIY tricks, you’ll be prepared to handle even the most stubborn kitchen floor stains like a pro.
Tools That Make Cleaning Easy and Effective
Having the right tools at your disposal is essential when learning how to keep your kitchen floors spotless efficiently. The right cleaning tools not only make the job faster but also improve the quality of your results, ensuring your floors stay cleaner for longer.
Choosing the Right Cleaning Tools
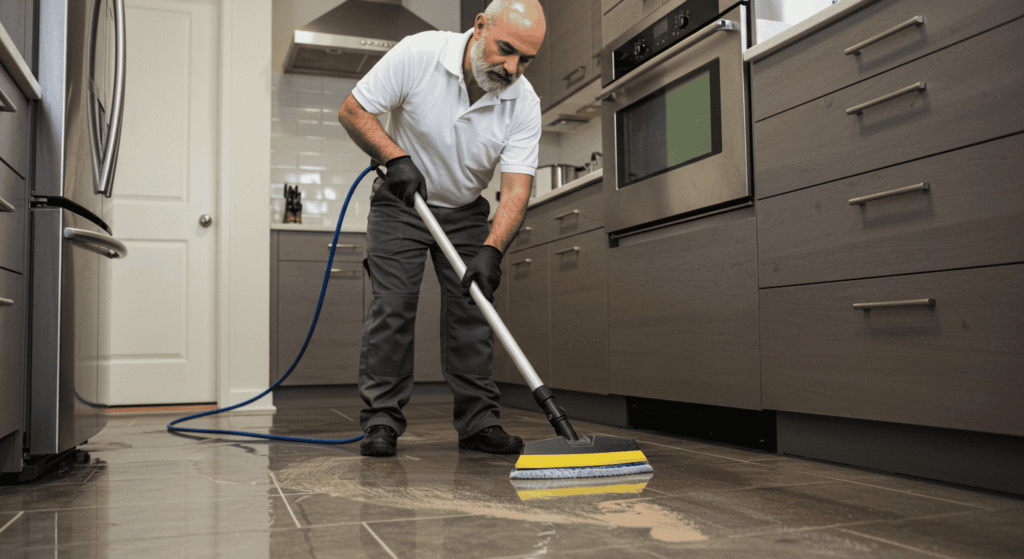
Different tools serve different purposes when it comes to kitchen floor care. Traditional brooms are great for quick dry sweeps but can leave behind fine dust. Vacuums designed for hard floors pick up more debris and dust but may be less effective in tight corners. Mops come in various styles—string, sponge, and microfiber—with microfiber mops being especially effective at trapping dirt without over-wetting floors. Microfiber cloths are perfect for spot cleaning and wiping up spills with minimal water.
Each tool has pros and cons: brooms are affordable and simple but less thorough; vacuums are powerful but require electricity and maintenance; mops vary widely in ease of use and drying time; microfiber cloths are versatile but need frequent washing.
Tool Care Tips for Better Results
To keep your cleaning tools working their best, regular maintenance is key. Rinse mops thoroughly after each use and allow them to dry completely to prevent mold and odors. Wash microfiber cloths separately without fabric softeners to maintain their absorbency. Empty vacuum filters regularly to maintain suction power and check broom bristles for wear and debris.
Here are some quick maintenance hacks to extend the life of your cleaning tools:
- Store mops hanging upside down to dry faster.
- Use vinegar in the rinse water to deodorize microfiber cloths.
- Clean vacuum brushes and rollers monthly to prevent hair buildup.
- Replace broom heads every few months or when bristles become frayed.
By choosing the right tools and caring for them properly, you’ll make kitchen floor cleaning easier, more effective, and more enjoyable.
Maintaining Shine and Longevity
Keeping your kitchen floors spotless also means preserving their shine and extending their lifespan. With the right care and protective measures, you can prevent wear and tear that dulls your floors and avoid costly repairs or replacements.
How to Protect Floors From Wear and Tear
One of the easiest ways to protect your floors is by using floor mats at entry points to catch dirt and moisture before it reaches the floor. Furniture pads placed under chair and table legs prevent scratches and scuffs caused by daily movement. Area rugs in high-traffic zones add an extra layer of protection while enhancing your kitchen’s style.
Regularly checking these protective elements and replacing or cleaning them as needed helps maintain the integrity of your floors. Simple habits like lifting furniture instead of dragging and promptly cleaning spills also reduce damage over time.
Simple DIY Polishing and Sealing Tips
To keep floors looking vibrant, natural polishing methods can be very effective. For hardwood floors, a mixture of olive oil and lemon juice applied sparingly with a soft cloth adds shine and nourishment. Tile floors benefit from occasional buffing with a damp microfiber cloth to restore luster. For vinyl and laminate, gentle polishing with a soft cloth and a small amount of natural oil can revive their appearance without risking damage.
How often you polish depends on your floor type and usage: hardwood floors typically benefit from polishing every few months, while tile and vinyl may only need occasional buffing as needed. Avoid over-polishing, which can build up residue and dull the surface.
By protecting and polishing your kitchen floors regularly, you’ll enjoy a spotless, shiny surface that lasts for years to come.
Smart Scheduling for Stress-Free Kitchen Floor Care
Maintaining spotless kitchen floors becomes much easier when you have a clear plan in place. Smart scheduling for kitchen floor care helps you stay consistent without feeling overwhelmed, turning cleaning from a chore into a simple habit.
Creating a Cleaning Calendar
A well-structured cleaning calendar breaks down tasks by frequency, ensuring every aspect of floor care gets attention at the right time. Here’s a sample monthly schedule to guide you:
| Task Frequency | Cleaning Task | Notes |
|---|---|---|
| Daily | Sweep or quick mop | Removes crumbs and spills promptly |
| Weekly | Damp mop or vacuum | Deeper clean for dust and dirt |
| Monthly | Deep clean (scrub & rinse) | Removes buildup and tough grime |
| As Needed | Spot clean stains | Address spills or marks immediately |
This schedule balances daily upkeep with deeper cleaning, making it manageable to keep floors consistently spotless.
Balancing Cleaning With a Busy Lifestyle
Integrating floor care into your busy routine is easier than it seems. Pair floor cleaning with other kitchen tasks like wiping counters or doing dishes—this multitasking saves time and keeps your kitchen uniformly clean. Set reminders on your phone or use sticky notes as motivation boosters to keep you on track.
Try quick hacks like using a handheld vacuum for speedy spot cleaning or choosing a mop with a built-in spray function to cut down prep time. Remember, even short, regular efforts add up to a big difference, making your kitchen floors shine without stress.
Fun Facts and Myths About Kitchen Floor Cleaning
Cleaning kitchen floors might seem straightforward, but there’s a surprising amount of misinformation and fascinating trivia surrounding it. Knowing the truth behind common beliefs and uncovering some fun facts can make your cleaning routine more effective—and a bit more enjoyable.
Debunking Common Cleaning Myths
Many kitchen floor cleaning tips passed down through generations aren’t as helpful as they seem. For example, some people believe using excessive water on hardwood floors is good because it cleans deeper—but too much water actually damages the wood. Another myth is that vinegar can be used freely on all floor types; while it’s great for some surfaces, it can erode finishes on others like natural stone or hardwood.
We’ll separate fact from fiction and share what really works to keep your floors spotless without causing harm.
Interesting Cleaning Facts That Surprise Most People
Did you know that tile floors have been used since ancient civilizations, and their natural durability made them popular in kitchens for centuries? Or that certain natural oils used in traditional floor polishing not only add shine but also help protect wood fibers from drying out?
Understanding the science behind different floor materials and why specific cleaning methods work can empower you to take better care of your kitchen floors—and appreciate the process a little more.
How to Keep Your Kitchen Floors Spotless: Final Tips for Lasting Cleanliness
Keeping your kitchen floors spotless is easier when you understand your floor type, adopt smart daily habits, and use the right tools and cleaning methods. By combining regular maintenance with occasional deep cleaning and simple stain removal tricks, you’ll protect your floors’ shine and longevity without stress. Remember, consistency and the right approach are key to enjoying a beautiful, spotless kitchen floor every day. Start applying these tips today and see the difference in your kitchen’s cleanliness and comfort!