


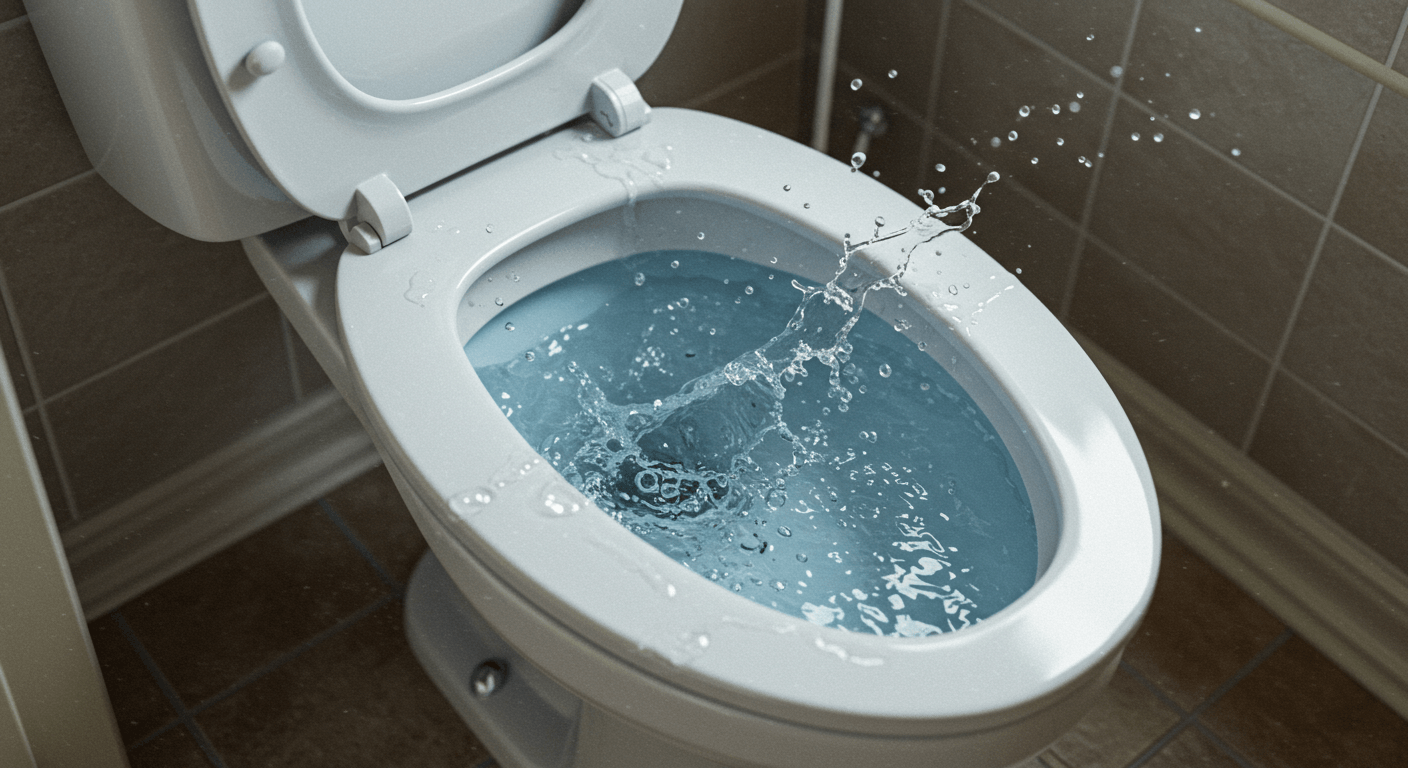
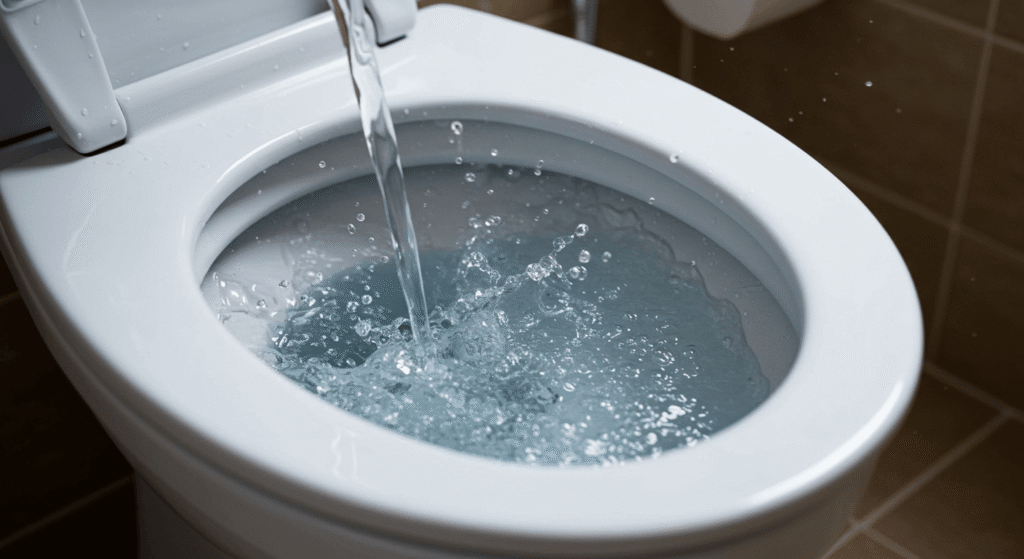
How to fix a running toilet is one of the most common and frustrating household problems—but the good news is, it’s usually a simple fix you can do yourself. A running toilet not only wastes water but can also cause your water bill to skyrocket if left unattended. In this step-by-step guide, we’ll walk you through the most effective and fast ways to stop your toilet from running, covering everything from checking the toilet flapper to adjusting the fill valve. Whether you’re a DIY beginner or just want to save on plumber costs, these tips will help you get your toilet working quietly and efficiently again.
Why Is Your Toilet Running? Understanding the Basics
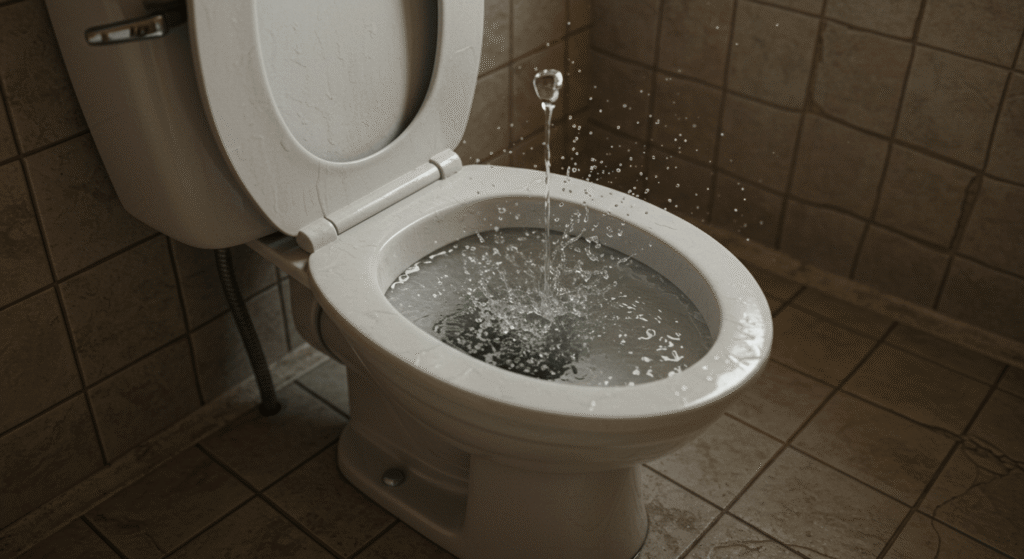
Understanding why your toilet is running starts with knowing the basic mechanics inside the tank. The toilet tank houses several essential parts that work together to ensure efficient flushing and water refill. When these components fail or become misaligned, the toilet may run continuously, leading to water waste.
What Happens Inside the Toilet Tank?
Inside the toilet tank, the main components include the flapper, fill valve, and flush valve. The flapper is a rubber seal at the bottom of the tank that lifts to release water when you flush and then closes to stop water flow. The fill valve controls how much water refills the tank after flushing, while the flush valve works with the flapper to allow water to exit the tank and flush the bowl. These parts must operate correctly and in sync to prevent leaks or constant running.
Common Causes of a Running Toilet
Several issues can cause your toilet to run continuously. The most common causes are:
- Faulty flapper: Worn or warped, causing it not to seal properly.
- Misaligned chain: Chain connected to the flapper is either too tight or too loose.
- Fill valve issues: Malfunctioning fill valve causing overfilling or constant water flow.
- Water level problems: Water level set too high, overflowing into the overflow tube.
| Cause | Description |
|---|---|
| Faulty Flapper | Worn or warped, causing poor sealing |
| Misaligned Chain | Chain too tight or too loose on flapper |
| Fill Valve Issues | Improper water level or valve failure |
| Water Level Problems | Water rises too high and overflows |
How a Running Toilet Wastes Water (and Money)
A running toilet can waste a significant amount of water—between 200 and 600 gallons daily depending on the leak’s severity. This not only impacts the environment but also increases your water bill substantially. For example, leaking toilets can add an extra $50 or more annually to your water expenses. Fixing a running toilet promptly saves both water and money while reducing unnecessary utility costs.
Step 1 – Diagnosing the Problem: Where Is the Leak?
Before you start any repairs, it’s essential to diagnose the problem carefully to find exactly where the leak is coming from. Proper diagnosis will save you time and unnecessary parts replacement.
Listen and Look for Clues
Pay attention to the sound your toilet makes. Is there a constant running water noise, or does it run intermittently? A constant sound usually means water is leaking continuously, while intermittent running might indicate the tank is refilling after a partial flush or a leak that triggers occasionally. Watching and listening closely helps narrow down the source of the problem.
Check the Toilet Flapper First
The flapper is the most common culprit behind running toilets. To check if it’s sealing properly, you can perform a simple test: add a few drops of food coloring or dye into the tank water and wait 15-20 minutes without flushing. If the colored water seeps into the toilet bowl, the flapper is not sealing correctly and likely needs adjustment or replacement.
Inspect the Water Level in the Tank
Look inside the tank to check the water level. There is usually a water level mark or line indicating the ideal height. If the water is above this mark, it may overflow into the overflow tube, causing the toilet to run. If it’s too low, the flush won’t be effective. Adjusting the water level to the correct mark is a crucial step in fixing running toilets.
Step 2 – Fixing the Flapper: The Most Common Culprit
The flapper is often the main reason behind a running toilet. Because it controls the release of water from the tank into the bowl, even slight wear or misalignment can cause constant leaks. Fixing or replacing the flapper is usually a quick and effective solution.
Why Flappers Fail Over Time
Over time, the flapper material—usually rubber or silicone—can degrade due to continuous exposure to water and minerals. This causes the flapper to warp, crack, or become stiff, preventing it from sealing tightly against the flush valve. Even a small gap allows water to leak into the bowl, causing the toilet to run. In addition, improper alignment or chain tension can interfere with the flapper’s ability to close properly, leading to ongoing water loss.
How to Adjust or Replace the Flapper
Fixing a faulty flapper involves either adjusting it or replacing it entirely. Here’s a simple step-by-step guide:
- Turn off the water supply to the toilet by closing the shutoff valve near the base.
- Flush the toilet to drain most of the water from the tank.
- Remove the old flapper by disconnecting the chain from the flush handle and unhooking the flapper from the overflow tube.
- Inspect the flush valve seat for debris or damage before installing the new flapper.
- Attach the new flapper securely over the flush valve opening, making sure it sits flat and forms a tight seal.
- Reconnect the chain to the flush handle lever, ensuring there is some slack for smooth operation.
- Turn the water supply back on and allow the tank to fill.
- Test flush the toilet to check if the running has stopped.
Using visuals or a checklist here helps make these steps clearer and easier to follow.
Flapper Chain Adjustment Tips
Proper chain length is crucial for flapper performance. If the chain is too tight, it may hold the flapper open, causing water to continuously run. If the chain is too loose, it might not lift the flapper fully during flushing, leading to incomplete flushes or stuck flappers. The ideal chain length allows the flapper to close snugly while still lifting freely when you flush. Adjusting the chain by small increments can prevent many common running toilet problems.
Step 3 – Adjusting the Fill Valve for Optimal Performance
If your toilet continues to run after fixing the flapper, the fill valve may be the next culprit. Proper adjustment of this component ensures your toilet refills correctly without overflowing or wasting water.
What Does the Fill Valve Do?
The fill valve controls the flow of water into the toilet tank after each flush. Once the tank empties, the fill valve opens to let water refill the tank and then closes when the water reaches the correct level. It works alongside the float, which signals when to stop the water flow, helping maintain the right water level for a smooth flush without leaks.
How to Adjust the Float and Water Level
Most toilets have either a ball float or a cylinder float to regulate the fill valve:
- Ball Float: This is a large ball attached to a metal or plastic arm. To adjust, gently bend the arm up or down to raise or lower the water level. Bending it upward raises the water level, while bending it downward lowers it.
- Cylinder Float: This float slides up and down the fill valve shaft. Look for a small adjustment clip or screw on the side of the valve. Pinch or turn the clip to move the float up or down to set the correct water level.
The ideal water level is typically marked on the inside of the tank. Adjusting the float to this mark helps prevent water from overflowing into the overflow tube, which causes running toilets.
When to Consider Replacing the Fill Valve
Sometimes, adjusting the fill valve isn’t enough. If you notice any of the following, it might be time to replace the fill valve entirely:
- Water keeps running despite adjustments.
- The fill valve makes continuous noise or sputters during refilling.
- Visible signs of wear, cracks, or corrosion on the valve.
- The valve doesn’t shut off completely, leading to water waste.
Replacing the fill valve can restore efficient performance and prevent water waste, saving both water and money.
Step 4 – Fixing Other Causes: Handle and Flush Valve Issues
While the flapper and fill valve are the most common causes of a running toilet, problems with the handle or flush valve can also lead to leaks and water waste. Addressing these issues can save you from unnecessary repairs or plumber visits.
Handle Problems That Cause Running Water
A loose or faulty handle lever can cause the chain to get stuck or pull the flapper open slightly, letting water run continuously. To fix this, try tightening the handle nut inside the tank or replacing the handle if it’s broken. Also, ensure the chain connecting the handle to the flapper is adjusted properly—not too tight or too loose—to allow smooth flushing without keeping the flapper partially open.
Flush Valve Seal Check
The flush valve seal creates a watertight barrier between the tank and the bowl. Over time, this seal can crack or wear down, causing water to leak into the bowl. Inspect the flush valve seal for any signs of damage or mineral buildup. If you notice cracks or deterioration, replacing the seal can prevent leaks and stop the running water.
Quick Fixes Before Calling a Professional
If you need a temporary fix before professional help arrives, there are a few simple tricks to reduce water waste:
- Place a plastic bottle filled with water in the toilet tank to reduce the water level.
- Manually lift and close the flapper to stop leaks.
- Turn off the toilet’s water supply valve to stop water flow temporarily.
These steps won’t solve the root problem but can help minimize water loss in the short term.
Tools and Materials You’ll Need for DIY Toilet Repair
Before starting any DIY project, being prepared with the right tools and materials can save you time, frustration, and extra trips to the store. When it comes to fixing a running toilet, having these essentials at hand will make your repair smoother and more efficient.
Basic Tools Checklist
Here’s a handy table listing the most common tools you’ll need, along with why each one is important for toilet repair:
| Tool | Purpose |
|---|---|
| Adjustable Wrench | Used to loosen or tighten nuts on the water supply line or toilet handle. It’s essential for disconnecting and reconnecting parts safely. |
| Screwdriver | Needed for removing or securing screws on the tank lid, handle, or internal components. Having both flathead and Phillips types is helpful. |
| Pliers | Useful for gripping, twisting, or pulling small parts such as chains, clips, or connectors that are hard to reach with fingers. |
| Sponge | Perfect for soaking up excess water when draining the tank or cleaning up spills during the repair process. |
Having this toolkit ready ensures you can tackle most common toilet issues without delays or improvising with incorrect tools.
Materials to Keep On Hand
Aside from tools, you’ll also want to keep a few key materials stocked for quick repairs or replacements:
- Flappers: These rubber seals come in various shapes and sizes depending on your toilet model. Keeping a couple of compatible flappers on hand lets you replace faulty ones immediately, which is often the main cause of running toilets.
- Washers and Gaskets: These small but crucial parts ensure watertight seals between different components like the flush valve and tank bolts. Over time, they can wear out or degrade and cause leaks.
- Plumber’s Tape Alternatives: Also known as thread seal tape, plumber’s tape helps create leak-proof joints on threaded pipe connections. It’s inexpensive and easy to use, making it a must-have for preventing water leaks when tightening supply lines or valves.
By having these materials ready, you’ll be prepared for the most common repairs that cause a running toilet, helping you save water and avoid costly plumber visits.
How to Save Water and Money by Maintaining Your Toilet
Maintaining your toilet isn’t just about fixing problems when they arise—it’s also about preventing issues before they start. With some simple routine maintenance, you can keep your toilet running efficiently, save water, and lower your utility bills. Small changes in your habits can make a big difference over time.
Routine Toilet Maintenance Tips
Performing easy checks on a monthly or quarterly basis helps catch minor problems early and keeps your toilet in top shape. Some maintenance tips to consider include:
- Inspect the flapper and chain for wear or misalignment.
- Check the water level in the tank and adjust the fill valve if necessary.
- Clean the inside of the tank to prevent mineral buildup that can interfere with parts.
- Test the flush handle and make sure it moves freely without sticking.
- Look for any leaks around the base of the toilet or supply line connections.
These quick inspections take only a few minutes but can prevent constant running and expensive water waste down the line.
Water-Saving Habits at Home
Besides maintenance, adopting mindful water use habits can significantly reduce waste. Here are a few simple habits to try:
- Adjust your toilet’s water level to the manufacturer’s recommended mark to avoid overflow.
- Avoid using the toilet as a trash bin—flushing unnecessary items can cause clogs and repeated flushes.
- Practice mindful flushing by using the toilet only when needed and avoiding multiple flushes for small amounts.
- Consider installing water-efficient add-ons, such as displacement devices, if appropriate.
By combining maintenance with water-conscious behavior, you maximize savings both in water consumption and utility costs.
Quick Quiz: How Water-Wise Are You?
Take this short checklist to see how well you’re managing your toilet’s water use:
- Do you regularly check your toilet tank for leaks?
- Have you adjusted the fill valve to keep water at the proper level?
- Do you avoid unnecessary flushing or “just in case” flushes?
- Have you cleaned your toilet tank in the past six months?
- Do you notice any running water sounds after flushing?
If you answered “no” to any of these, now is a great time to adopt some of the tips above to become more water-wise and save money.
When to Call a Professional Plumber
While many toilet issues are simple enough for a DIY fix, there comes a point when it’s best to bring in an expert. Knowing when to make that call can save you time, money, and a lot of water.
Signs That DIY Isn’t Enough
If your toilet continues to run after trying the usual fixes, it may be more than a quick repair. Here are signs it’s time to contact a plumber:
- Persistent leaks despite replacing the flapper, adjusting the fill valve, or fixing the chain.
- Cracks or structural issues in the toilet tank or bowl that are not patchable.
- Repeated breakdowns where parts wear out or malfunction again shortly after being replaced.
- Unfamiliar noises or irregular water flow that aren’t resolved with standard adjustments.
If you’re spending more time diagnosing than solving—or replacing the same parts over and over—it’s likely time for a professional inspection.
How to Prepare Before a Plumber Visit
To make the plumber’s job faster and more cost-efficient, a little preparation goes a long way:
- Document the issue: Note when the problem started and what fixes you’ve already attempted.
- Turn off the toilet’s water supply to prevent further waste.
- Clear the area around the toilet to ensure easy access.
- Take a picture of the toilet tank parts or note the model number—this helps the plumber come prepared with the right tools or replacement parts.
Being ready can help reduce labor time and avoid delays if the plumber needs to diagnose and fix the issue on the spot.
Cost Expectations for Professional Repairs
Costs vary depending on your location, the plumber’s rates, and the nature of the repair. Here are some general guidelines:
- Minor repairs (e.g., flapper or handle replacement): Low range
- Mid-level repairs (e.g., fill valve replacement, fixing small leaks): Medium range
- Major repairs (e.g., tank rebuild, extensive damage, internal part replacement): Higher range
Some plumbers charge a flat diagnostic fee or offer package pricing, while others bill by the hour. It’s a good idea to request an estimate upfront before the work begins.
FAQ: Quick Answers to Common Running Toilet Questions
Have questions? You’re not alone. Here are some of the most frequently asked questions about fixing a running toilet—answered clearly and concisely to help you take the right next steps.
How long does it usually take to fix a running toilet?
In most cases, a basic running toilet repair—like replacing a flapper or adjusting the fill valve—takes 15 to 30 minutes. More complex issues, such as replacing internal components or diagnosing hidden leaks, might take up to an hour or more, especially if it’s your first time doing it.
Can I use DIY kits to fix my toilet?
Absolutely. DIY toilet repair kits are widely available and often come with everything you need: a new flapper, fill valve, flush valve, seals, and instructions. They’re ideal for beginners and can simplify the repair process. Just make sure the kit is compatible with your toilet model before purchasing.
Will a running toilet cause damage to my bathroom?
A running toilet typically won’t cause physical damage to your bathroom floor or structure—unless it starts overflowing or leaking externally. However, it can silently waste dozens of gallons of water a day, leading to increased water bills and unnecessary strain on your plumbing system. Left unchecked for weeks or months, the costs can add up fast.
What if my toilet still runs after all fixes?
If you’ve tried replacing the flapper, adjusted the fill valve, checked the chain, and verified the water level—and the toilet is still running—it might be time to:
- Inspect for less obvious leaks like a cracked flush valve or worn tank gasket.
- Check if the fill valve or flapper is compatible and properly installed.
- Look for hairline cracks in the tank that may not be visible at first.
When in doubt, calling a professional plumber is the best way to avoid further frustration and ensure a lasting fix.
Stop Your Running Toilet and Start Saving Today
Fixing a running toilet might feel like a daunting task, but knowing how to fix a running toilet is a valuable skill that can save you time and money. When you understand how to fix a running toilet, you can quickly identify common problems such as a worn flapper, misaligned chain, or faulty fill valve. By following simple steps on how to fix a running toilet, most homeowners can stop the constant water flow without needing to call a plumber. Regularly learning and practicing how to fix a running toilet helps prevent water waste and reduces your utility bills. If you ever find yourself unsure, knowing how to fix a running toilet prepares you to decide when it’s best to try a DIY fix or call a professional. Ultimately, mastering how to fix a running toilet ensures your bathroom stays efficient, saves water, and avoids costly repairs down the line.
Remember, taking the time to learn how to fix a running toilet not only solves the immediate problem but also empowers you to handle future plumbing issues with confidence. The more familiar you become with how to fix a running toilet, the easier it will be to maintain your home and avoid unnecessary expenses.