How to install floating shelves like a pro is a question many homeowners ask when looking to add stylish, functional storage without bulky furniture. Floating shelves not only maximize space but also create a sleek, modern look that fits any room. In this step-by-step guide, you’ll learn everything from choosing the right tools to mounting your shelves securely on different wall types. Whether you’re a DIY beginner or just want to avoid common mistakes, these tips and tricks will help you achieve professional results with ease. Get ready to transform your walls and elevate your home decor with floating shelves!
Why Floating Shelves Are the Perfect Home Upgrade
Adding floating shelves to your home is one of the simplest and most effective ways to enhance both style and functionality. Unlike traditional shelves with visible brackets, floating shelves appear to “float” on the wall, creating a clean and modern aesthetic that can complement any interior design. This makes them a favorite choice for homeowners seeking a subtle yet impactful upgrade.
Floating shelves are incredibly versatile, allowing you to customize your space without sacrificing floor area or overwhelming the room. They work well in virtually every part of the home, offering opportunities to declutter, display, and organize in an elegant way. Their ability to blend form and function is what makes them a perfect addition for those wanting both practicality and beauty.
The Magic of Floating Shelves — Style Meets Function
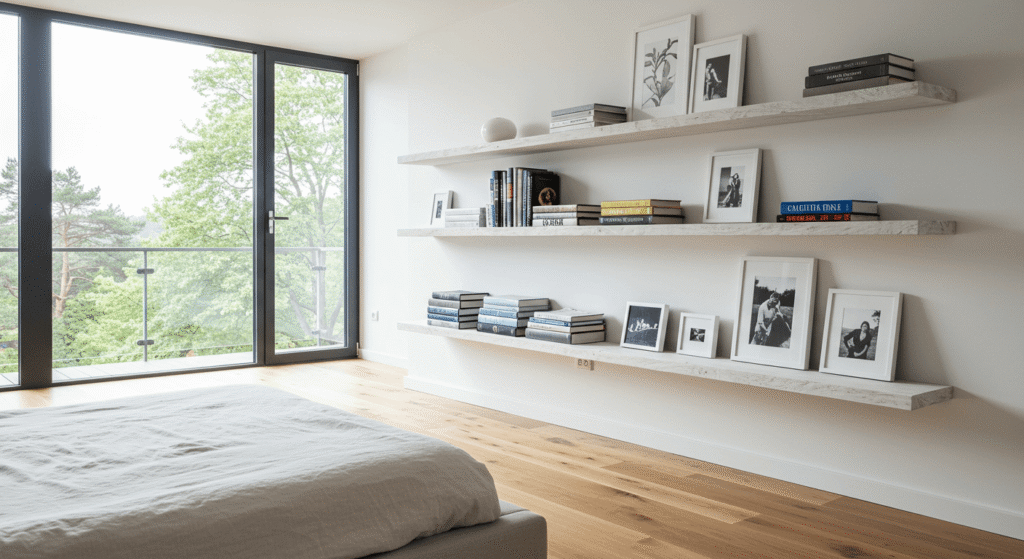
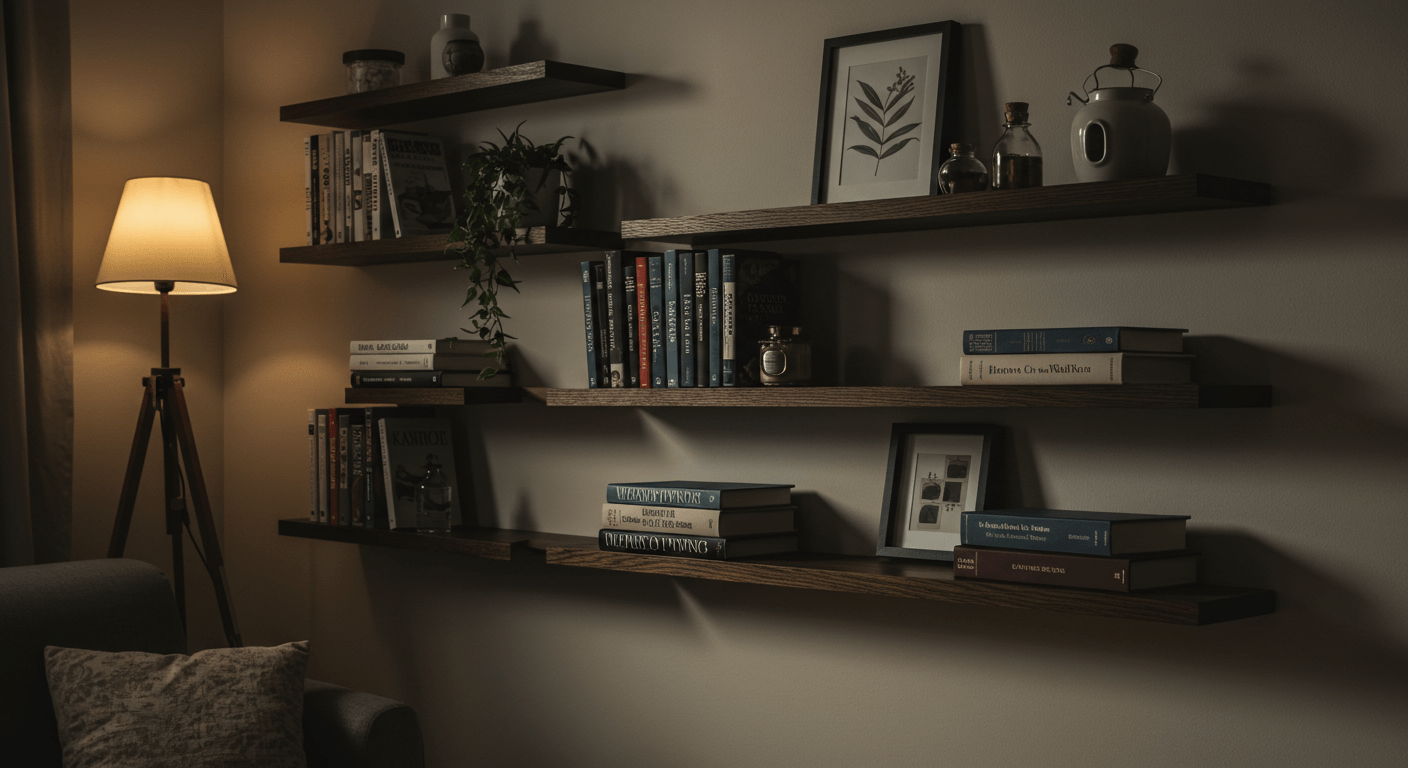
One of the main reasons floating shelves are so popular is their unique design, which seamlessly combines style with functionality. The hidden mounting hardware means there are no brackets to distract from the shelf’s clean lines, allowing your displayed items or decorative pieces to truly stand out.
Beyond aesthetics, floating shelves provide practical storage solutions. Whether you use them for books, plants, or everyday essentials, they help you make use of otherwise underutilized wall space. This design allows rooms to feel more open and airy while giving you an organized spot to showcase your personality.
Key Benefits Beyond Looks — Storage, Space, and More
While the sleek appearance of floating shelves is a major advantage, their benefits go far beyond just looks. For one, they maximize storage capacity in small or crowded rooms by utilizing vertical space effectively. This is especially helpful in apartments, offices, or rooms where floor space is limited.
Floating shelves also contribute to better organization. By elevating items off counters and floors, they reduce clutter and make cleaning easier. Additionally, they can be installed at any height, making them adaptable for different uses—whether for children’s books or kitchen spices.
Quick Inspiration: Where Floating Shelves Shine in Your Home (Living Room, Kitchen, Bathroom)
Floating shelves can be a stylish solution in nearly every room of your home. In the living room, they serve as a perfect platform to display art, framed photos, or cherished collectibles without taking up valuable floor space. In the kitchen, floating shelves offer easy access to frequently used dishes, spices, or cookbooks, blending convenience with charm.
Bathrooms also benefit from the addition of floating shelves, providing space for toiletries, towels, and decorative accents in a tidy and visually pleasing way. Their adaptability means you can tailor their placement and size to suit your specific needs, making them a smart choice for practical storage that enhances your home’s overall aesthetic.
Essential Tools and Materials You’ll Need
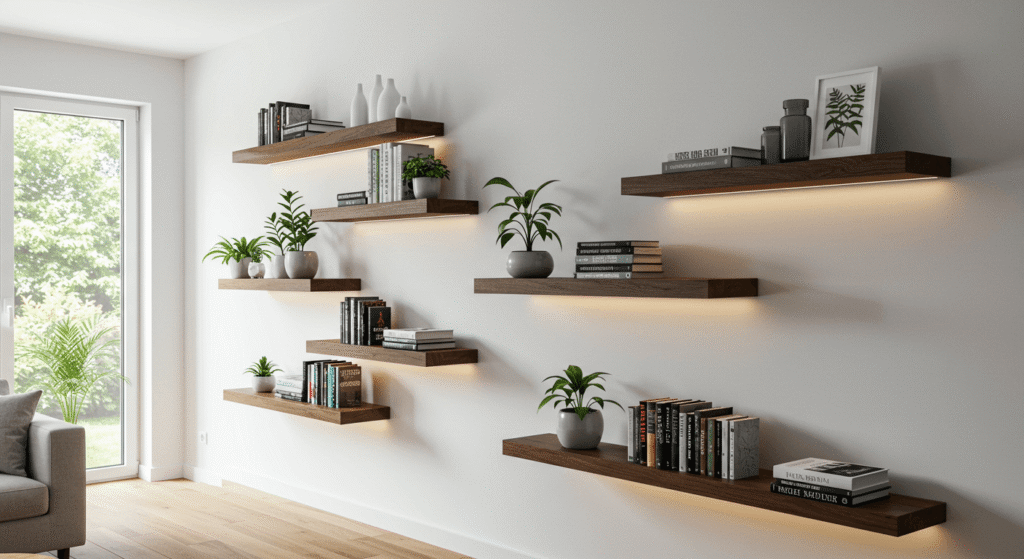
Before you start, having the right tools and materials on hand will make installing floating shelves much easier and ensure a secure, professional finish. Understanding which tools and fixings suit your wall type is essential for success.
Must-Have Tools for a Smooth Installation
To install floating shelves like a pro, you’ll need a few basic tools: a power drill, stud finder, spirit level, measuring tape, and screwdriver. These help you accurately measure, locate studs, and securely attach the shelves without damaging your walls.
Choosing the Right Materials Based on Your Wall Type
Not all walls are created equal. Whether you’re working with drywall, plaster, concrete, or brick, each requires specific fixings to hold your shelves safely. Using the wrong anchors can lead to shelf failure or wall damage, so it’s important to choose the right materials.
Quick-Reference Table: Tools vs. Wall Types & Recommended Fixings
| Wall Type | Recommended Fixings | Notes |
|---|---|---|
| Drywall | Toggle bolts, anchors | Use stud finder |
| Brick | Masonry anchors | Drill carefully |
This table offers a simple guide to matching your wall type with the appropriate fixings, helping you avoid common pitfalls and ensuring your floating shelves stay sturdy over time.
Step 1 – Planning Your Floating Shelf Layout
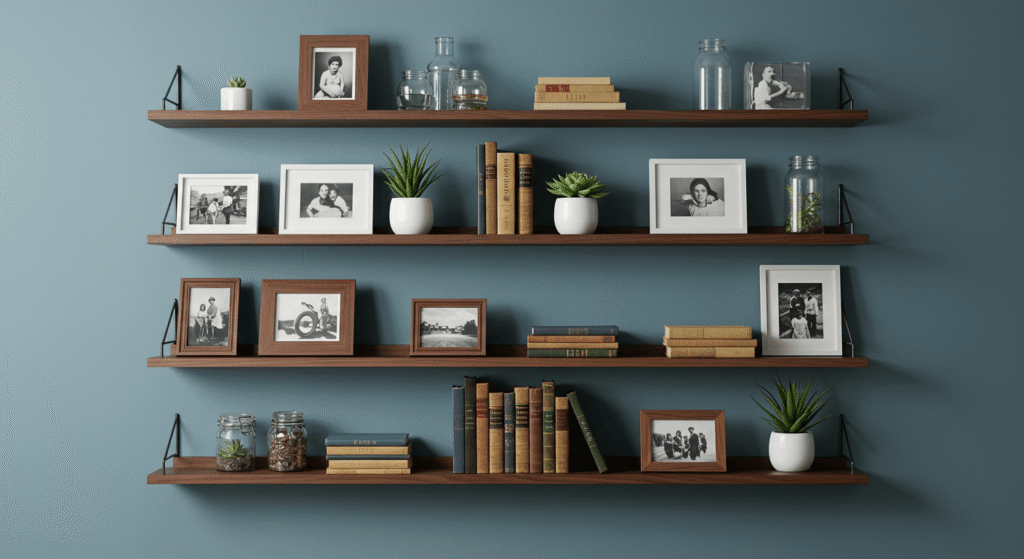
Careful planning is the foundation of a flawless floating shelf installation. Taking time to map out your layout will save you headaches later and ensure your shelves look balanced and purposeful.
How to Decide on Shelf Placement for Maximum Impact
When deciding where to place your floating shelves, consider both functionality and visual appeal. Think about what you want to display or store and how often you’ll need to access these items. Placement should enhance the room’s flow and complement existing furniture or decor. Don’t be afraid to experiment by holding shelves or mock-ups against the wall before committing to a final spot.
Measuring Twice: Avoid These Common Layout Mistakes
One of the biggest mistakes is rushing measurements. Always measure your wall space carefully, checking for obstacles like light switches, outlets, or uneven surfaces. Overlapping shelves or uneven spacing can disrupt the clean look of floating shelves, so take extra care to get distances right. Remember, precise measuring leads to professional results.
Pro Tip: Using Graph Paper or Digital Apps for Precision Planning
For better accuracy, use graph paper to sketch your wall and shelf placement to scale, or try digital design apps that let you experiment with different layouts virtually. This approach helps you visualize spacing and dimensions before drilling any holes, reducing costly errors and giving you confidence in your plan.
Step 2 – Finding and Marking Studs Like a Pro
Securing your floating shelves properly starts with knowing exactly what’s behind your walls. Whether you’re mounting on drywall, plaster, or another surface, finding wall studs gives your shelves the strength to hold heavier items safely.
How to Use a Stud Finder Correctly (Including Troubleshooting Tips)
A stud finder is your best friend when it comes to locating framing studs hidden behind drywall. Move the device slowly along the wall and mark the edges of each stud you detect. For the most accurate result, run it across the same spot a couple of times to confirm the reading.
If your stud finder gives inconsistent results, make sure you’re not moving it too fast, and check for interference from electrical wiring or metal pipes. For plaster walls, try using a magnetic stud finder that detects the nails or screws in lath and studs.
What to Do When You Can’t Find Studs — Wall Anchor Options Explained
If you’re installing shelves where no studs are available, don’t worry — that’s where wall anchors come in. These are designed to provide grip in hollow walls and prevent shelves from pulling out over time.
For drywall, toggle bolts or snap toggles are reliable choices. For plaster or hollow masonry, use expansion anchors or molly bolts. Always match the anchor type with your wall material and the expected weight of your shelf contents.
Visual Guide: Typical Stud Spacing & Marking Points
Most vertical wall studs in residential homes are spaced 16 inches apart (sometimes 24 inches, depending on the building). Here’s a quick layout guide:
- Start from a corner or outlet box — they are usually mounted on a stud.
- Measure in 16-inch increments to estimate where the next stud should be.
- Use your stud finder to confirm and then mark with a pencil at both top and bottom.
This simple practice ensures your floating shelves are securely supported, even before the drill touches the wall.
Step 3 – Prepping and Drilling Your Wall
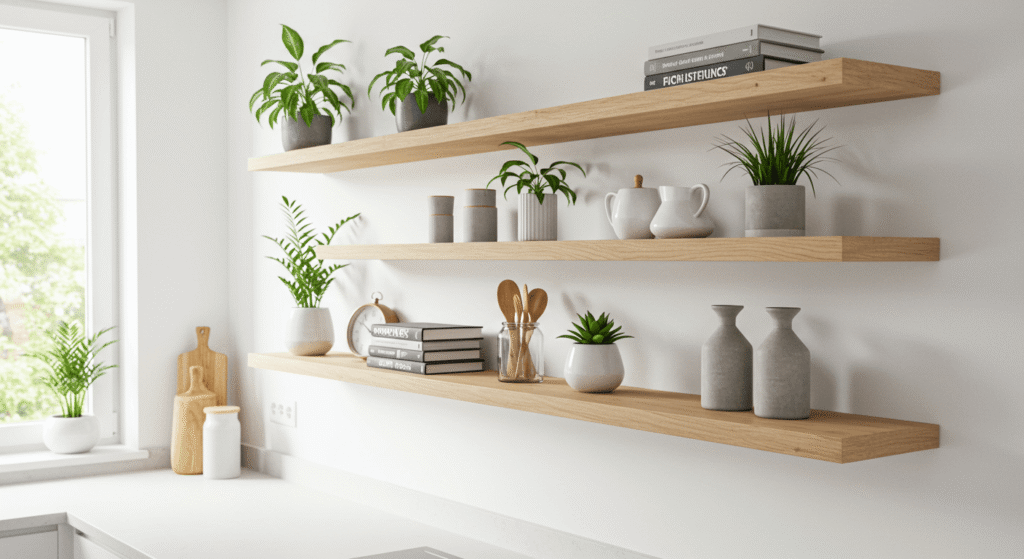
Once your layout is finalized and your stud locations marked, it’s time to prepare for drilling. This step is crucial for a safe and clean installation. Rushing through it can lead to mistakes—or worse, damage to your walls or hidden infrastructure.
Safety First: How to Avoid Drilling Into Wiring or Pipes
Before you grab the drill, it’s important to check what’s behind the wall. Accidentally hitting electrical wiring or plumbing pipes is a serious risk in any DIY project.
Use a multi-sensor stud finder with AC and metal detection features to help you identify wires or pipes. Avoid drilling directly above or below outlets and switches, as electrical wires often run vertically in those zones. When in doubt, drill slightly to the side of a stud or consult a professional.
Drill Bits and Depth: What You Need to Know
Choosing the correct drill bit and knowing how deep to drill makes all the difference in securing your floating shelves properly.
- For drywall with anchors, use a bit that matches the anchor size.
- When drilling into brick or concrete, use a masonry bit and hammer drill mode if available.
- To avoid over-penetration, place a strip of painter’s tape on your bit at the target depth.
Generally, your pilot hole should be about the same length as the screw you plan to use, but not so deep that it compromises wall integrity.
Common Drilling Mistakes and How to Fix Them
Even seasoned DIYers slip up sometimes. Here are a few common errors—and how to correct them:
- Hole too big: Use a larger anchor or fill the hole with a wooden dowel and re-drill.
- Drilled in the wrong spot: Fill the hole with wall putty or filler, sand it down, and paint over before starting again.
- Drill slips on surface: Use a nail or punch to create a small starter dent that keeps the bit from drifting.
Taking your time during the drilling phase ensures your floating shelves will be stable, level, and long-lasting.
Step 4 – Mounting Your Floating Shelves Securely
Now that your holes are drilled and everything is prepped, it’s time for the most rewarding part—mounting your floating shelves. This step is all about accuracy and stability. Done right, your shelves will look flawless and stay rock-solid for years to come.
Aligning and Leveling: The Secret to Professional Results
Even a perfectly installed shelf can look off if it’s not level. Start by holding the shelf mount or bracket in place and using a spirit level to check the alignment. Mark the final hole positions before securing anything permanently.
For multi-shelf setups, consistency is key—ensure even spacing and height by measuring from a fixed point like the floor or ceiling, not just from one shelf to the next. Taking this extra time gives your floating shelves a polished, intentional appearance.
Fastening Methods: Screws, Anchors, and Hidden Brackets Compared
The type of fastening method you use will depend on your wall type and the shelf design:
- Screws into studs provide the strongest hold and are ideal for heavy-duty use.
- Wall anchors are necessary when studs aren’t available. Choose toggle bolts or expansion anchors based on the wall material.
- Hidden brackets (also known as floating shelf brackets) give shelves that clean, “floating” look by concealing the hardware inside the shelf itself.
Each method has pros and cons. Screws are the most secure, but require precise stud placement. Anchors offer flexibility but may limit weight capacity. Hidden brackets give a sleek finish but require exact drilling to align both wall and shelf holes.
DIY Hack: How to Keep Shelves Level During Installation Without Extra Help
Don’t have an extra pair of hands? No problem. Try this simple trick:
- Cut a cardboard or wood spacer to hold the shelf temporarily at the right height.
- Use painter’s tape to mark the top line of your shelf on the wall.
- If possible, attach a temporary support board beneath the shelf to rest it on while fastening.
This allows you to keep both hands free for securing the shelf, while still maintaining perfect alignment and level—a trick many professionals use when working solo.
Step 5 – Decorating and Maintaining Your Floating Shelves
Installing floating shelves is just the beginning. How you style and care for them will determine their lasting impact on your home’s look and functionality. Thoughtful decorating paired with regular maintenance keeps your shelves both beautiful and sturdy.
Styling Tips That Won’t Overload Your Shelves
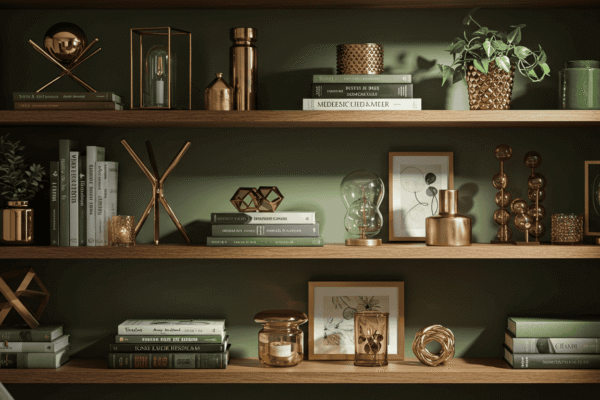
To create an attractive display without overwhelming your shelves, balance is key. Mix different-sized items like books, small plants, framed photos, and decorative objects to add interest. Leave some negative space—empty areas help your arrangement breathe and keep it from looking cluttered.
Remember, floating shelves are as much about style as storage, so avoid piling on too many heavy or bulky items that can strain the mounts or distract from the overall design.
Shelf Weight Capacity: How Much Can Yours Hold Safely?
Knowing the weight capacity of your shelves is essential to prevent damage. Factors affecting capacity include the type of wall anchors or screws used, the thickness and material of the shelf, and how well the shelf is mounted.
As a general rule:
- Shelves anchored into studs can usually hold 20–50 pounds or more.
- Shelves using wall anchors may support between 10–25 pounds depending on anchor type.
Always check manufacturer guidelines (if applicable) or test the shelf with lighter loads first to be safe.
Maintenance Checklist: Keep Your Shelves Looking New
- Regularly dust and wipe shelves with a soft cloth to prevent buildup.
- Check brackets and anchors periodically to ensure they remain tight and secure.
- Avoid placing wet or heavy objects without protective pads.
- If you notice any wobbling, reinforce mounting points immediately.
Following these simple maintenance steps will extend the life and beauty of your floating shelves, making them a lasting feature of your home decor.
Troubleshooting and FAQs — Fix Common Installation Issues
Even with careful planning and execution, sometimes things don’t go exactly as planned. This section covers common problems you might encounter when installing floating shelves — and how to solve them quickly and effectively.
Shelf Wobbles or Sags — Quick Fixes
If your floating shelf feels unstable or sags under weight, the issue often lies in insufficient support or incorrect mounting. Start by checking that all screws and anchors are tightened securely. If the shelf still wobbles, consider adding additional brackets or switching to stronger wall anchors designed for heavier loads.
For sagging shelves, you might need thicker or sturdier shelving material or install a center support bracket hidden underneath for extra reinforcement.
What to Do If Your Wall Shows Damage After Installation
Wall damage can occur if anchors were improperly installed or if the shelf was overloaded. To fix minor holes or cracks, use spackling paste or wall filler, smooth it out with sandpaper once dry, and repaint the area to blend with the rest of the wall.
For larger damage, patch kits designed for drywall or plaster walls provide a durable fix. Avoid heavy items on shelves until repairs are complete and fully cured.
How to Remove Floating Shelves Without Mess
Removing floating shelves without damaging your walls requires patience and the right technique. Begin by unscrewing or detaching the shelf carefully. If anchors remain in the wall, try to gently pry them out with pliers or a flathead screwdriver.
Fill any leftover holes or marks with spackling paste and touch up the paint for a smooth finish. Taking your time during removal helps preserve your walls for future projects.
Creative Floating Shelf Ideas for Every Room
Once you’ve mastered how to install floating shelves, the fun really begins—finding creative ways to use them throughout your home. From maximizing small spaces to turning your shelves into mini galleries, these ideas will inspire your next design project.
Floating Shelves in Small Spaces: Maximize Storage and Style
In compact areas like apartments, bathrooms, or cozy corners, floating shelves are a game-changer. Their space-saving design keeps floors clear while adding valuable vertical storage.
Use narrow or staggered shelves to create visual interest without overwhelming the space. Combine open shelves with hidden storage bins or baskets to keep clutter out of sight but easily accessible.
Using Floating Shelves to Showcase Collections and Artwork
Floating shelves offer a versatile stage for your favorite collections, from vintage cameras to ceramics or travel souvenirs. Group items by theme or color to create a cohesive display.
For artwork, try placing small framed prints or canvases on shelves at eye level to add depth and personality to your walls. Changing your displays seasonally can keep the look fresh and exciting.
Mastering Floating Shelves for a Stylish and Functional Home
Installing floating shelves is a simple yet impactful way to upgrade your living space with both style and practicality. By carefully planning, using the right tools, and following proper installation steps, you can create beautiful, sturdy shelves that enhance any room.
With the tips and ideas shared here, you’re well-equipped to confidently transform your walls and enjoy the perfect blend of storage and decoration. Floating shelves aren’t just a trend—they’re a lasting home improvement that adds value and charm for years to come.

