


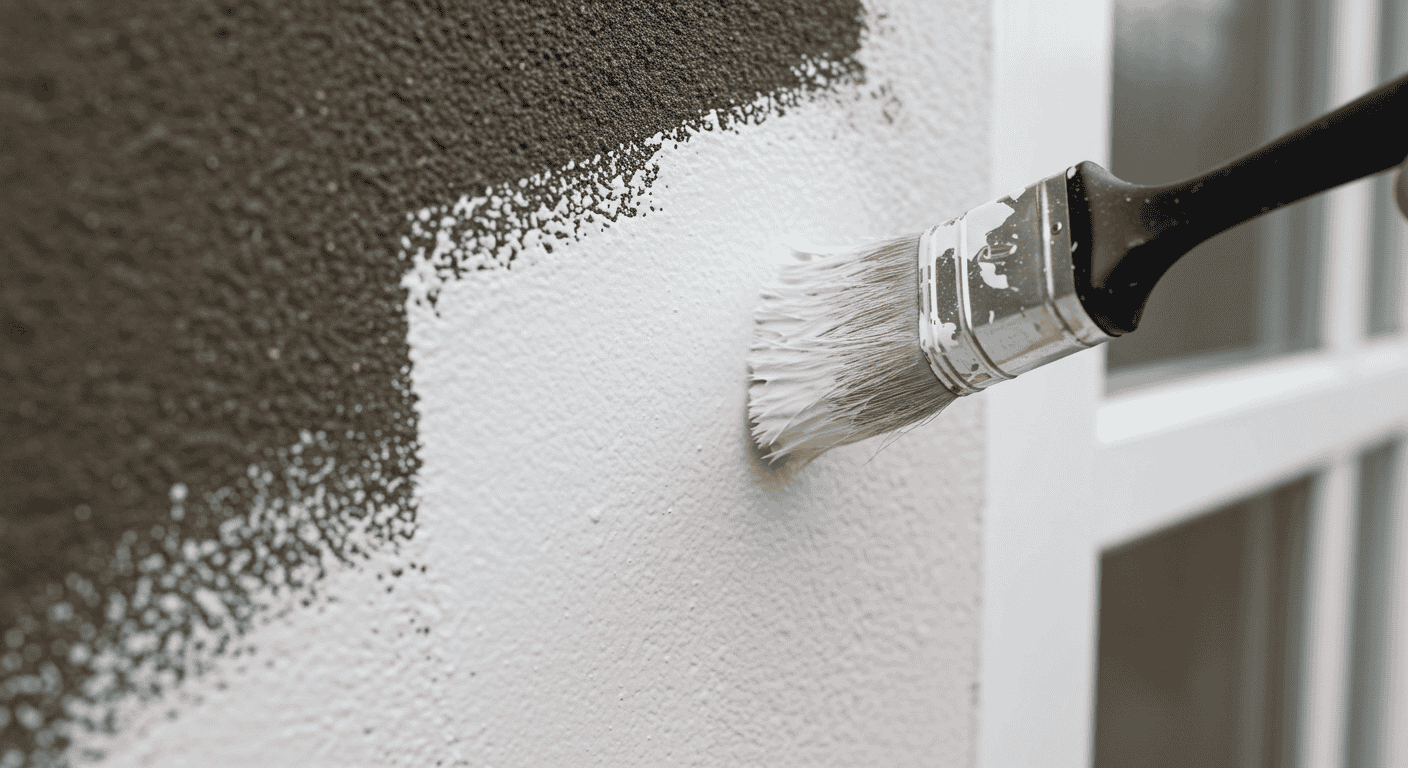
Anti-mould paint is more than just a quick fix for unsightly wall spots — it’s a powerful barrier that helps keep your home clean, healthy, and free from the silent damage mould can cause. Whether it’s the bathroom, kitchen, or a damp basement, mould thrives in hidden corners, spreading spores that can harm both your home and your health. By using the right mould-resistant paint, you’re not only preventing stubborn stains but also protecting your walls from long-term deterioration. In this guide, we’ll explore how to choose, apply, and maintain anti-fungal paint so your walls stay fresh and mould-free for years to come.
Understanding Mould — Why It Loves Your Walls
Mould is a common but persistent problem in many homes, especially in areas where moisture accumulates. Understanding what makes your walls susceptible to mould growth is the first step toward keeping your living space clean and healthy. In this section, we’ll explore the main causes of indoor mould, the typical areas where it thrives, and how factors like humidity and dampness contribute to its spread.
What Causes Mould Growth Indoors?
Indoor mould growth is primarily caused by excess moisture combined with poor ventilation and warm temperatures. When water accumulates on or inside walls due to leaks, condensation, or high humidity, it creates an ideal environment for mould spores to settle and multiply. Other factors contributing to mould growth include:
- Water leaks from plumbing or roofing
- Poor insulation causing cold spots on walls
- Lack of airflow in enclosed spaces
- High indoor humidity levels above 60%
By controlling these factors, you can significantly reduce the chances of mould forming on your walls and ceilings.
Common Areas in Your Home Prone to Mould
Mould tends to grow in places where moisture is more likely to linger. Knowing these hotspots allows you to target prevention efforts more effectively. Common areas in the home where mould is frequently found include:
- Bathrooms and showers
- Kitchens near sinks and dishwashers
- Basements and crawl spaces
- Around windows and exterior walls
- Laundry rooms
These spaces often experience higher humidity or water exposure, making them vulnerable to mould growth.
The Role of Humidity and Dampness
Humidity and dampness are two critical conditions that promote mould development. High humidity causes condensation on cold surfaces, while dampness can come from leaks or groundwater seeping through walls or floors. Both create the moisture environment mould spores need to grow and spread. Maintaining indoor humidity below 60% and addressing damp areas promptly is essential to keeping mould at bay.
Table: Top 5 Household Spots Where Mould Thrives
| Location | Common Causes | Prevention Tips |
|---|---|---|
| Bathroom | Poor ventilation, water splashes | Use exhaust fans, wipe surfaces dry |
| Kitchen | Leaks under sink, steam | Fix leaks, use vent hoods |
| Basement | Ground moisture, leaks | Install dehumidifier, seal walls |
| Around Windows | Condensation, poor sealing | Improve insulation, use moisture barriers |
| Laundry Room | Damp clothes, humidity | Vent dryer properly, increase airflow |
What Is Anti-Mould Paint and How Does It Work?
Understanding what makes anti-mould paint different from regular paint is essential to effectively protecting your walls from mould and mildew. This type of paint is specially formulated to resist the growth of mould spores by creating an environment that is inhospitable to these fungi. In this section, we’ll delve into the science behind how anti-fungal paint works and the key ingredients that make it effective.
The Science Behind Anti-Mould Paints
Anti-mould paints are designed to prevent mould growth by incorporating substances that inhibit the development of fungal spores on painted surfaces. Unlike regular paints, these paints create a protective barrier that limits moisture absorption and resists the damp conditions mould requires to thrive. The technology often involves the use of anti-microbial agents that disrupt the reproduction and spread of mould, keeping your walls clean and healthy over time.
Key Ingredients That Fight Mould and Mildew
The effectiveness of mould resistant paint largely depends on the active ingredients it contains. These include:
- Biocides: Chemicals that kill or inhibit mould spores on contact
- Fungicides: Agents that prevent fungal growth over extended periods
- Waterproofing additives: Reduce moisture penetration into walls
- Anti-condensation agents: Help manage surface humidity
These components work synergistically to create a durable paint film that not only resists mould but also protects the underlying wall material from damp-related damage.
Table: Difference Between Regular Paint and Anti-Mould Paint
| Property | Regular Paint | Anti-Mould Paint |
|---|---|---|
| Resistance to Mould | Low — does not prevent mould growth | High — contains biocides and fungicides |
| Ingredients | Basic pigments and binders | Includes anti-microbial and waterproof additives |
| Durability in Humid Environments | Prone to peeling and staining | Maintains integrity in damp conditions |
| Ideal Usage | Dry, well-ventilated indoor areas | Bathrooms, kitchens, basements, damp walls |
| Effect on Wall Health | No protective properties | Helps prevent mould damage and decay |
Benefits of Using Anti-Mould Paint in Your Home
Using anti-mould paint is not just about improving the look of your walls—it offers a range of practical benefits that enhance your home’s health, longevity, and maintenance ease. Let’s explore the key advantages of choosing mould resistant paint to protect your living spaces.
Health Advantages of Mould-Resistant Walls
Mould spores can trigger allergies, respiratory problems, and other health issues, especially for sensitive individuals such as children or those with asthma. By applying anti-fungal paint, you create a barrier that reduces the presence of mould and mildew in your home. This leads to better indoor air quality, lowers the risk of mould-related illnesses, and contributes to a healthier environment for you and your family.
Protecting Your Home’s Structure Over Time
Mould doesn’t just affect the surface appearance; it can cause serious damage to the structural integrity of your walls. Over time, mould growth can lead to wood rot, weakening drywall, and deterioration of building materials. Using mould resistant paint helps protect these surfaces by limiting moisture absorption and preventing mould colonization, ultimately extending the life of your walls and reducing costly repairs.
Reducing Cleaning and Maintenance Hassles
Walls coated with anti-mould paint are easier to clean and maintain. Since mould and mildew are less likely to develop, you won’t need to scrub or treat your walls as frequently. This not only saves time but also protects your paint job from damage caused by harsh cleaning agents. The result is a long-lasting, fresh appearance with less effort.
Table: Benefits at a Glance
| Benefit Type | Description | Impact |
|---|---|---|
| Health | Reduces mould spores and allergens in the air | Improved respiratory health |
| Structural | Prevents mould-related damage to walls and building materials | Longer-lasting walls |
| Aesthetic | Keeps walls clean and free from unsightly mould stains | Maintains fresh appearance |
| Financial | Reduces need for repairs and frequent repainting | Saves money on maintenance costs |
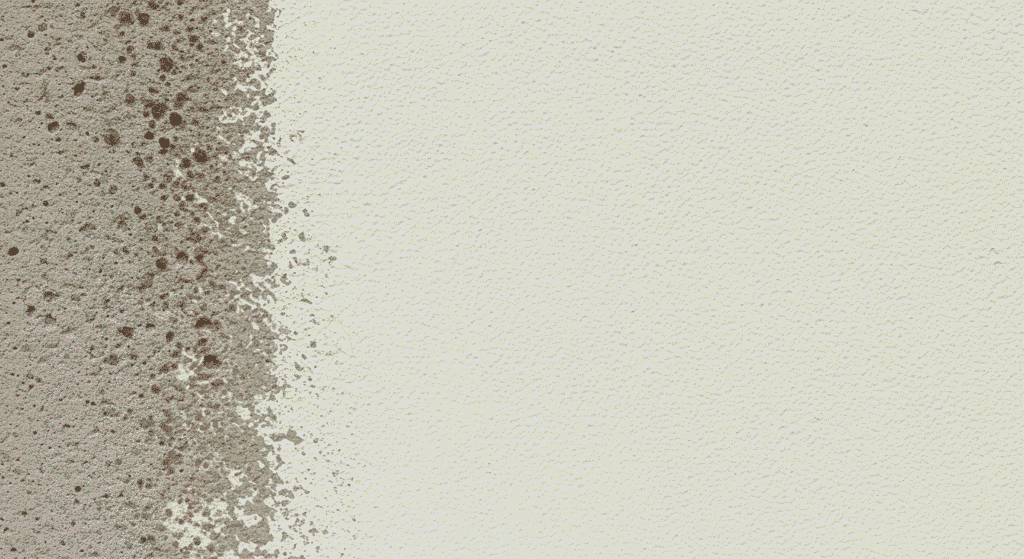
Preparing Your Walls for Anti-Mould Paint — The Essential Steps
Proper preparation is crucial to maximize the effectiveness of anti-mould paint. Painting over mould or dirty surfaces can lead to poor adhesion and limited mould resistance. This section covers the essential steps you need to take before applying mould resistant paint to ensure long-lasting protection and a flawless finish.
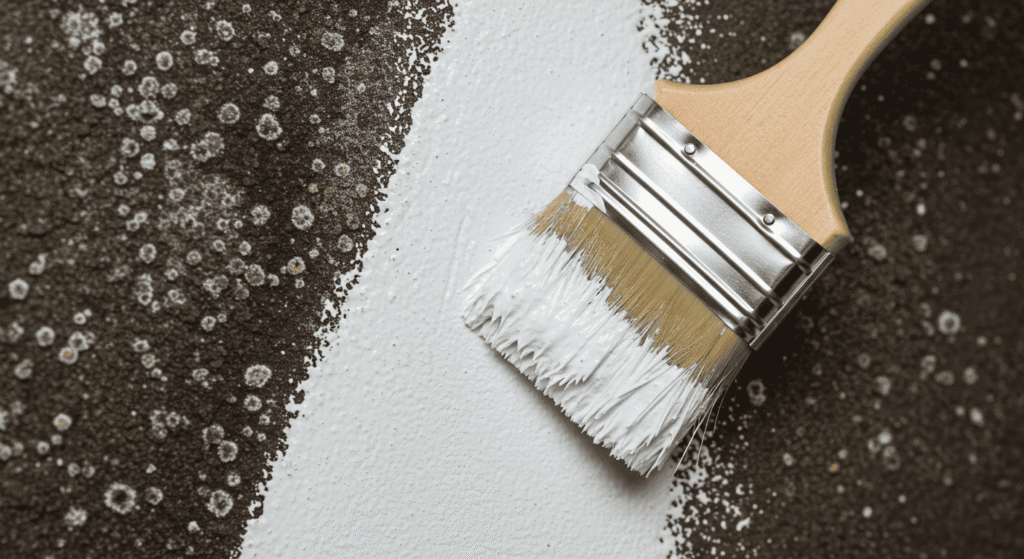
Removing Existing Mould Safely
Before applying anti-fungal paint, it’s important to completely remove any visible mould from your walls. Use a mixture of water and mild detergent or a specialised mould cleaner to scrub affected areas. Be sure to wear protective gloves and a mask to avoid inhaling mould spores. Avoid using bleach if possible, as it may not fully penetrate porous surfaces and can sometimes worsen mould issues.
Cleaning and Drying Walls Before Painting
After mould removal, thoroughly clean the walls to eliminate dirt, dust, and any leftover cleaning residue. This creates a clean surface for better paint adhesion. Once cleaned, allow the walls to dry completely—moisture trapped beneath the paint can encourage mould growth and cause peeling. Using fans or dehumidifiers can speed up the drying process, especially in humid environments.
Surface Preparation Tips for Best Results
To ensure the anti-mould paint performs optimally, consider these surface preparation steps:
- Repair cracks, holes, and damaged plaster before painting
- Sand rough or uneven areas to create a smooth surface
- Use a primer compatible with mould-resistant paints if necessary
- Ensure good ventilation during and after painting to help curing
Proper surface preparation not only enhances paint durability but also improves resistance against mould and mildew.
Table: Wall Prep Checklist
| Task | Recommended Materials | Common Mistakes to Avoid |
|---|---|---|
| Mould Removal | Mild detergent, mould cleaner, gloves | Using bleach only, inadequate cleaning |
| Cleaning | Warm water, sponge, mild soap | Painting over dirty or dusty walls |
| Drying | Fans, dehumidifier, good airflow | Painting walls before fully dry |
| Surface Repair | Filler, putty knife, sandpaper | Skipping cracks or holes |
| Priming (if needed) | Compatible primer | Using incompatible primers |
How to Choose the Right Anti-Mould Paint for Different Rooms
Choosing the right anti-mould paint depends largely on the specific conditions of each room in your home. Different spaces face varying levels of humidity, moisture exposure, and wear, so selecting a paint formulated for those conditions ensures better protection and durability. This section breaks down how to pick the best mould resistant paint for various rooms.
Anti-Mould Paint for High-Humidity Rooms (Bathrooms, Kitchens)
Bathrooms and kitchens are prime spots for mould growth due to frequent water use and steam. When selecting anti-fungal paint for these rooms, look for products with strong moisture resistance, mildew inhibitors, and easy-to-clean finishes. Paints designed specifically for high-humidity environments help prevent mould spores from settling and can withstand regular cleaning without degrading.
Paint Options for Basements and Damp Areas
Basements and other damp areas often suffer from persistent moisture due to poor ventilation and groundwater seepage. For these spaces, anti-mould paint with enhanced waterproofing properties and thicker coatings is ideal. Some paints also incorporate additives that can tolerate occasional water exposure and inhibit mould even in less-than-ideal conditions.
Considerations for Interior vs. Exterior Walls
The demands on mould resistant paint vary between interior and exterior surfaces. Exterior walls must withstand weather, rain, and temperature changes, so paints for these areas emphasize durability and waterproofing. Interior paints focus more on air quality, ease of cleaning, and preventing indoor mould growth. When choosing your paint, be sure to check if it’s formulated for indoor or outdoor use to get the best performance.
Table: Room-by-Room Anti-Mould Paint Recommendations
| Room Type | Key Characteristics to Look For | Recommended Features |
|---|---|---|
| Bathroom | High moisture, steam exposure | Mildew inhibitors, washable finish |
| Kitchen | Water splashes, grease, humidity | Easy to clean, moisture resistant |
| Basement | Dampness, poor ventilation | Waterproofing, thick coating |
| Interior Living Areas | Moderate humidity, general wear | Low VOC, mildew resistant |
| Exterior Walls | Weather exposure, rain, temperature fluctuations | Waterproof, UV resistant, durable finish |
Application Tips — Getting the Most Out of Your Anti-Mould Paint
Applying anti-mould paint correctly is just as important as choosing the right product. Proper application ensures maximum protection against mould and a smooth, durable finish. In this section, you’ll find essential tips and techniques to help you achieve the best results when painting your walls.
Tools and Techniques for Smooth Application
Using the right tools and methods can make your mould resistant paint job more efficient and professional-looking. Commonly recommended tools include high-quality brushes for edges and corners, and rollers with appropriate nap length for the surface texture. When applying, use even strokes and maintain a wet edge to avoid streaks and lap marks. Stir the paint thoroughly before and during use to keep ingredients evenly distributed.
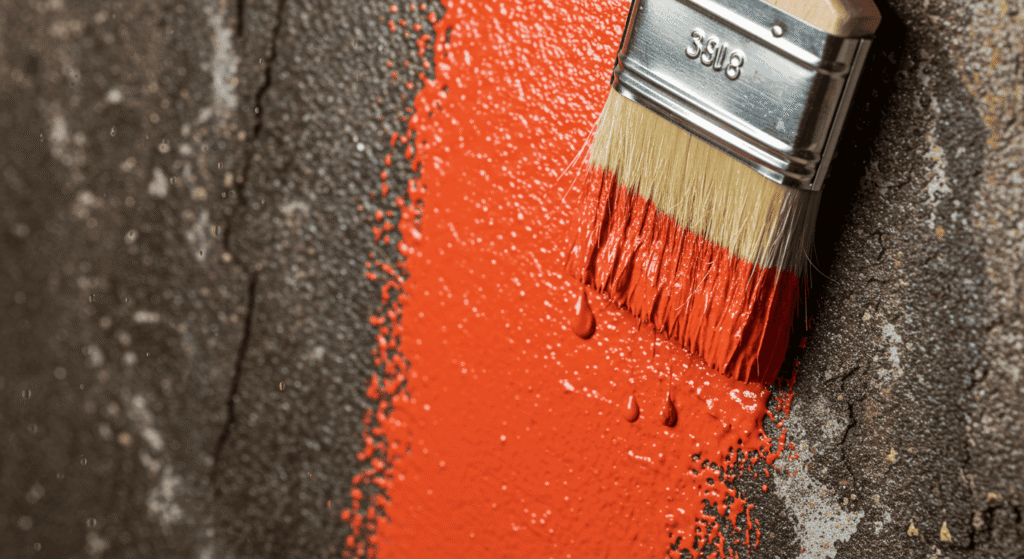
How Many Coats Do You Really Need?
Most anti-fungal paints require at least two coats for optimal coverage and protection. The first coat penetrates the surface and starts forming the mould-resistant barrier, while the second coat provides additional durability and a uniform finish. In some cases, especially on highly porous or previously damaged surfaces, a third coat may be necessary. Always check the manufacturer’s recommendations and allow adequate drying time between coats.
Drying Times and Environmental Factors
Drying times can vary based on temperature, humidity, and airflow in the room. Ideally, apply anti-mould paint in temperatures between 10°C and 30°C (50°F and 86°F) with low humidity. Higher humidity or lower temperatures can extend drying times and affect paint adhesion. Proper ventilation during and after painting helps speed up drying and cures the paint fully for maximum mould resistance.
Table: Application Dos and Don’ts
| Dos | Don’ts |
|---|---|
| Use high-quality brushes and rollers | Apply paint on damp or dirty surfaces |
| Stir paint well before and during use | Skip primer when required |
| Apply at least two coats | Paint in extreme temperatures or high humidity |
| Maintain a wet edge to avoid streaks | Overload brush or roller with paint |
| Allow adequate drying time between coats | Ignore manufacturer instructions |
| Ensure good ventilation during drying | Paint over mould without cleaning first |
Common Myths About Anti-Mould Paint — Busted!
There are many misconceptions surrounding anti-mould paint, which can lead to unrealistic expectations or improper use. Understanding what this paint can and cannot do will help you make informed decisions for protecting your home. Let’s debunk some of the most common myths about mould resistant paint.
Myth: Anti-Mould Paint Can Fix Structural Dampness
While anti-mould paint is effective at preventing mould growth on surfaces, it cannot solve underlying structural dampness issues such as leaks, rising damp, or poor waterproofing. Addressing the root cause of moisture problems is essential before applying paint; otherwise, mould may continue to develop beneath or around the painted area.
Myth: Mould Can Never Return After Painting
No paint, including mould resistant paint, can guarantee permanent mould prevention. If moisture conditions persist or worsen, mould spores can eventually return. Anti-mould paint significantly reduces the risk but should be part of a broader moisture management strategy including ventilation, repairs, and regular maintenance.
Myth: All Anti-Mould Paints Are the Same
Not all anti-fungal paints have equal performance. They vary in ingredients, durability, suitability for different environments, and environmental safety (e.g., VOC levels). Choosing the right paint tailored for your specific needs and room conditions is crucial for effective mould prevention.
Table: Myth vs. Reality
| Myth | Reality |
|---|---|
| Anti-mould paint can fix structural dampness | It prevents mould on surfaces but does not fix leaks or structural moisture problems |
| Mould can never return after painting | Mould may return if moisture issues are not resolved, paint is part of a bigger solution |
| All anti-mould paints are the same | Paints differ in ingredients, durability, and suitability for specific environments |
Maintaining Mould-Free Walls Long Term
Applying anti-mould paint is a crucial step, but maintaining mould-free walls requires ongoing care and attention. Proper habits and timely maintenance help ensure your walls stay protected and your home remains healthy. In this section, we’ll explore practical tips for long-term mould prevention.
Routine Checks and Moisture Control
Regularly inspecting your home for signs of moisture and mould is essential. Look for discoloration, peeling paint, or musty odors—early indicators that moisture might be accumulating. Controlling indoor humidity by fixing leaks promptly and avoiding condensation buildup helps prevent mould from gaining a foothold. Using moisture meters can be a helpful tool to monitor wall dampness levels.
Using Ventilation and Dehumidifiers Effectively
Good airflow is one of the most effective ways to combat indoor mould. Proper ventilation in bathrooms, kitchens, and basements reduces humidity and discourages mould growth. When natural ventilation isn’t enough, especially in damp or enclosed areas, using dehumidifiers can significantly lower moisture levels. Position dehumidifiers strategically and maintain them regularly to keep your environment dry and mould-resistant.
When to Repaint or Re-treat Walls
Even the best mould resistant paint will require periodic reapplication, especially in high-moisture areas. Signs it’s time to repaint include peeling, cracking, or visible mould patches. Re-treating surfaces before repainting with an anti-mould primer or fungicidal wash ensures the new paint adheres properly and maintains protection.
Table: Home Maintenance Schedule for Mould Prevention
| Task | Frequency | Notes and Warning Signs |
|---|---|---|
| Inspect walls for mould | Monthly | Look for discoloration, damp spots |
| Check and repair leaks | As needed | Fix plumbing or roof leaks immediately |
| Ventilate bathrooms/kitchens | Daily during use | Use exhaust fans or open windows |
| Use dehumidifiers | Year-round as needed | Clean filters regularly |
| Repaint or re-treat walls | Every 3-5 years | Watch for peeling paint or mould return |
Final Thoughts on Anti-Mould Paint: Protect Your Home and Health
Using anti-mould paint is a smart and effective way to keep your walls clean, healthy, and protected from the damaging effects of mould. While it offers excellent resistance against mould growth, combining it with proper wall preparation, correct application, and ongoing maintenance ensures the best long-term results. By understanding how anti-mould paint works and following the right steps, you can create a safer, more comfortable living environment for you and your family.