


DIY Sound Systems for Small Homes offer the perfect blend of compact speaker setups, custom sound systems, and budget-friendly solutions for those who want great audio without sacrificing space. Whether you’re living in an apartment, a tiny house, or simply want to make the most of a cozy room, building your own system lets you tailor every component to your needs. In this guide, we’ll walk you through practical tips, smart home audio planning, and creative design ideas to make your small space sound amazing while looking stylish.
1. Why DIY Sound Systems Are Perfect for Small Homes
Building DIY sound systems for small homes is more than just a fun project—it’s a smart solution for anyone looking to enjoy high-quality home audio without compromising space, style, or budget. Unlike pre-built systems, a DIY approach allows you to tailor every component to your room’s size, shape, and aesthetic. Before diving into the technical steps, it’s important to understand why DIY systems are often the best choice for small living spaces.
Space-Saving Benefits
One of the biggest advantages of creating a DIY home audio system is how well it fits into compact areas. Small rooms or apartments often cannot accommodate bulky pre-built systems, but a DIY setup can be designed specifically for your available space. By choosing the right speaker sizes and placement, you can enjoy immersive sound without overcrowding your living area.
Cost Efficiency

Investing in a custom sound system for a small home doesn’t have to break the bank. DIY solutions are typically more affordable than off-the-shelf alternatives, allowing you to get high-quality audio for a fraction of the price. By sourcing individual components and assembling them yourself, you can prioritize the features you really need while avoiding unnecessary extras.
Customization and Personal Touch
A DIY sound system gives you complete creative freedom. From the speaker design and placement to the overall aesthetic, you can build a system that perfectly reflects your style and meets your specific needs. Whether you prefer minimalist setups or a more striking visual presence, a DIY approach allows you to add a personal touch that pre-built systems simply cannot match.
Comparison Table: Small Home DIY System vs. Pre-Built System
| Feature | DIY Sound System | Pre-Built System |
|---|---|---|
| Cost | Moderate, flexible budget | Higher upfront cost |
| Size/Space Efficiency | Customizable to room | Often bulky, one-size |
| Power/Performance | Optimized per setup | Standardized |
| Flexibility/Upgrade Options | Easy to upgrade or modify | Limited modification |
2. Planning Your Small Home Audio Setup
Before you start assembling your DIY sound system for a small home, careful planning ensures that your efforts pay off with both great sound and a functional layout. Factors such as room dimensions, speaker types, and your budget play a huge role in how your home audio setup performs. Taking the time to plan ahead can help you avoid common mistakes and get the most out of your compact space.
Assessing Your Room Size and Layout
The size and shape of your room directly influence how sound travels. Smaller rooms may amplify bass or create echoes if not planned carefully, while larger rooms require more speaker coverage. Pay attention to where walls, windows, and furniture are placed, as these elements affect room acoustics. A quick sketch of your layout can help you visualize the best speaker placement before installation.
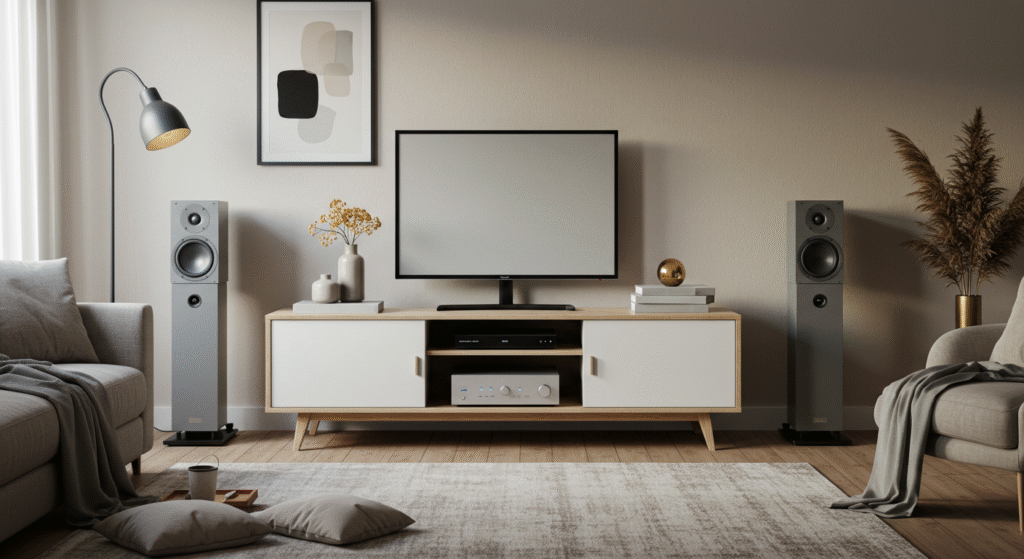
Choosing the Right Type of Speakers
Not all speakers are created equal, especially when dealing with limited space. Wall-mounted speakers save floor space, bookshelf models strike a balance between size and power, and compact floor speakers provide more depth without overwhelming a room. The key is selecting a design that fits your available space while delivering the audio quality you want.
Setting a Realistic Budget
When creating a custom sound system, it’s tempting to overspend on the latest gear. Instead, focus on prioritizing essentials such as good speakers and proper wiring. Start with a modest setup and add components over time as needed. This way, you avoid wasting money on features that may not be necessary for a smaller home environment.
Table: Room Size vs. Recommended Speaker Type and Quantity
| Room Size | Recommended Speaker Type | Suggested Quantity |
|---|---|---|
| Small (under 150 sq ft) | Wall-mounted or bookshelf | 2–3 |
| Medium (150–300 sq ft) | Bookshelf + compact subwoofer | 3–4 |
| Large (300+ sq ft) | Compact floor + subwoofer | 4–6 |
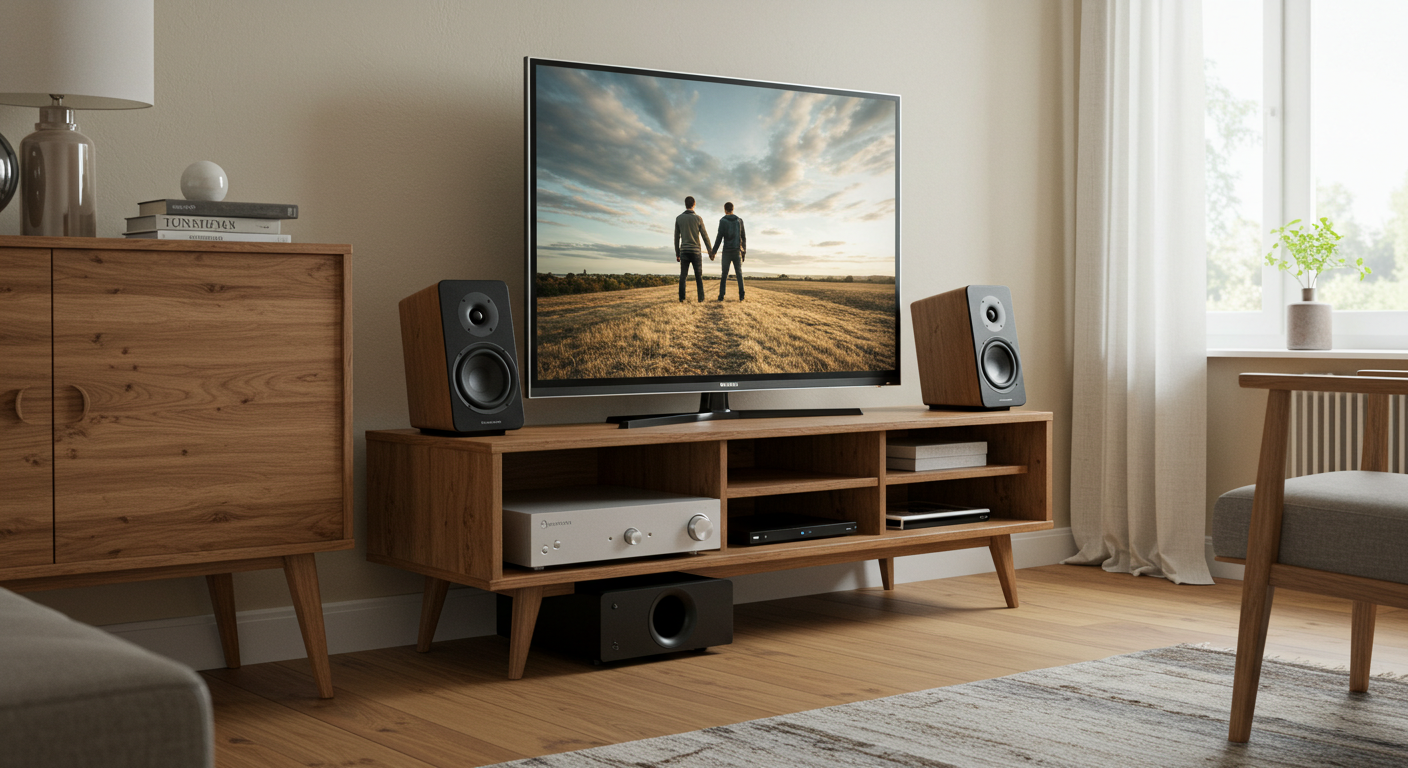
3. Essential Components for DIY Small Home Sound Systems
Building a successful DIY sound system for small homes starts with understanding the key components that make your setup both functional and high-quality. Choosing the right elements ensures that your home audio delivers clear, immersive sound without taking up unnecessary space or creating installation headaches.
Speakers
Speakers are the heart of any DIY home audio setup. When selecting them, consider the type, size, and placement to maximize sound quality in a small space. Wall-mounted speakers save floor space, bookshelf speakers offer a balance of compact design and strong output, and compact floor models can provide fuller sound if space allows. Positioning is equally important—placing speakers at ear level and leaving enough distance from walls can reduce distortion and echo.
Amplifiers and Receivers
Amplifiers and receivers are the brains behind your custom sound system, powering speakers and managing audio signals. While smaller rooms may not require high-powered amplifiers, having the right receiver ensures balanced sound and the ability to connect multiple sources. Choose models that match your speaker specifications to avoid underpowered setups or distortion.
Wiring and Connectivity Basics
Clean and safe wiring is crucial for both performance and aesthetics in a DIY sound system. Use the appropriate gauge for speaker wires, secure connections to avoid loose contact, and plan cable routes to minimize clutter. For multi-room setups or more complex configurations, labeling wires and keeping a simple diagram can save time during installation and troubleshooting.
Table: Component Checklist for DIY Small Home Sound Systems
| Component | Purpose | Recommended Specs | DIY Tips |
|---|---|---|---|
| Speakers | Deliver sound | Match room size; compact or wall-mounted | Place at ear level; avoid corners |
| Amplifier/Receiver | Power and manage audio signals | Power rating compatible with speakers | Test connections before final setup |
| Speaker Wire | Connect components | Appropriate gauge for distance | Use cable clips; label each wire |
| Subwoofer (optional) | Enhance low frequencies | Compact size for small rooms | Place near wall but not cornered |
| Mounting Hardware | Secure speakers | Sturdy brackets or stands | Check stability and adjust angles |
4. Acoustic Tips for Small Spaces
Even the best DIY sound systems for small homes can sound underwhelming if room acoustics aren’t considered. Small spaces often amplify unwanted reflections or dead zones, so understanding how sound interacts with your room is essential. By applying simple acoustic strategies, you can improve clarity, bass response, and overall listening enjoyment.
Understanding Room Acoustics
Room acoustics determine how sound waves behave when they hit walls, floors, and furniture. Reflection occurs when sound bounces off hard surfaces, absorption happens when soft materials like rugs or curtains soak up sound, and diffusion spreads sound evenly across the room. Knowing these principles helps you make informed decisions about speaker placement and material choices to create a balanced listening experience.
Simple Soundproofing Tricks
While small rooms rarely require full-scale soundproofing, basic adjustments can significantly improve home audio quality. Adding rugs, heavy curtains, or acoustic wall panels reduces unwanted echoes and minimizes sound leakage. Even rearranging furniture strategically can absorb or redirect sound waves, helping your custom sound system perform at its best.
Optimal Speaker Placement
Correct placement is key to avoiding echo and dead zones. Place speakers at or slightly above ear level, maintain equal distance from walls, and avoid corners for subwoofers. Testing different angles and positions can make a noticeable difference in sound clarity and stereo imaging, ensuring your small space feels like a professional listening environment.
Table: Room Features vs. Acoustic Solutions
| Room Feature | Acoustic Issue | Recommended Solution |
|---|---|---|
| Hard walls | Reflection, echo | Add acoustic panels or wall hangings |
| Bare floors | Excessive bounce | Place rugs or carpets |
| Large windows | Reflection, sound leakage | Use heavy curtains or blinds |
| Sparse furniture | Dead zones, uneven diffusion | Add bookshelves or soft furniture |
| Corner subwoofer | Bass buildup | Move slightly away from corners |
5. Step-by-Step DIY Sound System Assembly
Once you’ve planned your DIY sound system for small homes, it’s time to bring all the components together. A careful, step-by-step approach ensures that your home audio setup performs optimally while avoiding common installation mistakes. Following a structured process helps you create a system that sounds great and stays organized.
Planning Your Layout
Before installing any equipment, sketch your room layout and mark where each speaker, subwoofer, and component will go. Consider wall reflections, furniture placement, and listening positions. Planning in advance helps you achieve balanced sound coverage and ensures that cables can be routed neatly without creating clutter or hazards.
Installing Components Safely
Proper installation is critical for both performance and safety. Secure speakers using sturdy mounts or brackets, and ensure that wiring is correctly connected with no loose ends. Use cable clips or conduits to keep wires organized and prevent tripping hazards. For wall-mounted speakers, always check that the surface can support the weight to avoid accidents.
Testing and Adjusting Sound Levels
After installation, it’s time to test your system. Play a variety of audio tracks and listen for uneven bass, distorted treble, or imbalanced stereo channels. Adjust speaker angles, fine-tune the equalizer, and make small positioning changes until the sound is clear and immersive. Testing in different seating areas helps ensure consistent audio quality throughout the room.
Table: Assembly Checklist for DIY Small Home Sound Systems
| Step | Action | Tips for Best Results |
|---|---|---|
| Layout Planning | Sketch speaker and component positions | Consider listening areas and reflections |
| Mounting Speakers | Secure speakers on walls or stands | Use level tools and sturdy hardware |
| Connecting Wiring | Attach cables to speakers and receiver | Label wires and check polarity |
| Subwoofer Placement | Position for optimal bass response | Avoid corners; test multiple locations |
| Sound Testing | Play audio and evaluate performance | Adjust angles, levels, and EQ gradually |
| Final Adjustments | Fine-tune balance and bass/treble | Walk around room to check coverage |
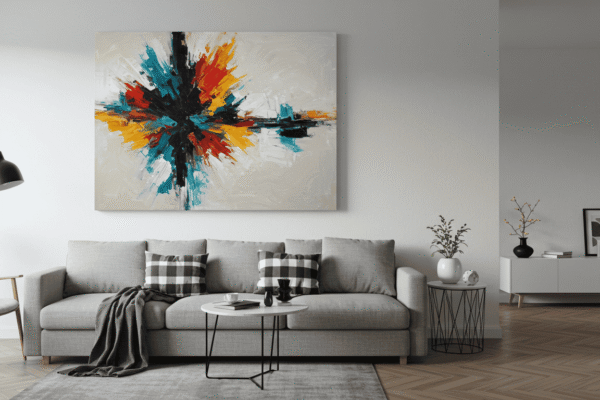
6. Creative Design Ideas to Make Your System Look Great
A DIY sound system for small homes shouldn’t just sound amazing—it can also enhance your living space aesthetically. Thoughtful design choices allow your home audio setup to blend seamlessly with your decor while reflecting your personal style. Incorporating creative elements ensures that your system becomes a feature, not just a functional necessity.
Integrating Speakers into Your Decor
Speakers don’t have to dominate a room visually. Consider camouflaging them with surrounding furniture, using minimalist designs to reduce visual clutter, or making them statement pieces that add character to the space. Integrating speakers into your decor keeps your custom sound system both functional and visually appealing.
Using Multi-Functional Furniture
In small homes, space is at a premium. Using multi-functional furniture—like shelving units that also hold speakers or tables that double as stands—maximizes efficiency without sacrificing style. This approach allows your DIY home audio setup to fit neatly into your environment while maintaining accessibility and sound quality.
Cable Management Made Stylish
Messy wires can ruin the look of even the most carefully designed home audio system. Use creative cable management techniques to hide or organize wiring. Conceal cables behind furniture, run them along baseboards, or use decorative cable covers that complement your room’s style. Proper management keeps your system tidy and prevents tripping hazards.
Table: Design Hacks for Small Home Sound Systems
| Hack | Functionality | Visual Impact |
|---|---|---|
| Wall-mounted speakers with hidden wires | Saves floor space | Clean, minimal look |
| Multi-functional speaker stands | Holds speakers and other items | Reduces clutter, adds style |
| Camouflaged bookshelf speakers | Blends into room decor | Seamless integration |
| Decorative cable covers | Organizes and protects wiring | Adds aesthetic element |
| Floating shelves for speakers | Provides stability and space efficiency | Modern, sleek appearance |
7. Enhancing Your Audio Experience
A DIY sound system for small homes can deliver amazing sound, but fine-tuning it ensures every listening session is enjoyable. By understanding DIY sound tuning techniques and adjusting your system to match different scenarios, you can make your home audio setup feel more immersive, versatile, and tailored to your lifestyle.
DIY Sound Tuning Techniques
Small adjustments can make a significant difference in sound quality. Experiment with equalizer settings to balance bass, midrange, and treble for your room. Adjust speaker positioning slightly forward, backward, or angled to minimize reflections and maximize clarity. Testing different configurations helps you find the perfect sound without overcomplicating your setup.
Creating Zones for Multi-Room Audio
Even in a small home, creating zones allows you to control audio independently in different areas. This is especially useful for open-plan layouts or adjacent rooms. By setting up multi-room zones, each area can have its own volume and EQ settings, ensuring consistent custom sound system performance wherever you are.
Tips for Hosting and Entertaining
When entertaining guests, your home audio setup can adapt to different activities. For movies, prioritize surround sound and subwoofer intensity; for music, focus on balanced stereo output; and for parties, increase volume and emphasize bass. Small adjustments for each scenario enhance the overall experience without requiring a major system overhaul.
Table: Listening Scenario vs. Recommended Setup Adjustments
| Listening Scenario | Recommended Setup Adjustments |
|---|---|
| Movie | Enhance surround sound, position subwoofer for impact |
| Music | Balance stereo channels, moderate bass levels |
| Party | Increase overall volume, emphasize low frequencies |
| Casual Listening | Moderate volume, neutral EQ settings |
| Gaming | Place speakers closer to seating, boost treble for clarity |
8. Maintenance and Troubleshooting Tips for Longevity
A well-built DIY sound system for small homes can provide years of enjoyment, but regular maintenance and timely troubleshooting are essential to keep your home audio setup performing at its best. Following simple routines can prevent issues and extend the life of your components.
Regular Cleaning and Care
Dust and debris can degrade speaker performance and connectivity over time. Regularly clean your DIY home audio components using a soft cloth or compressed air. Check cables for wear and ensure connections remain secure. Keeping your system clean and organized helps maintain both sound quality and safety.
Identifying and Fixing Common Issues
Even with careful setup, problems may arise. Buzzing, weak sound, or intermittent connectivity are common issues that can usually be resolved quickly. Troubleshooting each component systematically—starting from the source, through wiring, to the speakers—helps identify the root cause without unnecessary stress.
Upgrading Components Gradually
One of the advantages of a custom sound system is the ability to upgrade parts over time. Start with essential components, then improve individual elements such as speakers, amplifiers, or wiring as needed. Gradual upgrades allow you to enhance performance without large upfront costs and adapt your system as your needs evolve.
Table: Common Issues vs. Cause vs. Quick Fix
| Common Issue | Possible Cause | Quick Fix |
|---|---|---|
| Buzzing or hum | Loose connections or interference | Check and tighten all cables, separate power and audio lines |
| Weak sound | Low amplifier output or misconfigured EQ | Adjust amplifier settings, check speaker wiring |
| Intermittent audio | Loose or damaged cables | Inspect and replace faulty cables |
| Distorted audio | Overloaded speakers or incorrect placement | Reduce volume, adjust speaker positioning |
| No sound | Power issues or disconnected components | Verify power supply, check all connections |
Wrapping Up: DIY Sound Systems for Small Homes
Building DIY sound systems for small homes allows you to combine space-saving design, personalized home audio, and cost-effective solutions in one compact setup. With careful planning, smart component choices, and attention to acoustics, you can create a custom sound system that not only sounds great but also complements your living space. Regular maintenance and small upgrades ensure your system continues to deliver an exceptional listening experience for years to come.