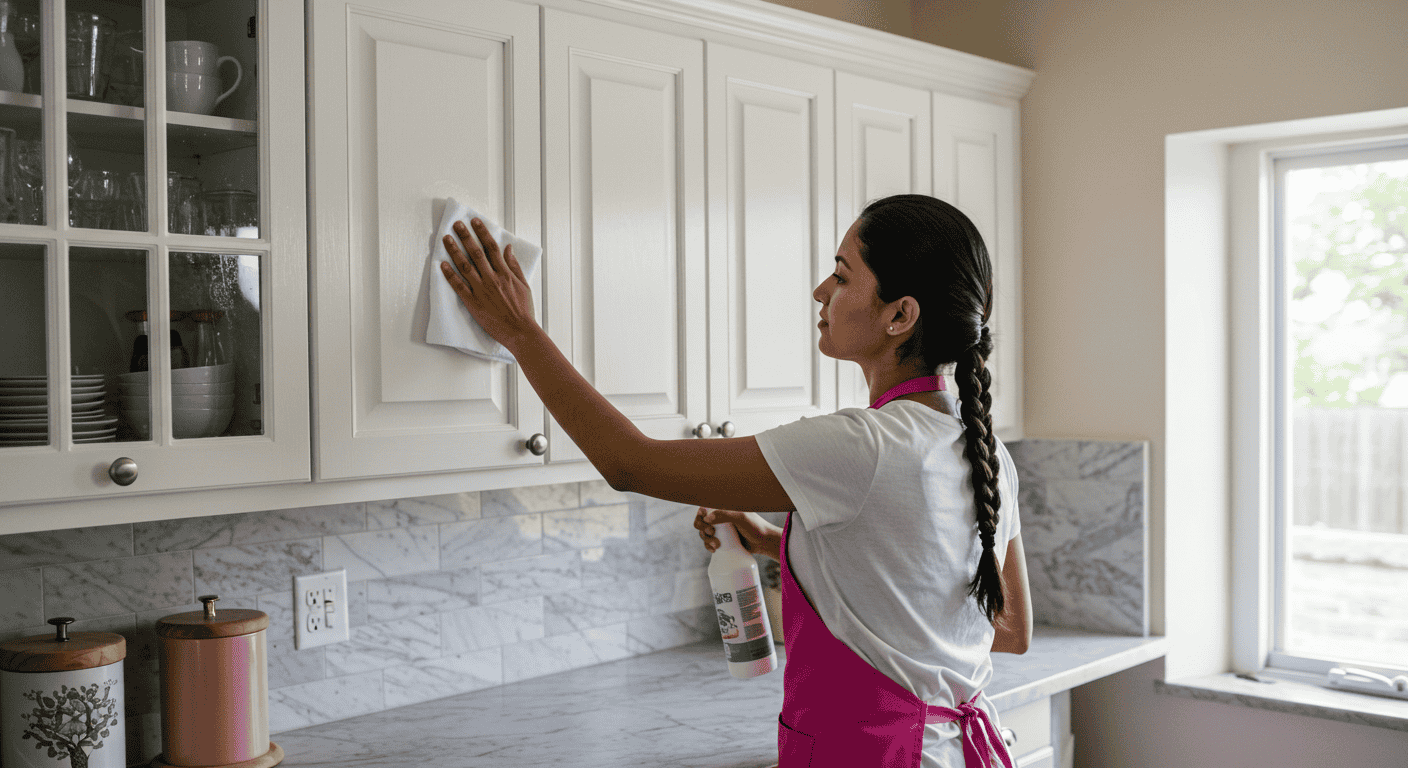
Clean Kitchen Cabinets are essential not only for maintaining a beautiful and inviting kitchen but also for ensuring a healthy and hygienic cooking environment. Over time, cabinets collect grease, dirt, and stains that can dull their appearance and even damage the surface if left unattended. In this guide, you’ll discover easy steps and effective cleaning tips tailored for different cabinet materials, from wood to painted finishes. Whether you prefer natural cleaners or DIY solutions, this post will help you achieve a sparkling finish that refreshes your kitchen and extends the life of your cabinets.
Why Clean Kitchen Cabinets Matter
Keeping your kitchen cabinets clean is more than just an aesthetic choice. Regular cleaning plays a crucial role in maintaining a safe and pleasant environment where you prepare your meals daily. Understanding why clean kitchen cabinets matter helps you stay motivated and consistent with your cleaning routine.
Beyond Looks: Health & Hygiene Benefits
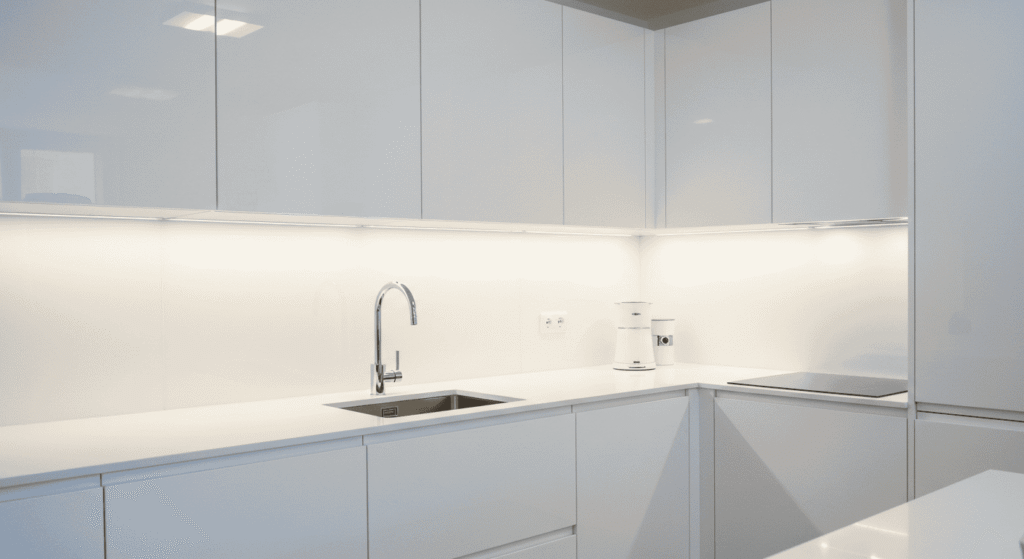
One of the primary reasons to focus on clean kitchen cabinets is the impact on health and hygiene. Kitchens are hotspots for bacteria, grease, and food residue, which can accumulate on cabinet surfaces. Over time, these contaminants create a breeding ground for germs that can affect your family’s well-being. By regularly cleaning your cabinets, you reduce the risk of cross-contamination and maintain a safer cooking space.
Extending the Life of Your Cabinets
Regular cleaning also helps extend the lifespan of your cabinets. Dirt, grease, and moisture can damage cabinet finishes and materials, especially wood and painted surfaces. When these residues build up, they can cause warping, discoloration, or peeling over time. Proper maintenance through effective cleaning prevents this damage and preserves your cabinets’ durability, saving you money on costly repairs or replacements.
How Cleaning Impacts Kitchen Ambiance and Value
A clean kitchen instantly feels more welcoming and organized. Well-maintained cabinets enhance the overall ambiance by reflecting light and contributing to a fresh, tidy look. Beyond aesthetics, regular cleaning adds value to your home, especially if you plan to sell or rent it out. Potential buyers or tenants notice clean, cared-for cabinetry as a sign of a well-kept property, which can improve their impression and increase market appeal.
Different Types of Kitchen Cabinets and How They Affect Cleaning
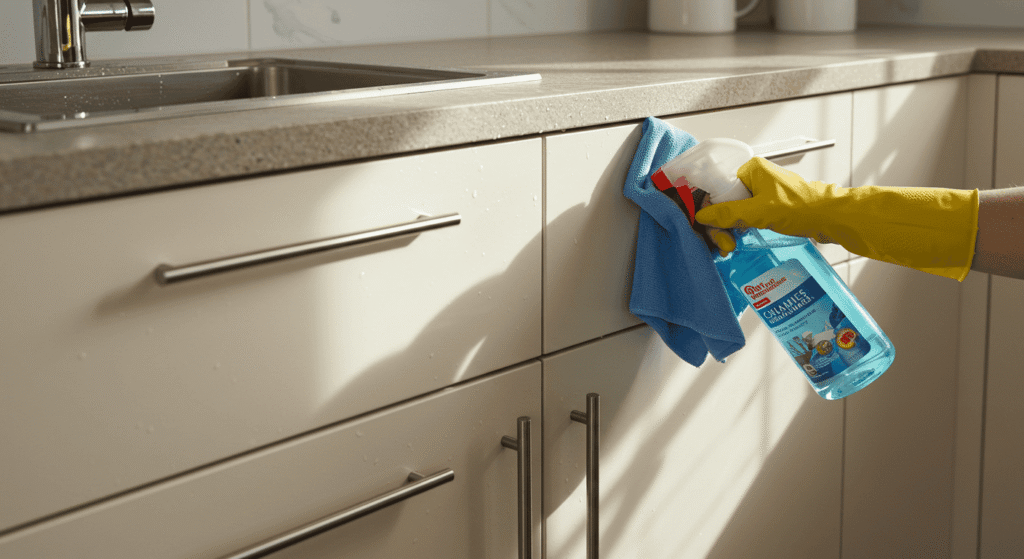
Understanding the different types of kitchen cabinets is essential because each material requires specific care to maintain its appearance and durability. Using the wrong cleaning method can cause damage or reduce the lifespan of your cabinets. Below, we break down key tips and common pitfalls for the most popular cabinet materials.
Wooden Cabinets — Care Tips and Common Mistakes
Wooden cabinets are prized for their warmth and classic look, but they need careful attention during cleaning. Excess moisture is one of the biggest enemies of wood, as it can lead to warping or swelling. Always use a damp, not soaking wet, cloth and avoid harsh chemical cleaners that strip the finish. A common mistake is scrubbing too hard or using abrasive pads, which can scratch and dull the wood surface. Regular dusting combined with gentle cleaning solutions helps maintain the wood’s natural beauty.
Painted Cabinets — Gentle vs. Deep Cleaning
Painted cabinets offer a smooth, modern look but require a balance between gentle everyday cleaning and occasional deep cleaning. For routine care, mild soap and water are sufficient to remove fingerprints and light stains. However, when dealing with tougher grime or grease, a deeper clean is necessary, but this should be done carefully to avoid stripping or fading the paint. Avoid harsh solvents or scrubbing tools that could chip the paint. Using soft cloths and gentle, pH-balanced cleaners is the best approach.
Laminate Cabinets — Avoiding Damage
Laminate cabinets are durable and easier to maintain but can still suffer damage from abrasive cleaners or excessive moisture. Laminate surfaces are sensitive to strong chemicals that can cause discoloration or peeling. It’s important to use mild detergents and soft cleaning cloths. Avoid soaking laminate cabinets, and never use steel wool or rough sponges that can scratch the surface. Regular wiping and immediate clean-up of spills will keep laminate looking fresh.
Cleaning Methods vs. Cabinet Material (Wood, Painted, Laminate) — What to Use & What to Avoid
| Cabinet Material | Recommended Cleaning Method | What to Use | What to Avoid |
|---|---|---|---|
| Wood | Damp cloth with mild soap solution | Soft cloth, mild detergent, natural oils | Excess water, abrasive pads, harsh chemicals |
| Painted | Gentle soap and water for regular clean | Soft sponge, pH-balanced cleaners | Solvents, harsh scrubbers, bleach |
| Laminate | Mild detergent with soft cloth | Mild detergent, microfiber cloth | Abrasive cleaners, steel wool, soaking |
Common Stains and How to Remove Them Effectively
Kitchen cabinets are prone to various types of stains, each requiring a specific approach to clean without causing damage. Recognizing the type of stain on your kitchen cabinets is the first step toward choosing the right cleaning method. Below, we explore the most common stains and how to tackle them efficiently.
Grease Buildup and Oil Splashes
Grease buildup is one of the most stubborn stains on kitchen cabinets, especially near cooking areas. Oil splashes can create sticky surfaces that attract dust and grime. The best way to remove grease is by using a mild detergent mixed with warm water or a natural degreaser. Avoid harsh chemicals that can strip finishes. Apply the cleaner with a soft cloth and gently wipe the affected areas, repeating if necessary until the residue is gone.
Water Stains and Mold Spots
Water stains often appear near sinks or areas exposed to moisture. These can cause discoloration or swelling on wooden and painted cabinets if not addressed promptly. Mold spots, on the other hand, not only damage surfaces but also pose health risks. To treat water stains and mold, a solution of diluted vinegar and water works well, as vinegar is a natural antifungal agent. Use a soft cloth to apply the mixture and dry the surface immediately to prevent further damage.
Fingerprints and Everyday Dirt
Daily use of the kitchen leads to accumulation of fingerprints and everyday dirt, especially on painted and laminate cabinets. These marks are usually easier to remove with gentle soap and water. A microfiber cloth helps lift grime without scratching surfaces. Regular wiping prevents buildup and keeps cabinets looking fresh without the need for intense cleaning.
Stain Type | Recommended Cleaning Solution | Best Technique | Precautions
| Stain Type | Recommended Cleaning Solution | Best Technique | Precautions |
|---|---|---|---|
| Grease Buildup | Mild detergent + warm water | Soft cloth, gentle circular motions | Avoid abrasive scrubbing or harsh chemicals |
| Water Stains | Diluted vinegar and water (1:1) | Apply with cloth, dry immediately | Test vinegar on small area first |
| Mold Spots | Diluted vinegar and water | Wipe carefully, ventilate area | Wear gloves, avoid bleach on wood |
| Fingerprints/Dirt | Mild soap and water | Microfiber cloth, light wiping | Avoid excess moisture |
Natural and DIY Kitchen Cabinet Cleaners You Can Make at Home

Many homeowners prefer natural and DIY kitchen cabinet cleaners because they are gentle, affordable, and eco-friendly. These homemade solutions can effectively tackle common stains and buildup without harsh chemicals, making them safe for various cabinet materials. Here’s a closer look at some popular DIY options and how to use them correctly.
Vinegar and Water Mix: When and How to Use
A simple vinegar and water mix is a powerful cleaner that naturally cuts through grease and grime. This solution works especially well on painted and laminate cabinets but should be used cautiously on wood, as vinegar’s acidity can damage the finish if overused. Mix equal parts of white vinegar and water in a spray bottle, lightly mist the surface, and wipe with a soft cloth. Always test in a small, hidden area first.
Baking Soda Scrub: Safe but Effective
Baking soda is a mild abrasive that removes tough stains without scratching cabinet surfaces. It’s ideal for wooden and laminate cabinets with stubborn spots like dried spills or sticky residue. To use, make a paste with baking soda and water, apply it gently with a soft cloth, and rinse thoroughly with a damp cloth. Avoid scrubbing too hard to prevent surface damage.
Soap-Based Cleaners: Dish Soap Variations
Mild soap-based cleaners made with dish soap are among the safest options for regular cabinet cleaning. They effectively remove fingerprints, dirt, and light grease without harming finishes. Use a few drops of dish soap diluted in warm water and clean with a microfiber cloth. This solution works well on all cabinet types and is perfect for daily maintenance.
DIY Cleaner Recipes | Ingredients | Best Use Case | Notes
| DIY Cleaner Recipe | Ingredients | Best Use Case | Notes |
|---|---|---|---|
| Vinegar and Water Mix | Equal parts white vinegar & water | Grease removal on painted & laminate | Avoid frequent use on wood cabinets |
| Baking Soda Paste | Baking soda + water | Tough stains, sticky residue | Use gently to avoid surface scratches |
| Soap-Based Cleaner | Dish soap + warm water | Regular cleaning, fingerprints | Suitable for all cabinet types |
Step-by-Step Guide: How to Clean Kitchen Cabinets Like a Pro
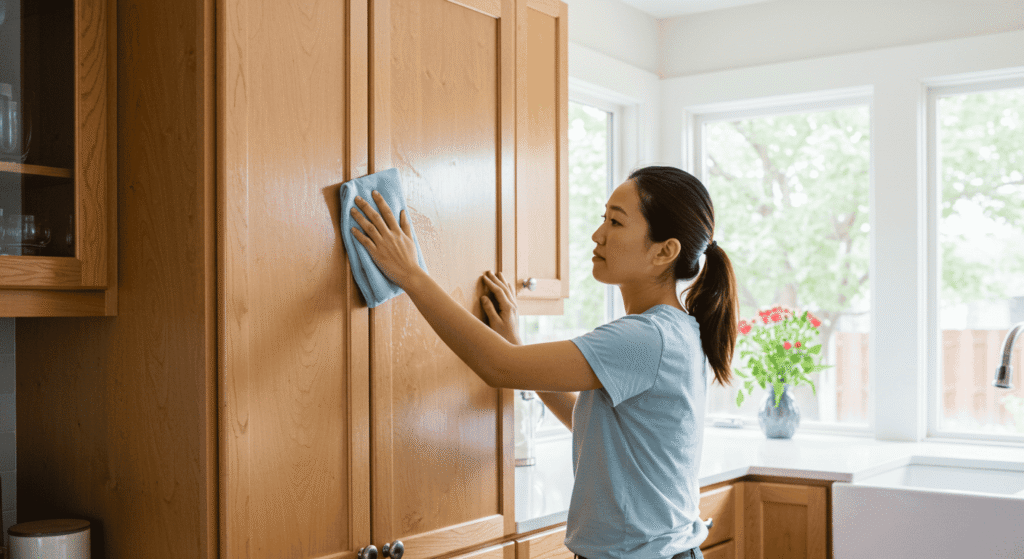
Cleaning your kitchen cabinets doesn’t have to be overwhelming. By following a clear, organized process, you can achieve a professional-level clean that leaves your cabinets looking refreshed and well-maintained. This step-by-step guide covers everything from preparation to finishing touches.
Preparation: Removing Items and Protecting Floors
Before you start cleaning, remove all items from your cabinets and countertops to avoid spills or damage. This also gives you access to cabinet interiors for a thorough clean. Protect your floors with a drop cloth or old towels to catch drips and prevent slips. Having all your cleaning tools ready—such as microfiber cloths, cleaning solutions, and soft brushes—makes the process smoother.
Cleaning Process: Top to Bottom, Inside and Out
Start cleaning at the top of your cabinets and work your way down to avoid drips on already cleaned areas. Use a mild cleaner appropriate for your cabinet material and apply it with a soft cloth or sponge. Don’t forget to clean inside the cabinets, wiping shelves and corners where dust and crumbs accumulate. For stubborn stains or grease, gently scrub with a soft brush. Always rinse with a damp cloth to remove any residue from cleaning agents.
Drying and Finishing Touches: Hardware and Polish Tips
After cleaning, thoroughly dry all cabinet surfaces with a clean microfiber cloth to prevent moisture damage. Remove and clean hardware such as handles and knobs separately if possible, then reattach them once everything is dry. For wooden cabinets, consider applying a small amount of furniture polish or natural oil to restore shine and protect the finish. This final step enhances the overall look and helps maintain your cabinets longer.
Maintaining Your Cabinets: Daily, Weekly, and Monthly Tips
Keeping your kitchen cabinets clean over time requires a consistent maintenance routine. Dividing tasks into daily, weekly, and monthly activities helps you avoid buildup and prolong the life of your cabinets. Below are practical tips and schedules to keep your cabinets in top shape year-round.
Quick Daily Wipes: What to Use and What to Avoid
Daily maintenance is simple but effective in preventing grime buildup. Use a soft microfiber cloth dampened with a mild soap and water solution to wipe down cabinet surfaces, focusing on high-touch areas like handles and edges. Avoid harsh chemicals and abrasive scrubbers that can wear down finishes. Quick daily wipes keep fingerprints, dust, and spills from settling and make deeper cleans easier.
Weekly Deep Cleaning: Checklist and Routine
Once a week, dedicate time to a more thorough cleaning. This includes wiping all cabinet surfaces, both inside and out, paying close attention to greasy spots and corners. Use a cleaner appropriate for your cabinet type, and consider spot-treating stains with natural or gentle solutions. This weekly routine helps maintain a fresh look and prevents buildup that can be harder to remove later.
Monthly Inspection: Checking for Damage and Repairs
Monthly, perform a careful inspection of your cabinets. Check for signs of wear such as chipped paint, loose hinges, or water damage. Address small issues early to avoid costly repairs. Tighten hardware if needed and clean cabinet handles and knobs separately. This routine helps catch problems before they worsen and keeps your kitchen functioning smoothly.
Cleaning Frequency | Tasks | Recommended Products (Generic Types)
| Cleaning Frequency | Tasks | Recommended Products |
|---|---|---|
| Daily | Wipe surfaces with mild soap solution | Microfiber cloth, mild detergent |
| Weekly | Deep clean inside and outside cabinets | Gentle cleaner, soft sponge/cloth |
| Monthly | Inspect for damage, tighten hardware | Screwdriver, all-purpose cleaner |
Troubleshooting: When Cleaning Isn’t Enough
Even with regular care, there are times when your clean kitchen cabinets might show signs that simple cleaning can’t fix. Recognizing these issues early helps you decide whether to repair, refinish, or replace your cabinets, ensuring your kitchen stays both beautiful and functional.
Signs Your Cabinets Need Repair or Refinish
If you notice peeling paint, deep scratches, warped wood, or persistent stains that won’t come off, these are clear signs your cabinets may need repair or refinishing. Discoloration and water damage, especially near sinks, also indicate the finish has worn down. Refinishing can restore the cabinet’s appearance, but extensive damage might require replacing parts or the entire cabinet.
Handling Persistent Odors and Mold
Persistent odors often signal hidden mold or mildew inside or behind cabinets, usually caused by moisture buildup. To address this, thoroughly clean the affected areas with natural antifungal solutions like diluted vinegar and ensure the space is well-ventilated and dry. If mold returns frequently or covers large areas, professional mold remediation might be necessary to protect your health and home.
When to Call in a Professional (Or Consider Replacement)
Sometimes, damage is too severe for DIY repairs. If you’re dealing with structural issues, widespread water damage, or extensive mold, calling a professional is the safest choice. A professional can assess whether refinishing, repair, or full cabinet replacement is the best solution. Considering replacement is especially important if your cabinets are outdated or beyond economical repair, as new cabinets can significantly improve your kitchen’s functionality and value.
Bonus Tips: Enhancing Your Kitchen’s Overall Cleanliness
Keeping your kitchen cabinets clean is important, but enhancing the overall cleanliness of your kitchen creates a healthier and more enjoyable cooking space. These bonus tips focus on simple habits and small changes that make a big difference.
Cleaning Cabinet Hardware Without Damage
Cabinet hardware like handles and knobs can accumulate dirt and grease quickly. To clean them without causing damage, remove the hardware if possible and soak it in warm, soapy water. Use a soft brush to clean crevices, then dry thoroughly before reinstalling. For fixed hardware, gently wipe with a damp microfiber cloth and mild cleaner. Avoid abrasive tools that can scratch metal or finishes.
Organizing Inside Cabinets to Minimize Dirt and Spills
An organized cabinet is easier to keep clean. Use bins or shelf liners to catch spills and crumbs, and group similar items together to reduce clutter. Regularly declutter and wipe down shelves to prevent dust and dirt buildup. Keeping the inside of your cabinets tidy not only helps maintain their cleanliness but also improves kitchen efficiency.
Using Ventilation and Kitchen Habits to Reduce Grease Build-up
Good ventilation helps reduce the accumulation of grease on cabinets. Use exhaust fans or open windows while cooking to minimize airborne grease and moisture. Additionally, simple habits like wiping splashes immediately and covering pans while cooking can significantly reduce grease buildup on your cabinets, making your cleaning routine easier and more effective.
Final Thoughts for a Fresh and Inviting Kitchen
Maintaining clean kitchen cabinets is key to preserving both the beauty and functionality of your kitchen. With the right cleaning methods, regular upkeep, and a few simple habits, you can keep your cabinets looking their best for years to come. Remember, a clean kitchen not only enhances your home’s appeal but also creates a healthier environment for you and your family. Use these tips to enjoy a sparkling, fresh kitchen that truly feels inviting every day.

